
Keep the First Drawing Setup Simple
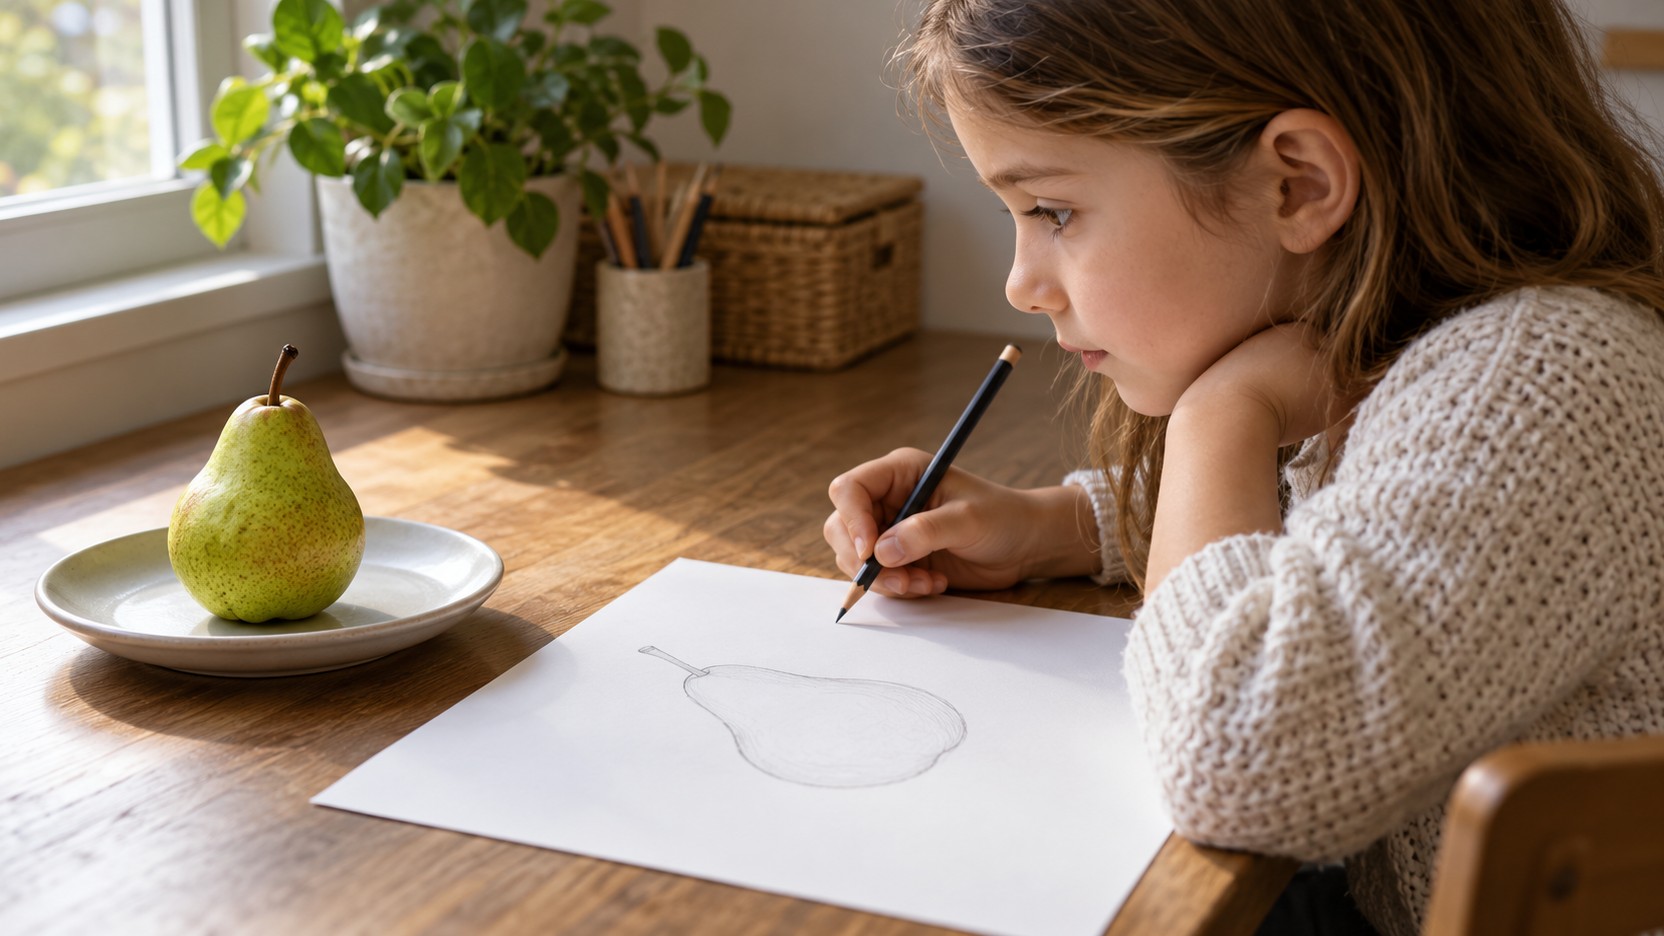
Use plain paper and a drawing tool that feels comfortable. A regular pencil, a broad crayon, or a washable marker can all support beginning work. Different tools encourage different marks, so the best starting choice is one the child can control without strain. Give the page a stable surface and leave room for the drawing hand to move. A large sheet may feel more inviting than a tiny sketchbook if the child naturally makes sweeping lines.
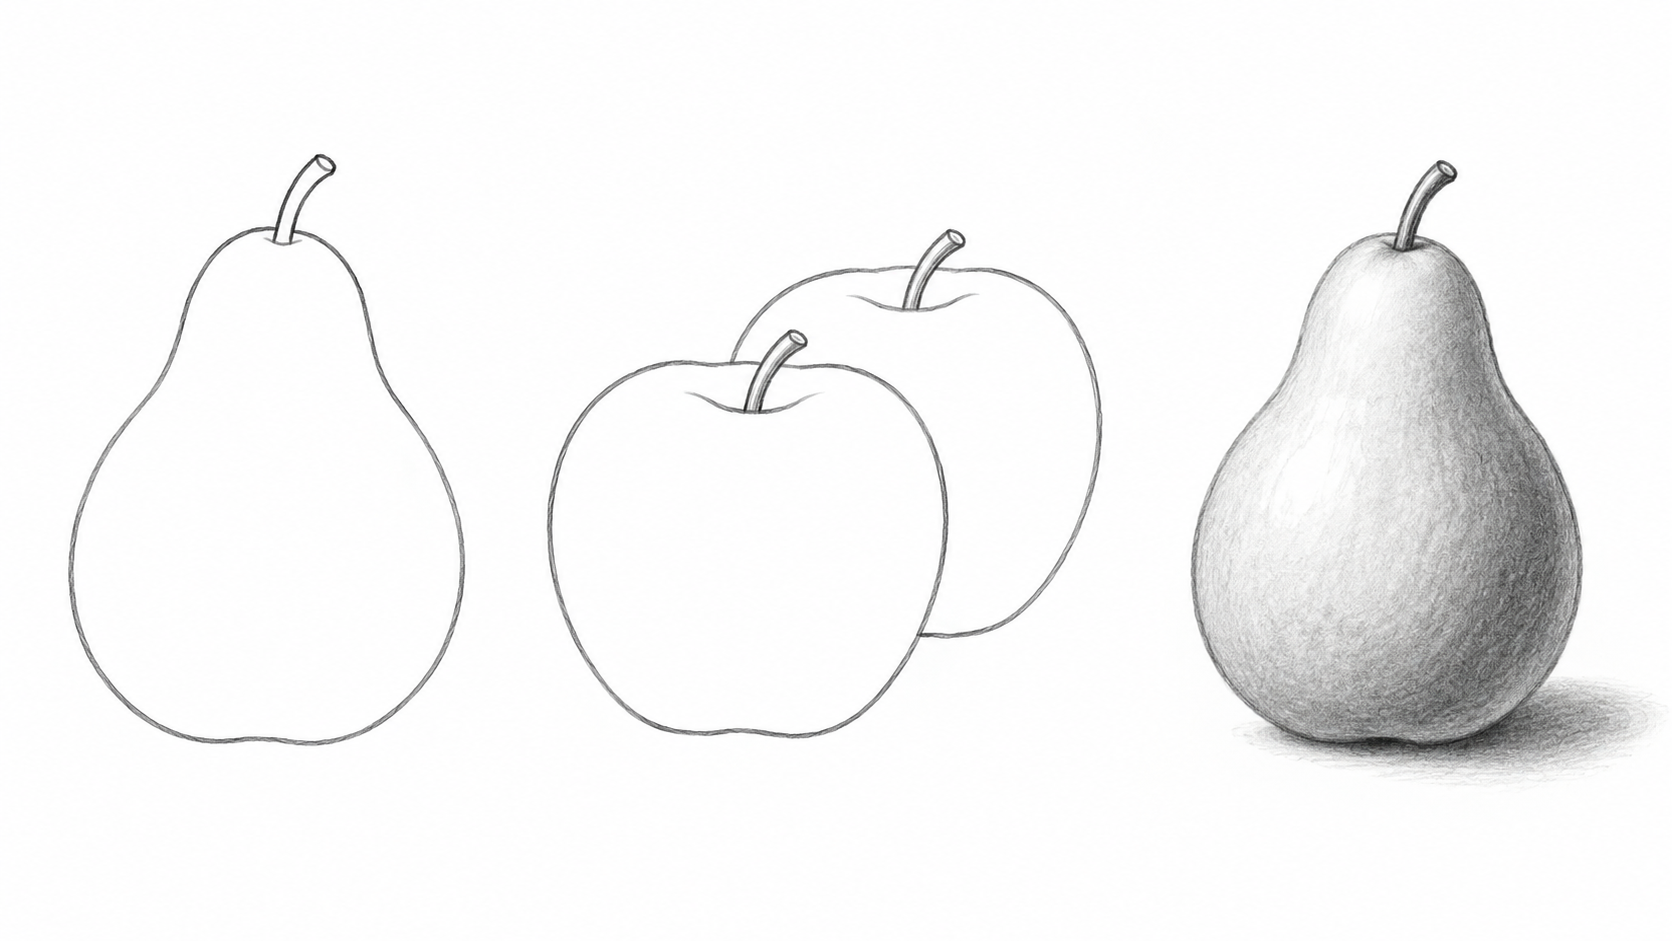
Use three small practice visits rather than introduce every technique at once. First draw a familiar subject’s largest shape and add one identifying detail. On another page, overlap two shapes and decide which edge disappears behind the front one. Later, try a light and a dark area on a single form. Demonstrate each on your own paper before the child chooses an example. The illustration below can help explain the differences, while their own subjects keep the practice personal. These visits do not need to become formal lessons or be completed on consecutive days.
Discover What Different Lines Can Do
Before drawing an object, try a few lines across scrap paper. Make a slow curve, a quick zigzag, a long straight path, and a row of short dashes. Compare what happens when the tool is pressed gently or firmly. These marks can later become fur, grass, a fold in fabric, or a smooth edge. There is no need to make every practice line tidy; the aim is to connect an action with its visible result.
Compare two ways to draw the same large curve. Make one with the page close to the body, then move the paper to leave more room for the forearm and try again. Notice which setup gives a comfortable movement. For smaller marks, try a short row of dashes beside a longer sweeping line. Adjust the paper position and tool to the action, and seek appropriate support if pain or a persistent difficulty affects participation.
Turn the line study into a tiny game if that suits the learner. One person makes a line and the other imagines what it could become. A wavy mark might become a river, a sleeping animal, or a ribbon. Keep several answers possible. This connects tool practice with invention and shows that an unexpected mark can provide a useful starting point.
Find the Largest Shape Before the Details
Look at the subject and ask which broad shape takes up most of its space. A pear might suggest a large rounded lower form and a narrower top. A seated toy animal might begin with an oval body and a smaller head. Sketch those main areas lightly before adding eyes, stems, or patterns. The shapes are temporary guides rather than a formula that every subject must obey. They help the child place the drawing and compare its parts. When the silhouette begins to work, the details have somewhere useful to go. If the child prefers a single flowing outline, they can use that approach instead while still noticing the overall size.
Give the Subject Enough Room on the Page
Beginners sometimes draw one small detail first and discover that the rest of the subject will not fit. Before starting, use a finger to trace an imaginary boundary on the paper. Show roughly where the top, bottom, and widest parts might sit. A few light guide marks can do the same job. This is especially helpful for a long animal, a tall tree, or a scene with more than one main object.
Discuss placement as a choice. A tiny creature on a large empty sheet can look lost on purpose, while a close-up face may extend beyond the edges. The problem is not that one layout is always wrong; it is whether the layout supports the child’s idea. If space runs out unexpectedly, add another sheet, crop the subject, or start a second version. Each response teaches a different way to handle the page.
Look Back and Forth Instead of Relying Only on Memory
Observational drawing involves repeated looking. Invite the child to notice one feature, draw a small part, and glance back at the subject. Is the cup wider at the rim? Does the leaf lean left? Where does the toy’s ear meet its head? Specific observations are easier to act on than a general instruction to look more carefully. Choose one relationship at a time so the child can still enjoy making marks.
Drawing from memory is also valuable, especially for stories and invented characters. Explain that different purposes call for different kinds of looking. An observed shell invites attention to an actual edge, while an imaginary dragon invites decisions about a creature that does not exist. Neither approach needs to replace the other. A child can observe a real lizard’s feet and later borrow that discovery for a fantasy animal.
With a cup as the subject, look at where the handle meets the rim before drawing the handle. Mark its upper joining point lightly, glance back at the cup, and then compare the lower attachment. Sketch the curve between those two points. This short look-mark-look sequence demonstrates observation more clearly than drawing the entire handle from memory and correcting it afterward. Use your own page so the child can try the relationship on theirs.
A useful looking game is to find a feature that surprised you. Perhaps the pear leans more than expected, or a handle is attached lower than you remembered. Draw a small study of just that feature. Isolating one discovery can make careful observation feel achievable without requiring a complete, polished picture. The study can remain beside the main drawing as a record of what changed when you looked again.
Compare Parts With Simple Relationships
Proportion becomes easier to discuss through concrete comparisons. Ask whether the head is wider or narrower than the body, whether a handle reaches halfway down the cup, or how much space separates two objects. Exact measurement is unnecessary for a first sketch. The child can use a finger, a loose paper strip, or visual comparison to notice a relationship. Keep the subject and viewing position steady during the comparison.
Choose the relationship that matters most to recognition. A rabbit’s long ears or a turtle’s broad shell may carry more information than a precisely drawn foot. If the child wants a more convincing result, adjust one large relationship before polishing tiny features. They may also intentionally exaggerate a part for humor or storytelling. Explain the observed difference, then let the artist decide what belongs in the picture.
Use Overlap to Show What Is in Front
Place two simple objects so one partly hides the other. The visible edge of the front object continues while part of the object behind disappears. Draw that arrangement with a few broad shapes. If both objects remain completely outlined through each other, try a second version with the hidden portion omitted. Compare the effect without describing one as a failure. Overlap is a useful tool for building a scene: leaves can cross a branch, a character can stand behind a fence, and a bowl can hide the bottom of a piece of fruit. Start with a clear example so the visual relationship is easy to see.
Try Shading as a Change in Lightness
Make a small patch of gentle pencil marks and another with firmer, layered marks. These give a simple light-to-dark range. Place an object near soft window light and observe which broad area appears darker. Invite the child to shade that area lightly, keeping the first attempt simple. Avoid staring into bright lights or placing hot lamps close to craft materials. Natural, comfortable illumination is sufficient for noticing a basic difference.
Encourage gradual layering rather than pressing as hard as possible. The child can add more marks when an area needs to become darker. Leave some paper visible for the lightest portions. Shading does not need to cover every surface to communicate form. A small shadow beneath an object may help it feel placed on a table, even when the rest of the sketch remains an outline.
Color offers another set of choices. A child may use observed colors, invent a palette, or keep the picture monochrome. Ask what effect they want rather than requiring realistic color. A blue pear can still have a convincing shape and light-dark pattern. Separating shape, value, and color lets the learner explore one skill without feeling that every part of the picture must be solved at once.
Make Changes Without Erasing the Whole Experience
When a line goes somewhere unexpected, pause before rubbing out the entire area. The child can add a new light line, turn the mark into a detail, or begin a second drawing beside the first. Erasing is a useful tool, but repeated heavy erasing can damage paper and interrupt the flow of looking. A softer early sketch leaves more room for adjustment. Keep practice paper available so starting again feels ordinary.
Choose the feature that would change the effect most. If a rabbit needs to read more clearly, sketch longer ears on a spare piece and hold them near the existing head before adding marks. For two shapes that merge, try a clearer gap or an interrupted rear edge on a small practice drawing. Compare the trial with the original goal. The child can then revise one area, start another version, or keep the drawing as it is.
Build Scenes From a Few Chosen Relationships
For a simple scene, choose one main subject and a setting detail that gives it context. A bird on a branch needs less background information than a whole forest. Draw the main shapes lightly, establish which elements overlap, and then add a few useful details. Empty space can help the subject remain clear. If the child enjoys dense pictures, that preference can become a deliberate design choice rather than a problem to correct.
Stories often provide a reason to add detail. A bent plant might show where a creature passed, and a small doorway might suggest who lives nearby. Invite details that matter to the scene instead of asking the child to fill every blank area. The picture can communicate through placement, scale, expression, and repeated marks even without written words. Give the child time to explain meanings that may not be obvious to an adult.
Look at illustrations together and discuss how different artists handle the same subject. Some use loose outlines, some emphasize patterns, and others simplify forms dramatically. A library book can provide examples without requiring the child to copy a finished image. Encourage noticing one useful choice and trying it with original content. Seeing varied styles expands the available possibilities for what a drawing can look like.
Keep a Record That Shows Decisions Over Time
Save selected sketches in order, with the child’s permission, and revisit them occasionally. Ask which drawing shows a discovery or a choice they still like. Progress may appear as a larger composition, a clearer overlap, more deliberate shading, or greater willingness to begin. Leave room for drawings made purely for pleasure. A sustainable beginner practice combines looking, experimenting, and returning to subjects that matter to the child. The next useful step is usually small enough to try on an ordinary sheet of paper.