Choose From Fifty Paper, Cardboard, and Household Builds
The expandable collections below contain fifty ideas grouped by material and use. For complete starting instructions, follow the toy garage, drawing-tool tray, picture gift, or message pocket in the main article. Each begins with the object it needs to hold or the action it needs to perform, making size and construction easier to judge. Gather suitable clean materials, check which tool steps require adult preparation, and build the working part before adding decoration. The later sections explain supports, moving pieces, and ways to return to unfinished work.
A: Most start with common paper or packaging, though suitable tools and adhesive may still be needed.
A: Reject dirty, greasy, sharp, damaged, or chemical-product packaging.
A: Begin with one working building and expand after testing the first version.
A: Try folds, broad tabs, and low triangular supports before adding material.
A: Narrow edges offer little attachment area; a wider folded tab may improve the joint.
A: Choose a different project or reconsider the available material's own shape and properties.
A: These ideas are small craft objects and models, not weight-bearing equipment.
A: Reduce strain, widen the hinge, or make the moving piece removable instead.
A: Check basic size, movement, and stability first so revisions remain easy.
A: Keep a manageable selection of clean shapes with likely uses and clear out excess regularly.
Start With What Is Actually Available
Collect a small selection of clean, dry materials and look at them together. A broad carton suggests a room or storage tray; a narrow box may suit a tower; thick paper can fold into a support. Avoid beginning with a photograph of a complex project and searching the house for substitutes for every specialized part. Let the shapes you have help determine the build. This keeps preparation short and makes the child’s observations useful from the beginning.
Keep the collection selective. Save useful pieces with enough strength and surface area to join, and recycle packaging that is greasy, damaged, sharp, or difficult to clean. Do not repurpose chemical containers for children’s crafts. An adult should remove staples and check edges. The CPSC craft safety guide offers material and tool guidance. Treat familiar household objects with the same care you would apply to newly purchased supplies.
Start With One of These Three Useful Builds
Toy garage: gather a clean shallow carton, card scraps, suitable tape or glue, and the toy vehicles it will hold. Arrange the cars inside before deciding where bays belong. Fold the bottom of each card divider into a broad tab, position the tabs on the base, and attach them using the chosen method. An adult prepares any difficult cuts. Try moving each car in and out before decorating; a bay that is too narrow needs moving now. Draw a roadway outside or add a removable roof later. The first version needs only accessible parking places and a clear entrance.
Drawing-tool tray: use a clean low-sided box, one broad card strip, and the actual crayons or pencils. Lay the tools inside, leaving room to grasp short pieces. Fold tabs at the strip’s ends and test it as a divider before attachment. Keep the divider low enough that it does not hide the contents. After the joint has set according to product directions, use the tray during a drawing session. If a pencil catches, change the divider position or lower that section rather than covering the whole tray with more material. Decoration can stay on the outer sides.
Picture gift: choose a drawing or approved photograph and a broad card backing slightly larger than it. Arrange four wide card strips loosely around the picture, adjusting their positions so they do not cover the important part. Attach the strips to the backing rather than permanently gluing a valued photograph. Let an adult prepare difficult openings or trims, and keep the finished piece as a flat card or tabletop display. Add one original border pattern and a child-approved message for the recipient. Check the fit again before packing the gift in a protective envelope or shallow box.
Fold a Message Pocket With One Sheet
Choose sturdy paper, a small drawing to go inside, and suitable tape or glue. Place the message in the center, fold the lower paper upward around it, and bring the sides inward with enough overlap to secure them. Remove the message while attaching the side seams so it does not become stuck. Leave the top open or fold it down as a loose flap. Test sliding the drawing in and out after the joins are ready. If it catches, widen the pocket in another attempt instead of forcing the paper. The child can add a window drawing, a recipient’s favorite colors, or an invented symbol on the front.
Make Cardboard Stronger Through Shape
Flat cardboard can bend unexpectedly across a long gap. Folding a strip into a channel or triangle can change how it supports a lightweight object. Let the child compare a flat strip and a folded strip over the same short distance. Use small, safe test objects and keep everything at tabletop or floor level. The goal is to notice how a change affects the structure, not to create something intended to support a person’s weight.
Joining surfaces also matter. A narrow edge gives glue very little contact area, while a folded tab offers a broader place to attach. Prepare practice tabs from scrap card and try placing one behind a wall. An adult can help hold the joint while it sets, or use suitable tape for an initial trial. Learning one reliable join opens many possibilities, from a miniature shop to a display stand.
Let a Box Become a Small World
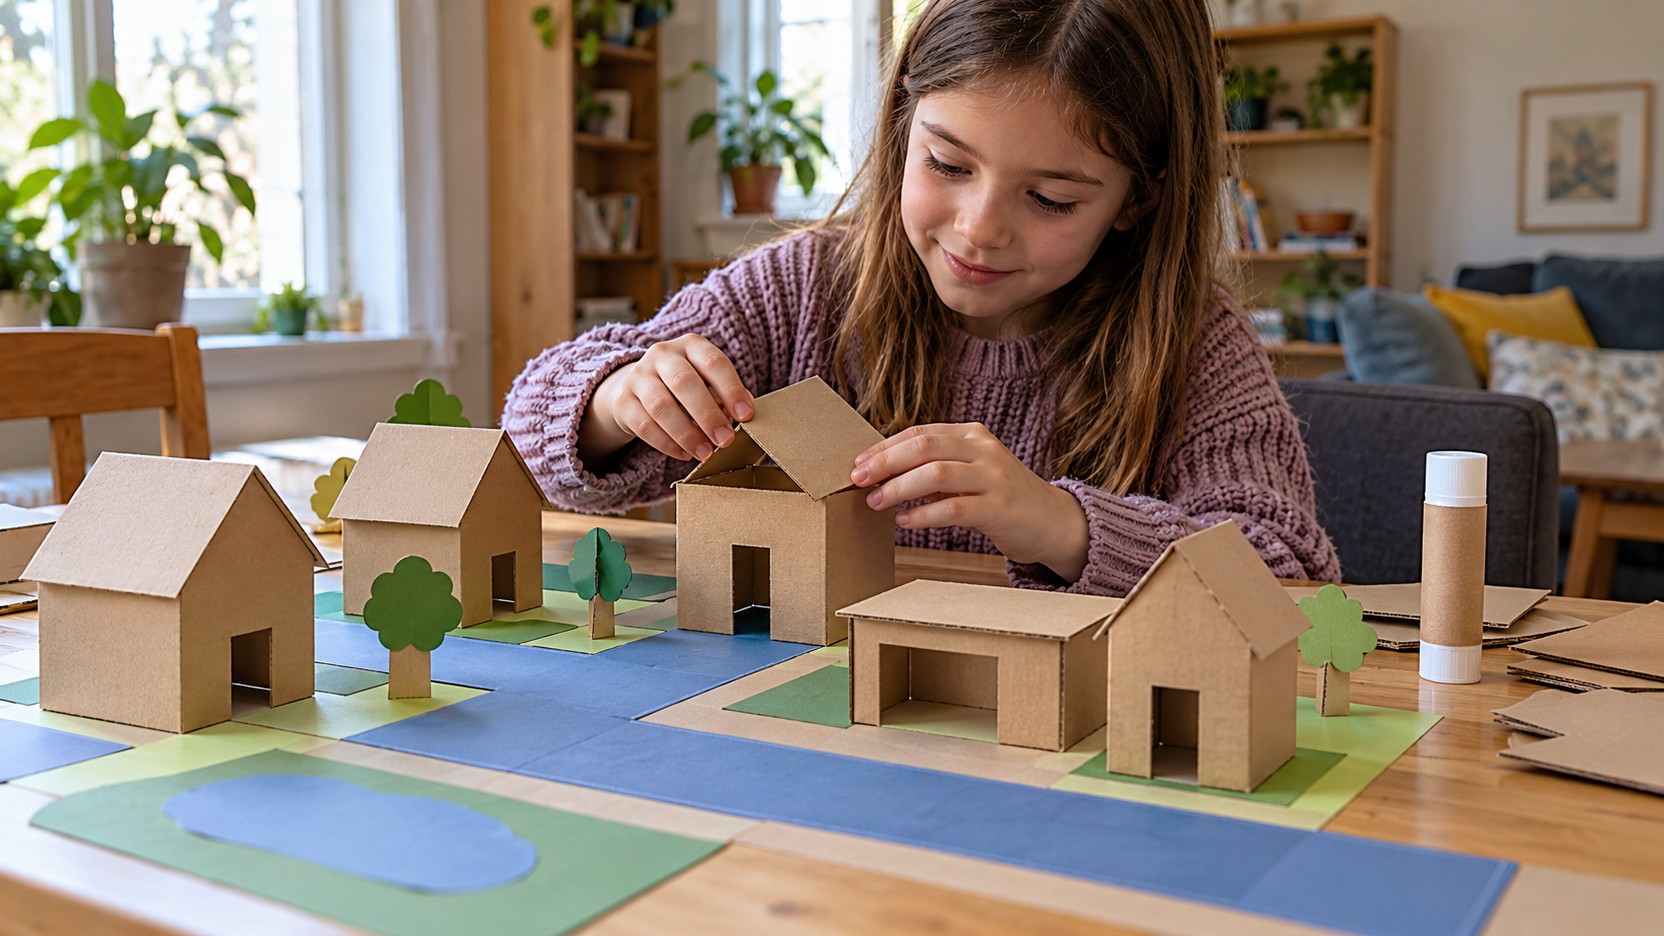
Begin a miniature setting by deciding how people will reach inside it. A shallow tray gives easy access from above; a tall box with a front opening feels more like a stage. Use toy figures or paper characters to test scale before building furniture. A doorway that looks convincing may be too narrow for the intended character. Moving the figure through a rough opening now is easier than rebuilding a decorated wall later.
Separate fixed scenery from movable pieces. A background can stay in place while counters, beds, trees, or vehicles move during play. Fold broad feet under paper furniture so it stands securely. Keep small components away from children who mouth objects and adapt the setting with larger pieces when needed. A larger, simpler world can support more comfortable play than a tiny detailed one.
Allow the first game to reveal missing features. The child might discover that a shop needs a delivery area or that a parking garage needs a way for cars to leave. Add those features in later sessions. The project becomes a setting that responds to stories, rather than a display that cannot be touched. Store loose pieces in the box itself if doing so will not damage them.
Build Something That Organizes a Real Space
For a loose-paper tray, lay the intended sheets inside a clean shallow box before trimming or adding dividers. Leave enough space to lift the shortest sheet without bending it. Place the tray in the intended work area and try retrieving paper while another drawing is on the table. This reveals whether the tray needs lower sides, a different opening, or another position.
For a divider, fold a broad foot along one long edge of a card strip and place that foot against the base. Test the compartment with the actual lightweight contents before attaching it. If the wall leans, widen the foot or lower the wall; if the tray tips when used, try a broader base or a different suitable box. Keep handmade organizers for light items in a safe dry location, away from uses where a failure could cause damage or injury.
Use Fabric Scraps Without Requiring Sewing
A clean fabric offcut can become a miniature picnic blanket, a woven paper-and-fabric panel, or a decorative covering for a sturdy card base. Start with large pieces and inspect for loose threads. If the project involves cutting fabric, an adult can prepare difficult cuts with appropriate tools. Avoid wrapping cords or long strips around a child’s body, and keep loose fibers away from mouthing children. For a simple layered picture, suitable adhesive can hold fabric on card, but test a scrap first because fabrics differ in how they absorb glue. Let the child notice how soft material bends and drapes differently from paper.
Give Moving Parts Room to Move
A flap, sliding panel, or rotating paper element needs clearance. Build the mechanism before decorating around it. A lift-up roof should open without pulling the walls apart; a sliding door needs a path that does not pinch it. Use a broad paper loop or folded-card guide when appropriate, and avoid tiny hardware. Let the child move the part several times while the project is still easy to adjust.
Expect ordinary materials to wear. A paper hinge may tear if it is too narrow or if thick decorations pull on it. Reinforce the area with a broader strip, lighten the moving piece, or redesign it as a removable part. These are useful choices to compare. A project can still fulfill its purpose after the mechanism changes, and sometimes the simpler version is easier to use.
Watch the moving piece while testing it slowly. A door catching at one corner may need more clearance there; a roof pulling the wall may need a lighter panel or a broader hinge. Change one feature, move it again, and compare the result. If the paper has weakened after several trials, replace that part instead of covering the whole mechanism in more tape. Save the useful wall or base so the next version starts with something that already works.
Make Gifts That Suit the Recipient
Small handmade gifts become more meaningful when the maker considers the person receiving them. A photo frame should fit a chosen picture; a bookmark can reflect a favorite color or interest; a message folder can hold a drawing intended for that person. Keep the project within the child’s control. An adult may help with a tricky join while the child chooses the image, arrangement, and message.
Think about how the gift will be used and transported. Loose decorations may fall off in an envelope, a tall card may not stand, and a fragile construction may need a shallow box. Test the object before wrapping it. If the maker wants to explain a feature, include a small drawing or dictate a short message. A useful explanation is often more personal than adding another layer of decoration.
Find Another Build Through Its Material or Purpose
Open the paper collection when you want a fold or an opening action, the cardboard collection for a pretend-play setting, and the household-helper collection for something that holds or organizes. The textile and texture collection explores how soft material behaves, while the gift collection starts with a recipient and a use. Select an idea, then identify the similar technique already explained in the article. A paper shop can borrow the garage’s tabbed dividers, and a card holder can borrow the broad support used in a display. Check the actual fit with the intended objects before committing the joins.
Create a Simple System for Returning to Work
Before stopping, put the project and its loose components together in a safe place. Keep damp sections flat and separate until dry. A quick sketch can preserve a plan that would otherwise be forgotten. If the child wants to continue later, identify the next small action: add a wide roof tab, test the card holder, or fit a background. A specific starting point lowers the effort of returning.
Review the saved-material collection periodically. Keep shapes that have a likely use and clear out damaged or excessive pieces so the storage itself does not become a burden. The aim is an accessible supply of possibilities rather than an expanding mountain of packaging. When ordinary materials are easy to find and the first step is manageable, children can practice turning observations into plans and plans into objects they actually want to use.