Craft Ideas From Toddler Paper Play to Tween Design Projects
Use the age bands below to browse craft ideas, then choose through the actions involved: making a mark, placing shapes, folding, joining, or planning a useful object. The examples move from broad toddler materials to a preschool creature, a small cardboard construction, and an older child’s display project. Each explains where an adult prepares materials and what the maker can decide. Children can use familiar techniques at any stage; the practical demands and their interests guide the final choice.
A: Exploring marks, placement, and materials can be a complete craft experience.
A: Use product guidance, supervision, and the individual child's readiness rather than an age alone.
A: If adult preparation and intervention dominate the session, reduce the number of unfamiliar actions.
A: Yes; familiar methods can support increasingly deliberate compositions or simply remain enjoyable.
A: Add a meaningful design constraint, function, or opportunity to compare prototypes.
A: They can share a theme while making different contributions suited to their interests.
A: It helps when cutting is a barrier and the child still controls arrangement and design.
A: Adapt grip, material size, stabilization, and timing without treating the craft as a competition.
A: A sketch, gesture, spoken explanation, or usual communication system can carry the plan.
A: Energy and interest vary; use the experience to adjust the next invitation.
Look at the Demands Behind the Finished Picture
Use these approximate bands to browse the examples, then inspect the actual project’s demands. Cutting, joining, planning, drying, handling small parts, and managing tools are separate tasks. A child may want an interesting design problem while needing help with a physical action. Adapt that part instead of assuming an age label settles the whole activity.
| Browsing stage | Approximate ages | Example starting emphasis |
|---|---|---|
| Toddler | 1–2 | Large materials and an immediate effect |
| Preschool | 3–5 | A familiar action with one new choice |
| Early elementary | 6–8 | A short plan that can change |
| Later elementary | 9–10 | A useful design constraint |
| Tween | 10–12 | An audience or practical function |
The overlap is intentional, and these are not developmental deadlines. Readiness, experience, access, interests, and appropriate supervision determine the real choice. The sections below offer examples of how the creative job can change while familiar supplies remain useful. Begin with the action the child understands and teach an unfamiliar component directly.
Toddlers: Large Materials and Immediate Effects
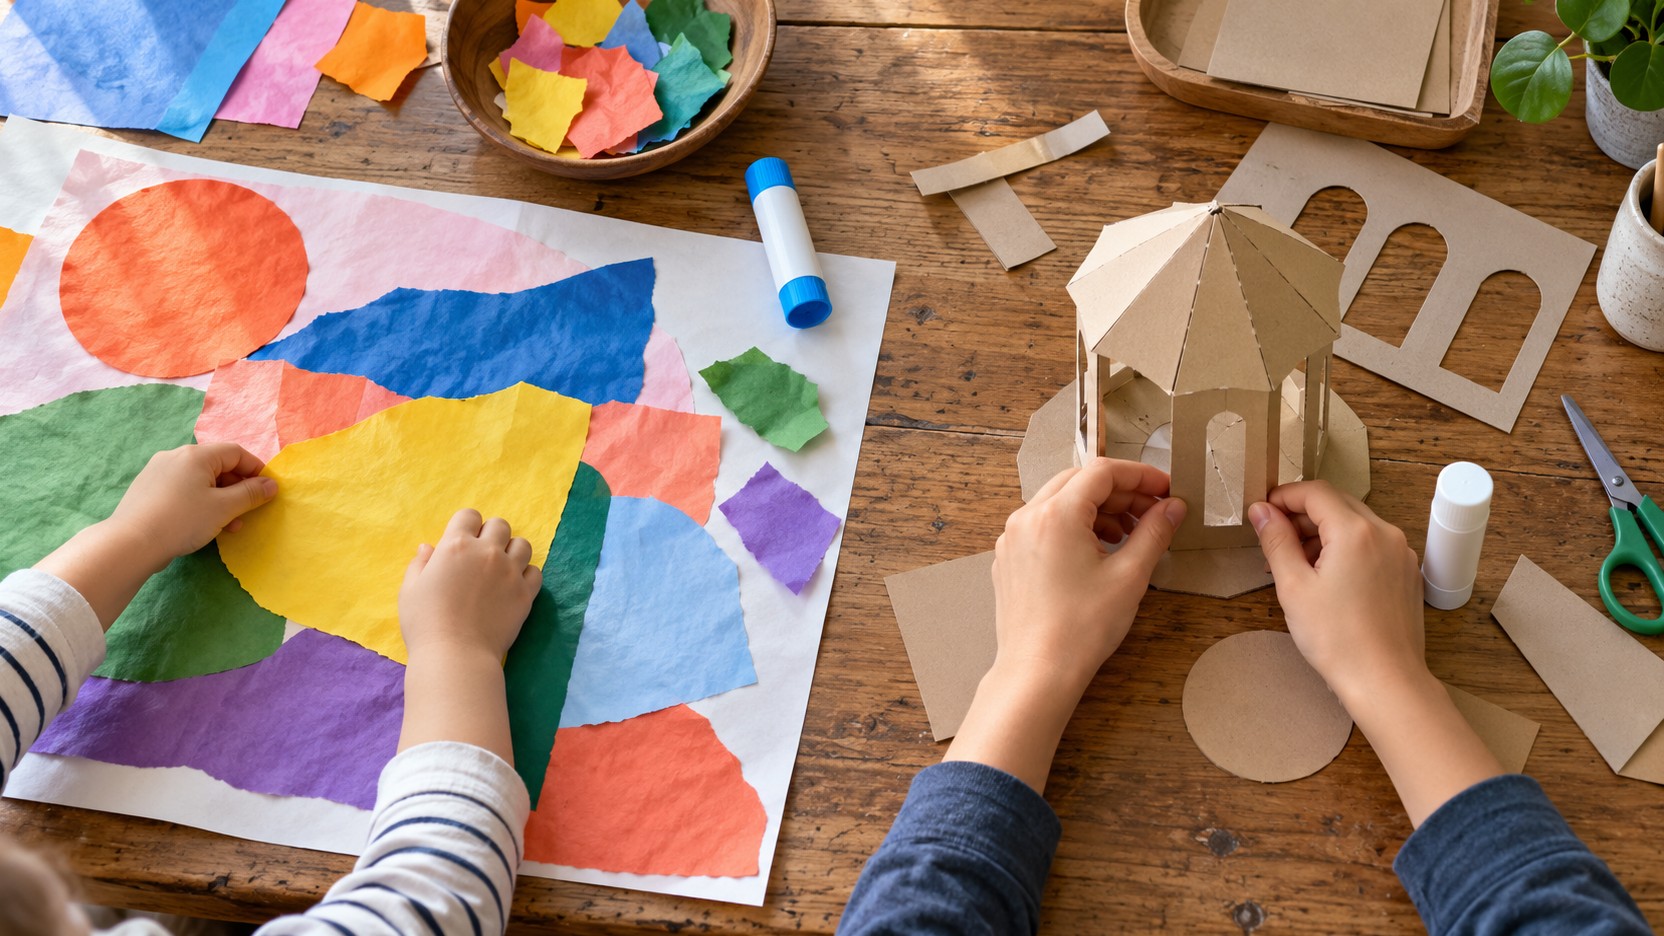
For toddlers, choose actions that produce a visible response quickly. A thick crayon makes a mark, a large paper piece sticks to prepared adhesive, and a soft sheet changes shape when crumpled. A simple invitation might involve pressing broad paper patches onto a large backing sheet. An adult can prepare suitable adhesive and keep the materials within easy reach. The toddler decides where the pieces go and whether to overlap them.
Keep the quantity modest. A large pile of materials can make exploration harder to follow and cleanup harder to manage. Offer a few pieces, watch what happens, and replenish when needed. If the child repeatedly removes a piece after attaching it, that action may be the interesting part. You can offer removable pieces on a suitable surface rather than repeatedly insisting that the collage remain intact.
Stay close and respond to the child’s actual use of supplies. Children who mouth objects need materials and supervision chosen with that behavior in mind; an art product described as non-toxic is still not food. Avoid tiny decorations and make the workspace easy to leave when interest fades. A short encounter with color and texture is a complete activity even when there is no recognizable finished object to display.
Preschoolers: Combine a Familiar Action With One New Challenge
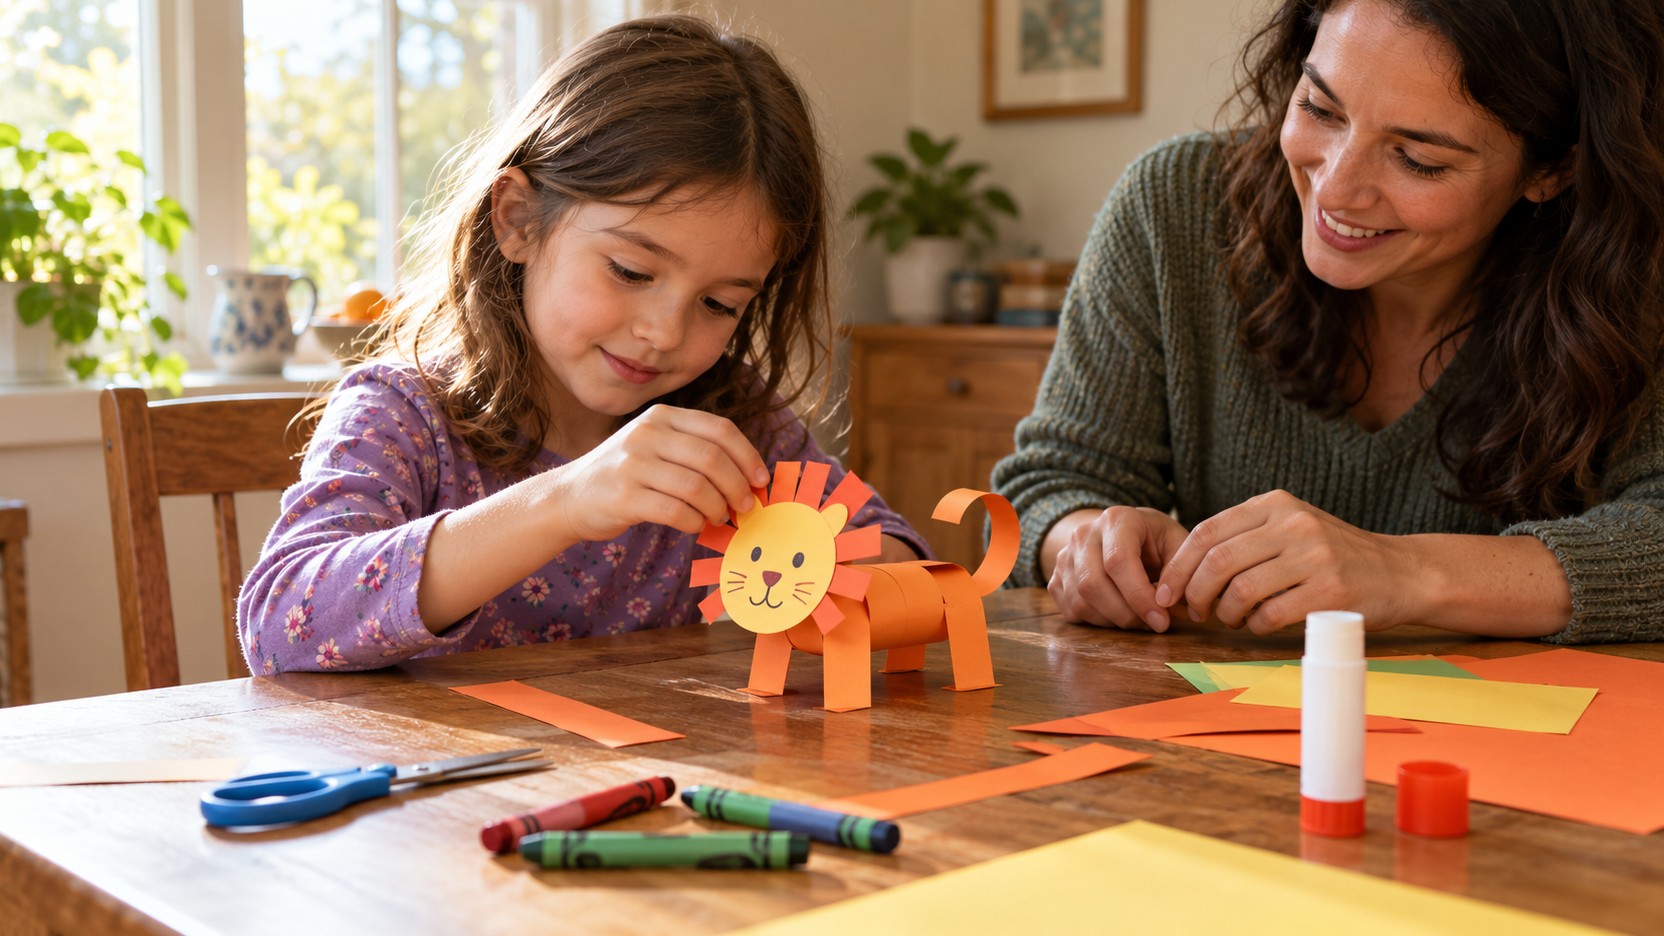
Make a standing bird from sturdy paper and broad prepared shapes. Fold a rectangle across its middle and stand it as an upside-down V; this is the new action to demonstrate. Add a broad head near one end and a tail at the other, drawing features directly or attaching suitable large paper shapes. Place the bird on the table before adding wings so the child can see whether it balances. If cutting is part of the activity, use appropriate tools and supervision; tearing or selecting prepared shapes can serve the same design. Keep the first bird simple, then compare a wider base or a different tail on a second version.
Offer Preschool Choices That Change the Result
Meaningful choices affect the creation. Ask whether a creature needs long legs or a wide body, whether a collage will show a place or a pattern, or whether a paper crown should stand tall or curve low. These decisions are more substantial than choosing between two nearly identical decorations on an adult-designed object. A child can practice a technique while still controlling what the work communicates.
Keep directions short enough to remember. Show a fold, let the child try, and then explain the next action when it becomes relevant. Demonstrating an entire elaborate project before anyone begins asks children to hold too much information while their hands are idle. A visible material sample or a partly completed practice piece can help, provided the adult makes clear that other outcomes are welcome.
Early Elementary: Make Plans That Can Change
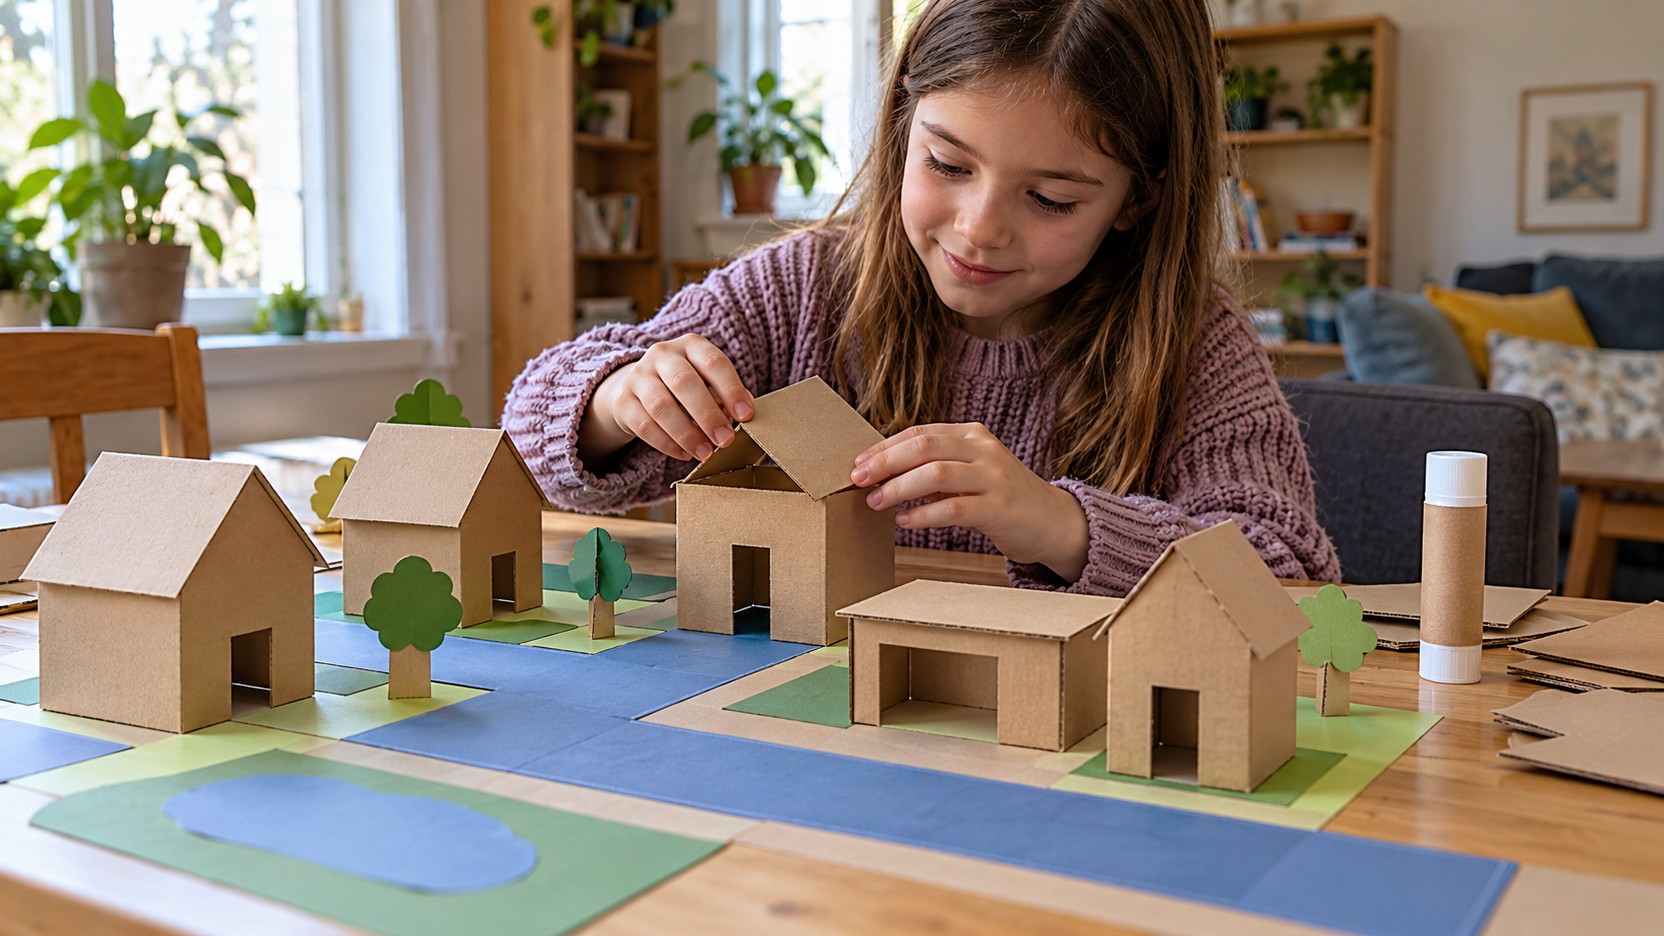
Children in the early elementary years may enjoy turning an idea into a more deliberate construction. A small cardboard room, folded greeting card, or paper stage offers a reason to think about size and sequence. Begin by asking what the object needs to do. A room needs a stable floor; a card must still close; a stage opening must leave room for characters to move. Those practical requirements help organize the making.
A quick sketch can be useful without becoming a contract. Invite the child to mark where the main pieces might go, then compare the sketch with the actual materials. A roof that looked simple on paper may need a support when built. Help the child test alternatives rather than treating the change as an error. Planning becomes useful when it helps someone respond to a problem.
Introduce an unfamiliar technique separately before applying it to the valued project. Try making folded tabs on scrap card or joining two short strips before attaching the main wall. This reduces the frustration of learning on the piece the child most wants to keep. Save useful trial pieces beside the work as reminders. They can also become building materials if the project takes a new direction.
Later Elementary: Add Design Constraints With a Purpose
Try making a small card display using one sheet of sturdy card. Place two original picture cards beside the sheet and decide how they should be seen. Fold the sheet into a broad triangular support, with a flat base on the table and a sloping display face. Test the pictures against it before choosing where they attach or rest. An adult prepares difficult cuts, and lightweight cards keep the trial manageable.
Compare two versions by changing one fold. A steeper display may show the image well but need a broader base; a lower version may stand securely but take more table space. Use the same cards and table position in both trials. Ask which tradeoff matters for the intended shelf or desk. Keep the rough versions until the maker chooses a design, then add a cover image or simple edge pattern where it will not interfere with the support.
Tweens: Give the Project an Audience or Function
A tween can design a compact display for a chosen set of original cards. Put the actual cards beside the supplies, agree where the display will live, and sketch two possible arrangements. Make a rough support from sturdy card, test inserting and removing the cards, then revise before decorating. The maker can decide whether compact storage or easier viewing matters more when the two designs differ. Adults retain appropriate tool and safety boundaries. The age-related challenge is interpreting the brief and explaining a tradeoff, rather than using more hazardous equipment or producing a polished adult-style object.
Adapt the Physical Action That Needs Help
For a fold that keeps sliding, place the paper on a non-slip surface and mark the intended crease lightly. An adult can hold one edge while the child brings the other edge toward it. If the paper is too stiff, test a thinner practice strip first. The creative idea can stay the same while the material or handling changes.
For a small joining area, enlarge the tab rather than repeatedly asking for more precise finger movements. Fold a broad practice tab, place it behind the wall, and let the maker choose its position before attachment. Suitable tape can hold a reversible trial while the fit is checked. Once the joint works, use the selected method according to its instructions and leave setting time where needed.
For a project that needs several sessions, put the main piece and loose parts in one shallow container. Keep a simple sketch showing the next action, such as adding the second support or testing the lid. The child can point, draw, dictate, or use their usual communication to explain that plan. Returning becomes easier when the next physical action is visible and the needed materials are still together.
Notice Frustration Before It Becomes the Whole Activity
Repeatedly dropping a tool, pushing materials away, or asking an adult to finish can signal that the demands no longer fit. Pause and identify the difficult action. The child might need a different grip, a simpler join, less visual clutter, or a break. Offer a small choice between adapting the task and stopping. Continuing through every frustration is not a requirement for a worthwhile craft session.
Distinguish disappointment about appearance from difficulty with the process. If a child says the animal looks wrong, ask which feature they hoped would be different. They might want longer ears rather than a completely new project. Offer a way to test that change on loose paper. If the concern comes from comparing their work with a sibling’s, bring attention back to the child’s own intention and the choices they can still make.
Use One Shared Theme Across Different Ages
A shared theme can hold a mixed-age table together without requiring matching products. For a pretend garden, a toddler can place large color patches, a preschooler can assemble flowers, an early elementary child can build folded insects, and a tween can design a display base. Let each person choose a contribution rather than assigning the most elaborate task to the oldest automatically. Check that everyone has space and access to suitable materials.
Separate shared materials from personal work. A central paper supply is communal; a partly built tree belongs to its maker until they agree to collaborate. Establish this distinction before inviting siblings to improve one another’s projects. If a child wants to demonstrate a technique, provide spare paper. Teaching can happen alongside someone else’s creation without changing it. Joint projects become more enjoyable when help is offered and accepted voluntarily.
At the end, invite each child to describe a decision they made. One might show an unexpected color combination while another explains a structural repair. Avoid ranking work by neatness, detail, or resemblance to an example. Display choices can also differ: one child wants a shelf, another wants to play with the object, and another is ready to reuse the materials. Those preferences help shape the next invitation.
Let Interests Lead the Next Step
Look for the part a child returns to after the official project is complete. Repeated folding may suggest another construction challenge; arranging scraps may lead to collage; inventing characters may lead to a little theater. Keep a manageable selection of familiar materials available and introduce new techniques when they solve a problem the child actually cares about. Progress can mean greater control, a bolder idea, more independent setup, or clearer communication about help. None requires leaving a favorite easy craft behind. A flexible approach lets age inform the invitation while the individual child determines the pace.