Choose One Paper or Cardboard Project to Make at Home
Start with a torn-paper picture, a standing paper creature, an accordion fold, or a small cardboard setting. Each uses familiar supplies and has a core action a child can test before decorating. The project table below helps you choose for the time available, while the instructions explain the folds, joins, and repairs that make each idea work. Prepare difficult cutting steps beforehand, leave room to handle the materials, and choose one project as the starting point for the afternoon.
A: Try a folded surprise picture, a paper creature, or a rubbing over a clean textured surface.
A: Demonstrate a small application on scrap paper and offer a glue stick when suitable.
A: A technique demonstration can help; the subject and final design can remain the child's choice.
A: An adult should prepare difficult cuts or choose a thinner material.
A: Keep the project and loose parts together in a safe, dry place.
A: Use a tray, offer fewer materials, and reserve a separate drying corner.
A: Draw features directly or use large paper shapes selected for the child's readiness.
A: Try a wider base or a lighter, shorter head before adding more decorations.
A: Ask first; an adult's repair may change a detail the child intentionally chose.
A: Share basic supplies while giving each maker a separate work area and independent plan.
Choose a Project That Fits the Afternoon
Choose through the child’s interest and the time the household actually has. The planning estimates below describe making time only; adult preparation, adhesive setting, and drying can add more. A brief project still needs enough time to put materials away. Have the important supplies ready before introducing a craft whose first action depends on them.
| Project | Main supplies | Planning estimate |
|---|---|---|
| Torn-paper picture | Broad paper pieces, backing, suitable adhesive | About 10–20 minutes plus setting |
| Standing creature | Sturdy paper or card, drawing tools | About 20–30 minutes plus preparation |
| Accordion fold | Paper strip and drawing tools | About 10–15 minutes |
| Cardboard setting | Clean box, broad card, suitable joins | A longer session or several short visits |
Try the smallest version that serves the idea. A creature needs a body and working base before accessories; a setting can begin with one room and a movable character. If the child wants to continue later, save the parts with a specific next action. The times are a preparation aid rather than a demand for a child to finish at an adult’s pace.
Make the Table Easy to Use
A shallow tray or reusable mat defines the work area and catches small paper pieces. Put the main materials within reach and keep extras nearby rather than covering the whole table. An uncluttered surface makes it easier to see a project taking shape. Leave enough room for elbows, turning paper, and a separate drying spot. Protect a surface according to the materials being used; a thin sheet of paper will not reliably stop water from reaching wood.
Set out tools the child can handle comfortably. Thick crayons, broad paper strips, or a stabilizing mat may make a familiar activity more accessible. Someone who finds squeezing glue difficult can use an appropriate glue stick or ask a partner to apply small amounts where directed. The point is to remove a frustrating physical barrier while keeping the design decisions with the maker.
For material selection, consult the CPSC Art and Craft Safety Guide and follow product age guidance. Choose art supplies intended for children and supervise tools. Keep tiny embellishments away from children who mouth objects. Save cutting thick cardboard or making holes with sharp tools for an adult. A household item being available does not automatically make it suitable for a craft.
Turn Torn Paper Into a Picture
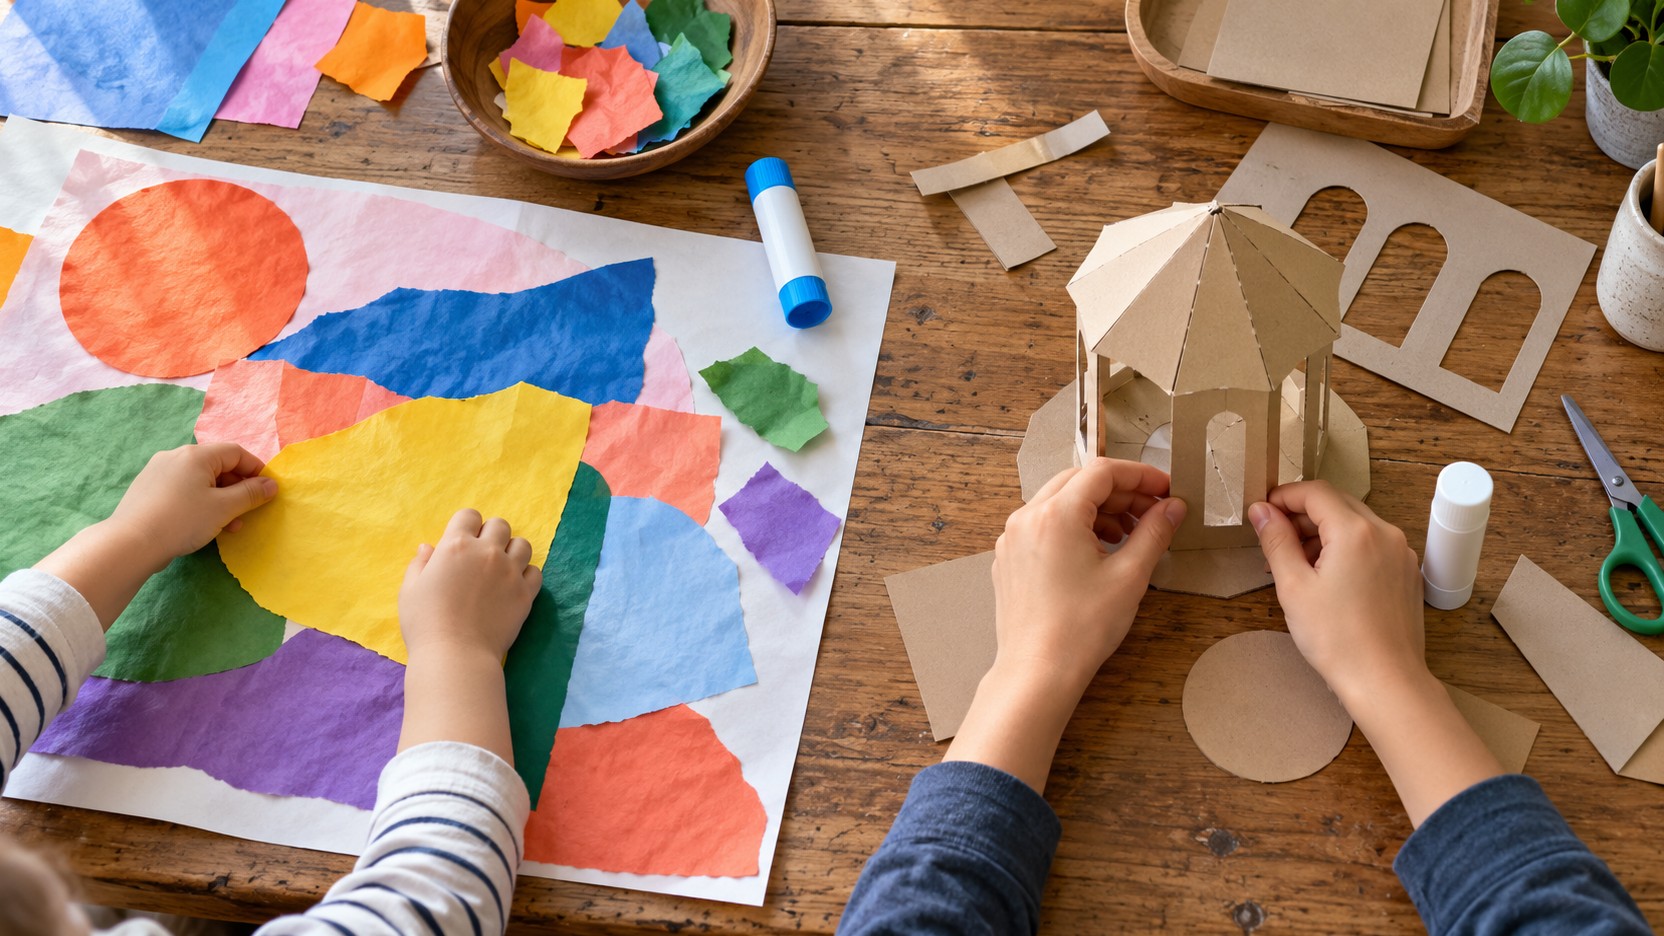
Torn-paper collage is a forgiving place to begin because irregular edges become part of the picture. Give the child a backing sheet and two or three colors of paper. Demonstrate holding the paper with both hands close to the tear, then pulling slowly in opposite directions. Try narrow strips, chunky patches, and long curved pieces without needing every shape to resemble something. Invite the child to arrange a scene before gluing, or glue as the idea develops. A collection of blue pieces might become a pond, a storm, or simply a satisfying patchwork. For a child who prefers a plan, lightly mark one large shape on the backing paper and let the scraps fill or cross its boundary.
Build a Paper Creature That Can Stand
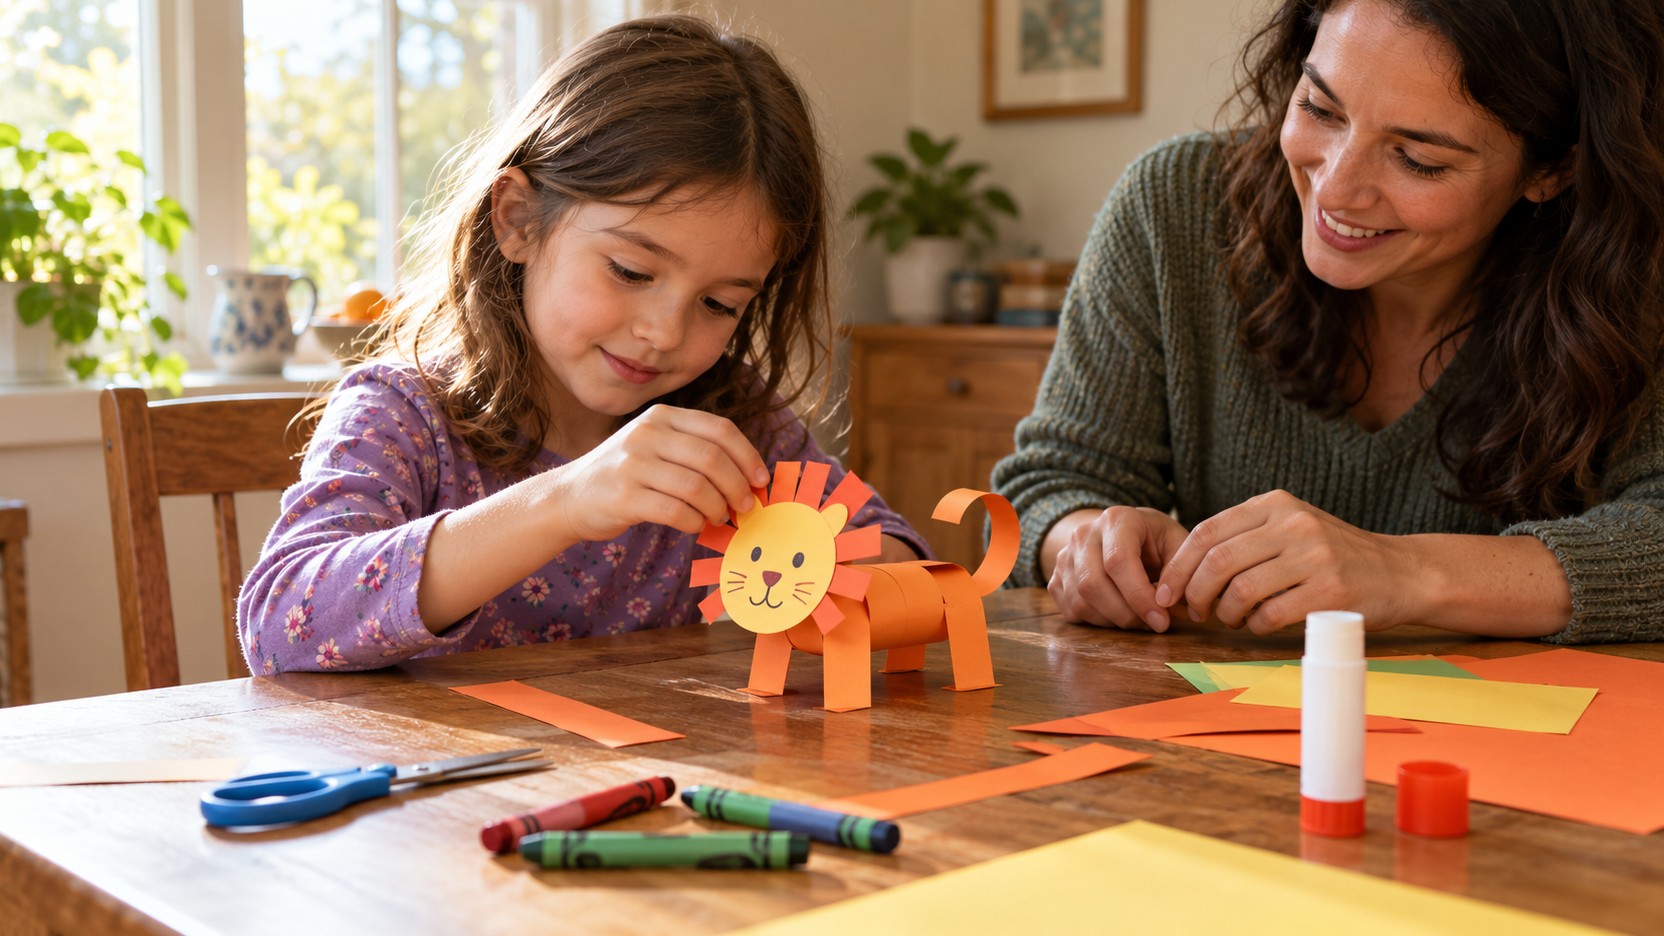
Fold a strip of sturdy paper into an upside-down V and place its two ends on the table. This creates a simple body that can stand without a complicated pattern. The child can add a face at one end, a folded tail at the other, and broad paper feet if the body needs support. Draw features directly rather than relying on small loose decorations. A wide base is easier to balance than a tall, narrow construction.
Let the creature’s behavior guide the next change. If it keeps tipping forward, ask where it feels heavy and try shortening the head or widening the feet. If the child wants a long neck, suggest testing a folded strip instead of a flat one. Keep these experiments small and reversible. Once the creature stands, offer a scrap-paper habitat or a doorway to walk through, allowing the craft to turn naturally into imaginative play.
Explore Texture With Crayon Rubbings
Place a sheet of thin paper over a clean, stable textured surface and rub the side of a crayon across it. A corrugated cardboard panel or a textured mat can produce useful results without needing tiny objects. Hold the sheet in place or tape its corners so it does not slide. Start with gentle pressure, then compare a firmer pass. Encourage the child to describe what appeared: ridges, dots, stripes, or an unexpected patch. Move the paper over a second surface and overlap the textures, or cut broad shapes from the rubbings for a later collage. Avoid surfaces with sharp edges, flaking coatings, or uncertain cleanliness.
Fold an Accordion for Many Different Uses
An accordion fold turns one strip into a springy structure. Fold a short section over, turn the strip, and fold the same width back the other way. Show the repeated action slowly, then let the child continue with whichever fold width feels manageable. Uneven folds still create movement. Wider paper can be easier to grip, and a clear crease makes the next turn less confusing.
Use the folded strip as an animal’s body, a paper fan, a concertina book, or a spring between two larger shapes. Keep the first version simple enough to test immediately. A child can compare a long accordion with a short one or discover how the strip changes when stretched. If decorating the folded surface becomes awkward, unfold it, add marks, and refold along the existing creases. One learned action can support several different creations without buying another kit.
Give Clean Cardboard a Second Job
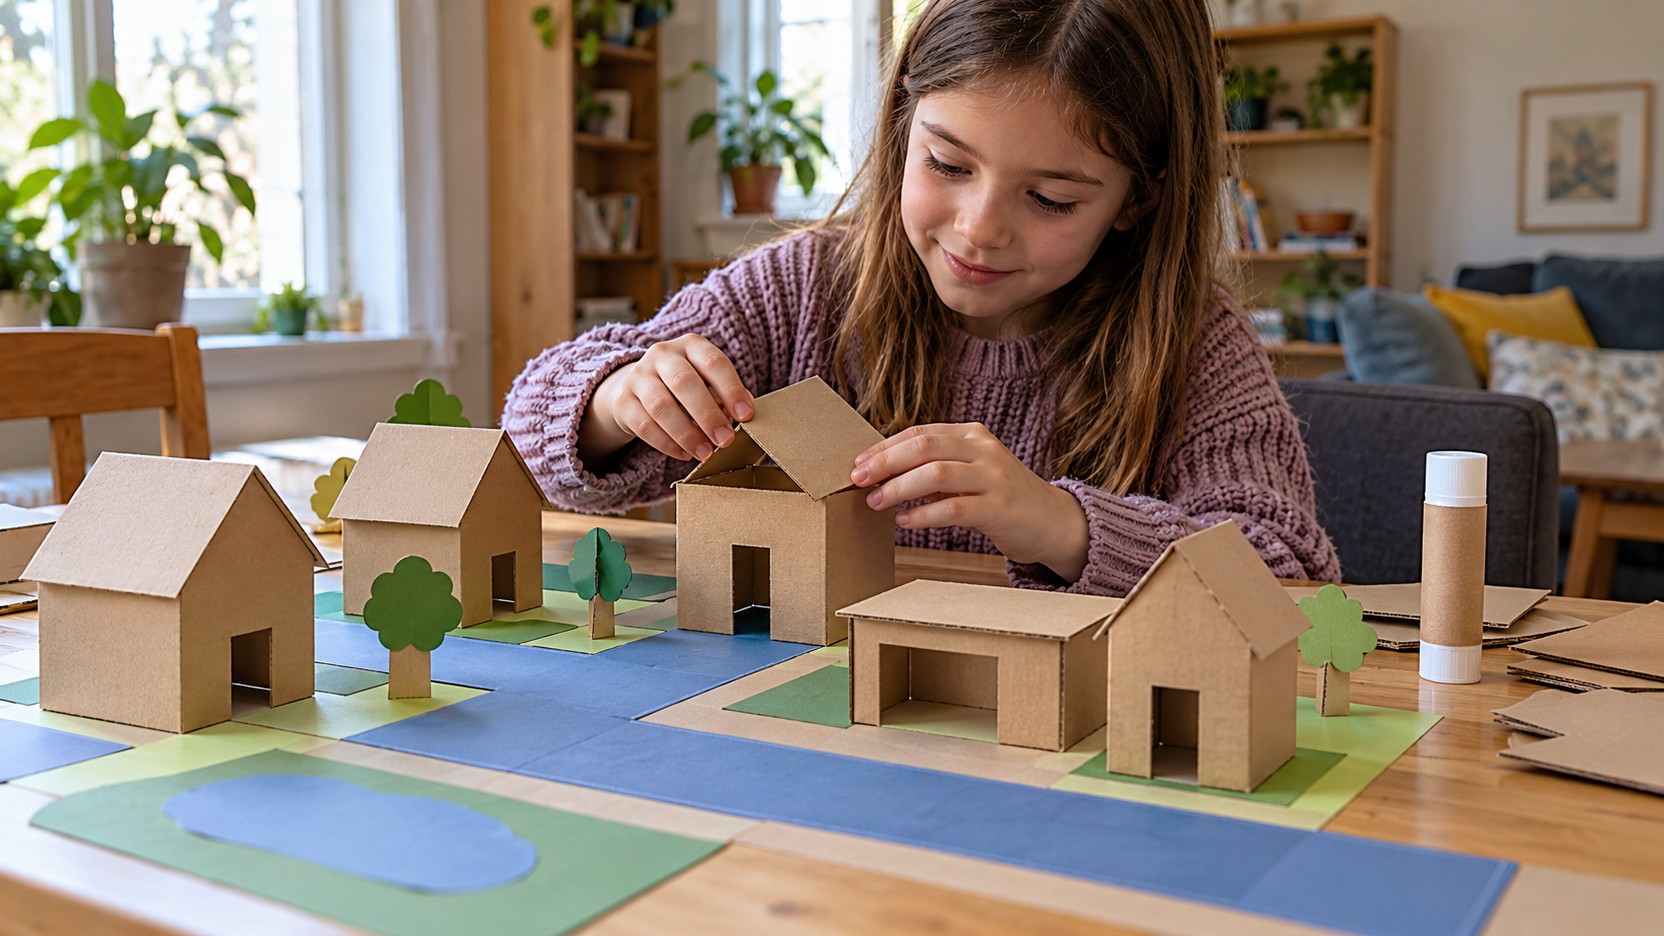
A plain food box can become a small theater, a parking place for toy vehicles, or a house for paper figures. Select clean, dry packaging without sharp staples or damaged edges. An adult can cut an opening if the cardboard resists the child’s scissors. Begin with one feature that changes the box’s purpose, such as a doorway or a stage opening. Additional rooms and decorations can follow after the child has tested the basic idea.
For a theater, stand the box securely and use broad paper characters attached to large craft sticks appropriate for the child’s age. Leave space for hands to move behind the opening. Draw a background on a loose sheet that can be replaced when the story changes. The child might discover that a movable hill is more useful than a beautifully finished backdrop because it allows a character to disappear and return.
Resist attaching every part immediately. A loose roof, removable tree, or folded bench can invite rearrangement. Tape works well for quick trials where the materials allow it, while glue may suit a piece intended to stay fixed. Decide together which elements need strength and which should remain movable. This turns construction into a series of understandable decisions rather than a long stretch of waiting for an adult to fix things.
Make a Picture That Opens to Reveal Something
Fold a sheet in half and draw a simple exterior across the front: a closed door, a shell, a package, or a sleeping creature. Open the paper and add what was hidden inside. Young children may prefer making marks inside and outside without aligning the drawings, while others enjoy placing an exact surprise behind a flap. A larger sheet gives hands room to work. Keep the mechanism to one fold at first so the child can understand why the reveal works. After testing it, invite a second idea, such as a tiny house opening into a huge garden. The craft’s appeal comes from the change between closed and open, so elaborate decoration is optional.
Fix the Join or Fold That Is Stopping the Build
When two parts will not stay together, inspect the contact area first. A wall balanced on its narrow edge may need a folded tab; a tail pulling a creature forward may need less weight or a broader base. Try the repair on a scrap of similar material before changing the main piece. Hold the parts in their intended position and check whether a hand, tape, or suitable adhesive can keep that contact steady.
For a tipping creature with an important long nose, fold a broad paper strip into a shallow V and place it beneath the body as wider feet. Test the creature before attaching the new base. If the feet flatten, use sturdier paper or deepen the fold; if they catch on the tail, shorten only the part that interferes. The child can compare the two bases and choose which movement or appearance they prefer. This turns adult assistance into a repair the maker can see and understand.
Set Up a Shared Craft Table With Separate Working Parts
For a shared paper garden, put a long backing sheet between separate small work mats. One child can tear broad ground patches, another can fold standing flowers, and another can draw movable creatures. Prepare a common paper supply and duplicate the tool that would otherwise stop everyone at once. Keep wet pieces on a separate drying tray before placing them in the shared scene.
Agree on how pieces join the garden. A flower can stand on folded feet, a ground patch can attach flat, and a creature can remain loose for play. Test the tallest piece before filling the backing with other work. If a stem falls, fold a narrow channel into it or add a broad support behind it. Leave enough space for hands to move the loose characters without knocking the standing forms over.
Ask before attaching, trimming, or overlapping another maker’s contribution. Separate pieces can sit beside each other when the children want different scenes. Before stopping, gather each person’s loose parts with their work and identify any join still drying. A shared theme then provides a reason to work alongside one another without requiring identical designs.
Finish With a Clear Place for Everything
Give a short warning before cleanup and identify a reachable ending: finish attaching the wing, then place the creature on the drying tray. Keep unfinished work together with its loose parts in a shallow container. A scrap of paper with a quick sketch can remind the child what they intended to try next. Avoid stacking damp pieces, even when the surface feels dry, because thicker areas of glue may still transfer.
Invite the child to choose what happens to finished work. Some creations belong in play, some can be displayed briefly, and others can be recycled when interest fades. Photographing a bulky project is useful if the child wants a record without storing it forever. Restock the basic tray after cleanup so the next session can begin easily. Home crafting becomes more sustainable when it leaves behind a workable table and a child who knows how to return to an idea.