Choose an Age-Based DIY Starting Project and Its Making Role
Try a standing puppet for preschool, an idea book for early elementary, a two-support comparison for later elementary, or a collection file for tweens. Each example explains the materials, a workable sequence, and the decisions the maker can test. Use the age bands to browse, then match the actual folds, joins, planning, and handling to the child’s experience. Adults prepare difficult tool steps and provide help where needed. The aim is a useful object and a making role the child can understand and carry out.
A: They are flexible starting points; readiness, experience, access needs, and interest guide the actual choice.
A: They can choose meaningful features, arrange broad parts, try familiar actions, and direct accepted help.
A: The purpose makes decisions about size, access, movement, and strength easier to understand.
A: It is a simple trial version used to learn how a proposed feature behaves.
A: No; simple materials can support substantial design, precision, and revision challenges.
A: Teach an appropriate unfamiliar action on spare material before applying it to a valued component.
A: Respond to current needs and identify the particular support that makes participation workable.
A: Yes; clear material boundaries and separate work areas can support different levels of responsibility.
A: The intended place may influence size, removable parts, and whether the object remains usable.
A: Use observed choices and actions the child understands, then transfer one manageable part at a time.
Break a DIY Project Into Different Responsibilities
A build includes more than putting parts together. Someone chooses a purpose, gathers materials, plans a sequence, uses tools, tests a result, and manages the work afterward. A child may be confident in one responsibility and need support in another. Notice those differences before deciding that a project is too young or too advanced. An elaborate-looking object can offer little child ownership if adults carry out most of its construction.
Make the division explicit. An adult might cut thick card while the child marks the intended shape and later tests the join. Another child may gather supplies independently but ask for help remembering the assembly order. Those arrangements can be appropriate. The aim is a clear, increasing share of meaningful decisions and actions rather than a claim that nobody helped at any point.
Preschool, Roughly Ages 3–5: Make a Standing Puppet
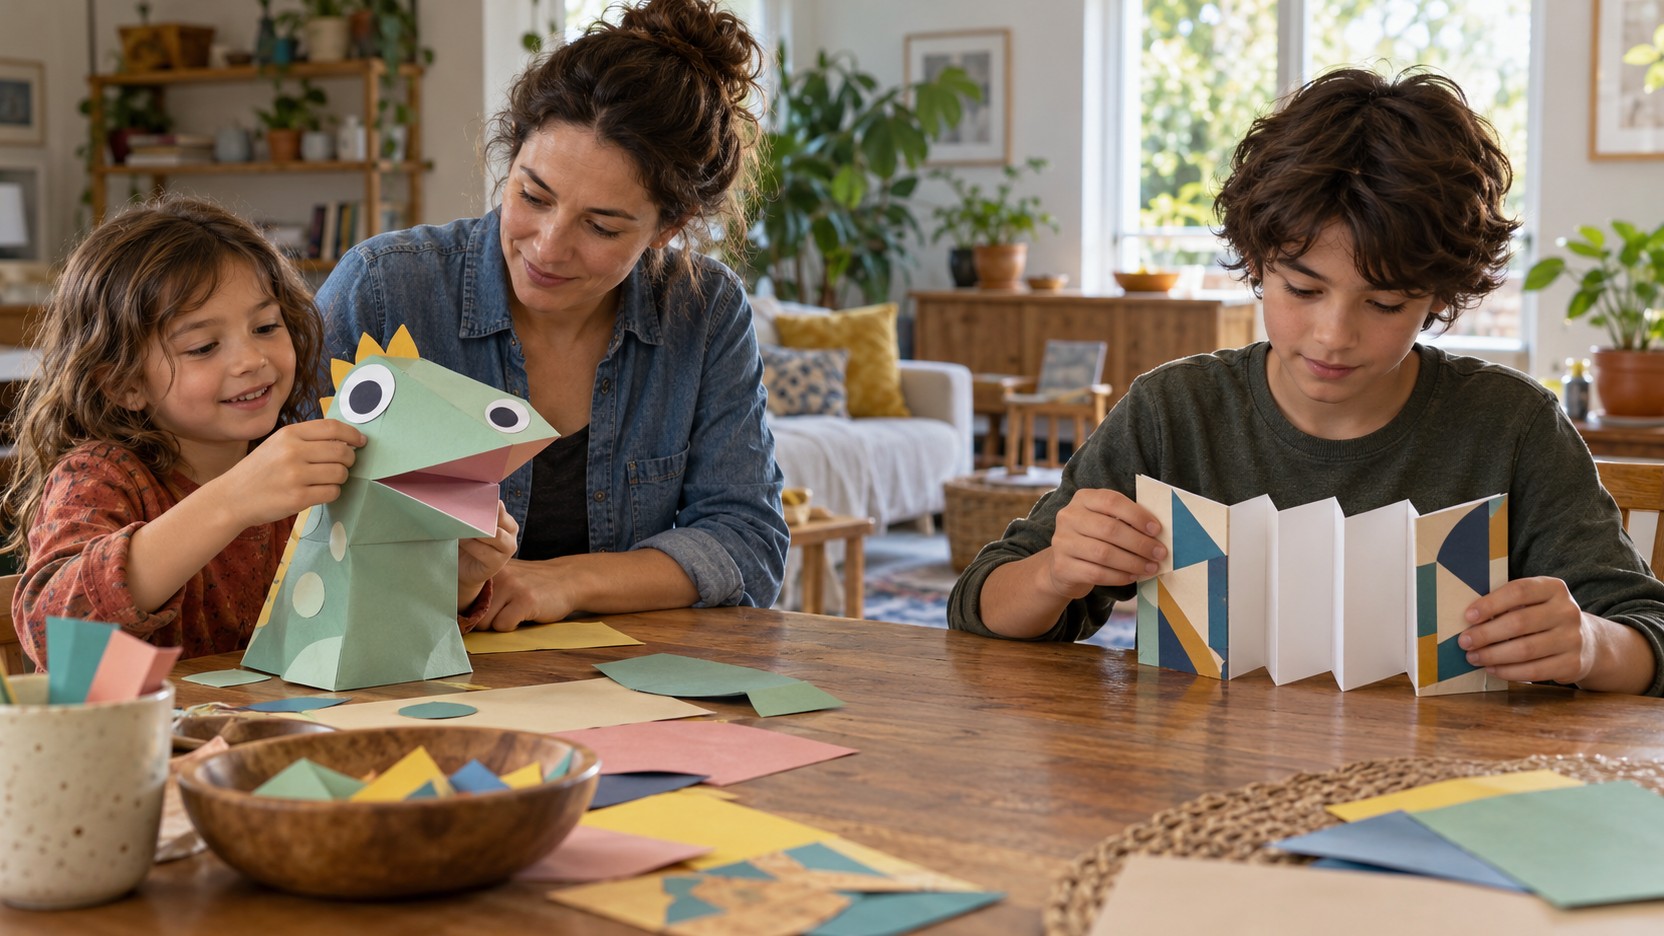
Choose a large paper character, a broad card backing, and two wide feet prepared by an adult where needed. Let the child draw the character before attaching it to the backing. Fold a short tab on each foot and try placing them beneath the body so the figure can stand. Keep the components large enough for comfortable handling, with no loose small decorations for children who mouth objects.
Before attachment, ask the child to choose whether the feet face forward, outward, or one each way. Test that arrangement on the table and notice whether it supports the chosen character. The meaningful preschool decisions are position, expression, and which trial stands; they do not depend on making every cut. An adult can demonstrate the fold on a separate scrap and steady a join while it sets.
Finish with a short puppet scene, then ask whether the character needs a different base for the intended action. Keep the first figure small enough to manage without adding a whole theater. Follow product age guidance and appropriate supervision; the CPSC craft safety guide provides material precautions. These ages describe a starting invitation rather than a deadline for the skill.
Show the Puppet’s Fold, Placement, and Standing Test
Set out the character, backing, and broad feet in their making order. Show a foot fold on a separate scrap, then let the child place the prepared feet beneath the character before attachment. Stand the loose arrangement with help and notice whether the face or tail pulls it forward. Change the foot position or base width and try again. Once the arrangement is chosen, attach with a suitable method and allow required setting time. Keep the first figure available for a short scene before deciding whether it needs another feature. The visible result of each step makes the sequence easier to follow than a long demonstration of the finished puppet.
Early Elementary, About Ages 6–8: Plan an Idea Book
Gather several broad sheets, a card cover, and the sketches or samples the child wants to save. Arrange the intended contents before deciding the page size. Make a loose mock-up and choose where a picture, pocket, or plain drawing page belongs. Adults handle any binding tools or difficult cuts that remain outside safe readiness. The planning job is to connect page layout with the actual use.
Open the mock-up and try placing one actual sample inside. Move a bulky pocket if it prevents closing, or enlarge a page that bends the drawing. For a light folded booklet, an adult can use an appropriate booklet stapler according to its instructions, securing the nested sheets through the fold and checking that the fastenings are fully closed and suitable for the intended reader. A single folded sheet is another option when binding equipment is unavailable. Check every spread before decorating the cover. The child can choose the page order and a useful first pocket while the adult handles assembly. Use the small book for one new idea before adding pages.
Teach One Reliable Construction Method
A familiar joining method can free attention for a new design. Show how a broad folded tab attaches one card surface to another, or how a suitable paper fold creates a stable base. Practice on a small scrap first. The child can compare the joint’s strength and movement before using it on a valued part. Keep the trial material similar enough that the result tells them something relevant.
Let the child decide where the method belongs. A folded tab may support a wall, a tree, or a character, but the maker chooses its position and purpose. Avoid turning one demonstrated technique into a requirement that every project look the same. Understanding a method means being able to use it intentionally, adapt it, or decide that another approach would serve the object better.
When a joint fails, look at the contact area, material stiffness, and weight it carries. A narrow edge may need a broader attachment surface, while a heavy overhang may need a shorter span or different support. Keep tests small and safe. Explain the material limitation plainly, then leave room for the child to choose among workable changes.
Later Elementary, About Ages 9–10: Compare Two Supports
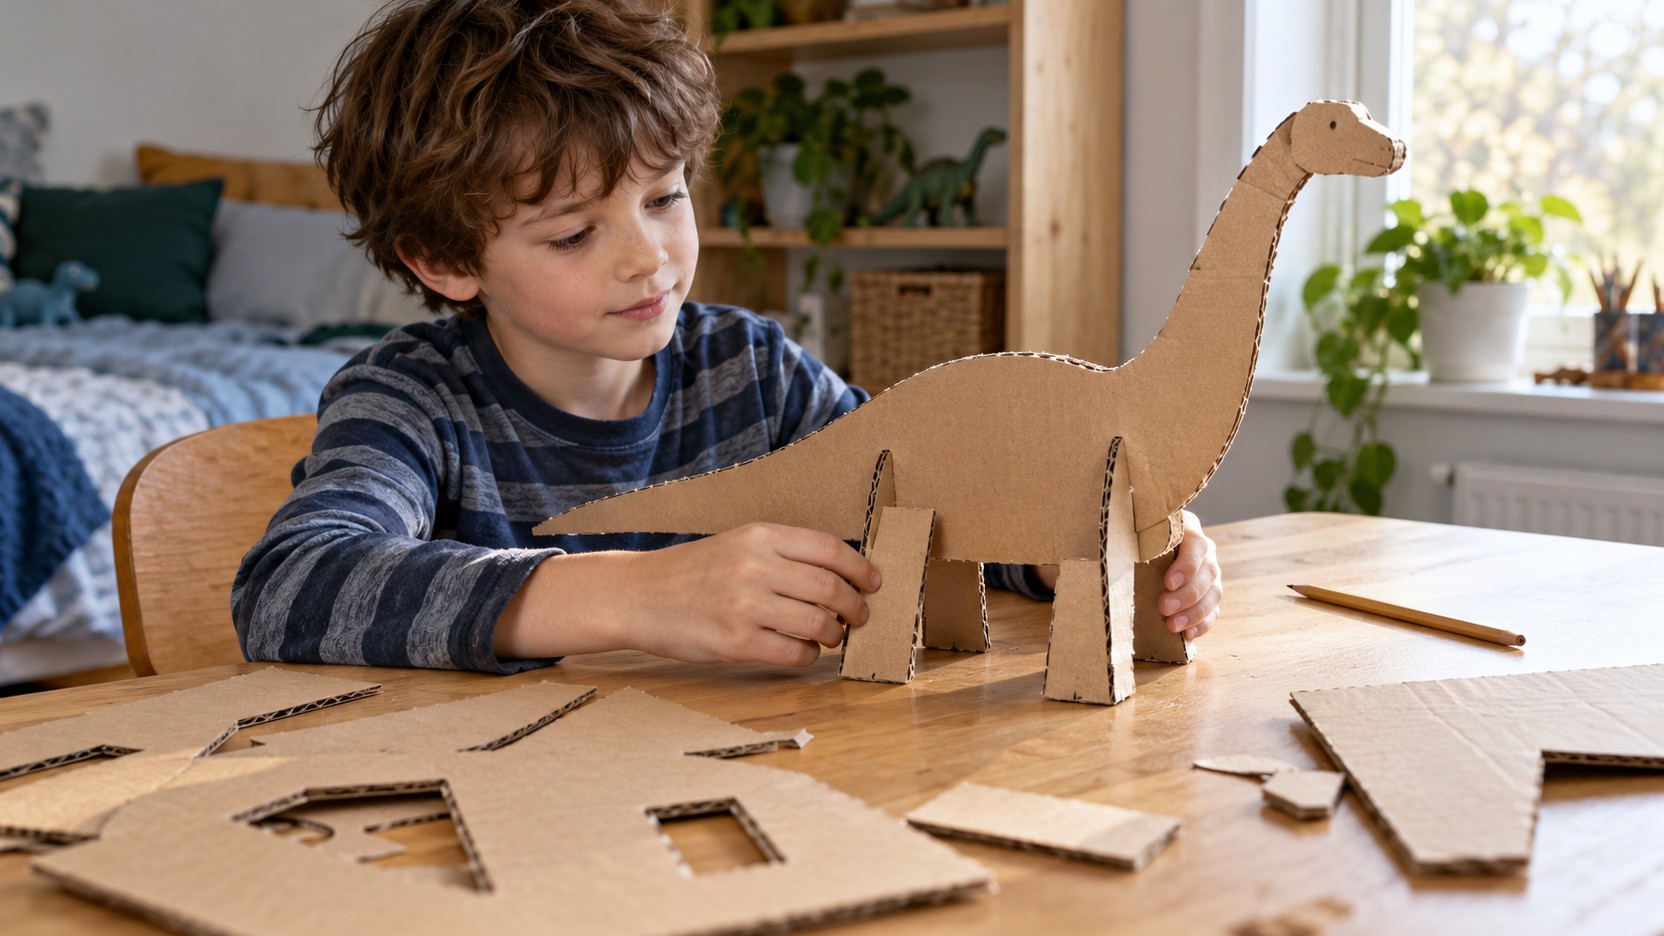
Set a design problem: display the same lightweight picture using two different card supports. Keep materials comparable, sketch each base, and build rough versions before decorating. Place the picture on each at tabletop level and observe stability, viewing angle, and ease of removal. Ask which feature the maker wants to preserve when the supports differ. They might combine the wider base of one with the simpler fold of the other. The challenge is explaining a tradeoff through an actual test, not producing a more elaborate-looking object. Keep craft supports away from heavy or valuable loads.
Tweens, About Ages 10–12: Design a Collection File
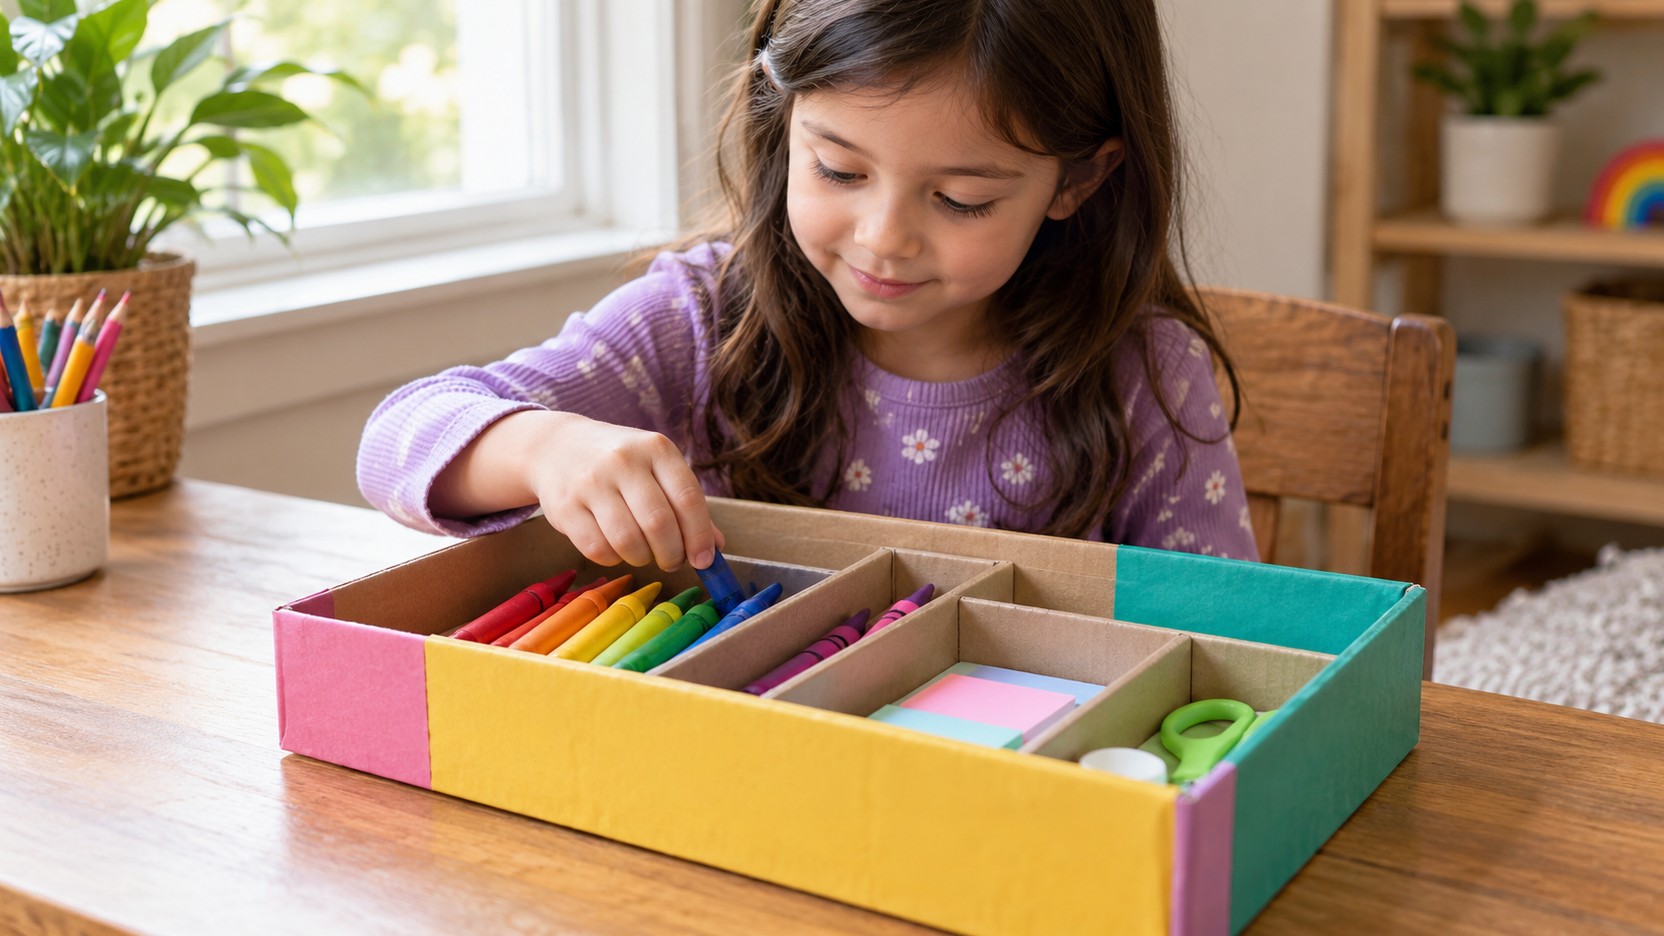
Choose a real lightweight collection, such as original art cards, and a shelf or drawer where it will live. Ask the maker to define the job: keep cards together, make a chosen category easy to find, and fit the available space. Put the collection beside clean card and suitable supplies. The tween proposes the arrangement and chooses whether pockets, dividers, or a removable band would serve it best.
Build one trial compartment before making a whole system. Use the actual cards to test removal and closure, then decide whether the arrangement needs changing. The maker can explain why one feature matters more than another and record a successful dimension for repeating the part. Adults retain tool, spending, and other appropriate boundaries. The broad age bands overlap intentionally: interests, experience, access, and support determine which design responsibility fits this child now.
Teach the New Tool or Join on a Matching Scrap
Choose the unfamiliar physical action before beginning the valued piece. For a card support, the new action may be making a clear crease or judging an overlap; for an idea book, it may be placing a pocket where the pages still close. Use a scrap of comparable weight so the trial behaves like the main material. Demonstrate the action and its intended result.
Check how the child handles that trial. A sliding sheet may need a suitable stabilizing surface, a fold may need a larger paper area, or a joint may need someone to hold it while its position is chosen. Adapt the specific movement and repeat the test. Keep the sample nearby when the child transfers the method to the actual project.
Adults retain tool choices, product instructions, and supervision appropriate to the task. Ask before guiding hands or changing an important part, and show alternatives on separate material where possible. When direct help is needed, name the action you are assisting with. The maker can then continue the arrangement, testing, or design work that the prepared part makes possible.
Use Shared Materials Without Shared Expectations
Siblings can work from the same supply tray while pursuing different responsibilities. A preschooler may arrange prepared scenery, a school-age child may build a stable base, and a tween may plan an expandable system of parts. Give each maker enough room and define which materials are shared. Ask before inviting one child to teach another, especially when the younger child’s work might be changed.
A joint build needs agreed contributions. One person might design a background while another makes movable furniture, but each should have a say in how the pieces connect. If the plans do not fit, discuss an adjustment rather than assigning automatic authority to the oldest child. Separate related projects may be a better outcome than a forced collaboration that leaves one maker with little ownership.
Notice When More Support Is the Right Next Step
Independence is not a straight line across every session. Fatigue, unfamiliar materials, sensory discomfort, or a difficult day may change what a child wants to manage. Offer support without framing it as lost progress. Ask which part needs help and whether to simplify, pause, or stop. A maker who can identify an obstacle and request a useful adjustment is practicing responsibility, even when the practical action is shared with an adult.
Make Storage and Restarting Part of the Design
Consider where the object will live before the build becomes large or fragile. A removable roof, folding base, or separate scenery panel may make storage easier. Let the child take part in that choice. A project that fits the household is more likely to remain available for use and development. Keep wet components safe and separate until ready for handling.
For unfinished work, gather the parts and save a clear next action. A sketch, a photo taken with permission, or a short child-directed reminder can preserve the plan. The reminder might show a joint to reinforce or a part to test. Returning becomes easier when the child does not need an adult to reconstruct every intention from memory.
Sort reusable parts by their next likely job: broad card for supports, clean sheets for pages, and suitable strips for joining trials. Keep an unusual component with the sketch that explains its intended use. Remove damaged or excessive pieces so the next gathering task stays manageable. A small visible supply is easier to choose from than an overflowing mixed container.
Look for Growth in Decisions, Not Age Labels
Notice what the child now initiates, plans, tests, and changes. A preschooler may begin choosing where supports belong; a school-age child may compare two joins; a tween may revise a brief after finding a material limitation. Those developments are more informative than whether the finished object appears sophisticated. Ask the maker to show one choice they understand better now.
Use that evidence to transfer one manageable responsibility at the next opportunity. The child might gather the right paper, prepare a visual sequence, or organize a safe test. Keep adult-only tasks explicit and allow familiar projects to remain enjoyable. Age provides a broad starting point, while the individual maker’s intentions and readiness determine how DIY responsibility grows.