Make an Easel, Folding Scene, or Original Picture Game
Browse fifty paper and cardboard ideas in the expandable collections, then follow the worked examples for a picture easel, concertina scenery, and matching cards. Each begins with a purpose you can test: a drawing stands, a scene folds, or a partner recognizes a matching pair. Prepare difficult cuts and tools as an adult, and show the fold or join before the maker uses it on the main piece. The later sections explain repairs, flat storage, and how to check the finished object through ordinary use.
A: Adults can prepare unsafe or difficult tasks while the child controls the manageable making decisions.
A: Look for substantial planning, assembly, testing, and design choices after adult preparation.
A: A specific request such as steadying a base or demonstrating a fold can preserve ownership.
A: Yes; selecting, arranging, joining, and testing broad prepared parts can involve real design work.
A: Ask first; an adult improvement may change something the maker intentionally chose.
A: Try its intended lightweight contents on a stable low surface and observe the base.
A: Keep tasks beyond the child's safe readiness with an adult and explain that boundary clearly.
A: Save the parts together with a sketch or specific reminder of the next action.
A: Let it be complete; extra complexity and decoration can remain optional.
A: Notice initiating, making choices, requesting targeted help, revising, and managing the work area.
Prepare the Materials Around the Working Feature
For an easel, set out sturdy card and the lightweight picture it will display. For scenery, choose a strip that folds and stands without collapsing; for matching cards, prepare broad pieces that can be handled comfortably. Keep spare material of the same type beside the work for a trial fold or mark. The intended use tells you which material features matter before decoration begins.
Divide preparation clearly. An adult handles thick-card cutting, sharp tools, or difficult openings, while the maker can mark positions, arrange components, fold manageable paper, and test the result. Follow product instructions and suitable supervision throughout. Prepare only what the next construction action needs, so a small working base or first card pair can be tried before the whole collection is made.
Let the Maker Choose a Purpose
Ask what the child wants the object to do. A model might need to stand, a paper mechanism might need to open, and a desk item might need to hold a particular lightweight object. The purpose gives the child a way to judge a result beyond whether it resembles an example. Offer two manageable possibilities when an open choice feels overwhelming. The maker should be able to explain or demonstrate why they selected the project, even if the answer is simply that the action looks enjoyable.
Make a Picture Easel From One Folded Card
Gather sturdy card, suitable tape, and a lightweight drawing. An adult prepares difficult cuts if a broad strip is needed. Place the drawing beside the card to judge its height, then fold the card into a low triangular support with an overlapping closing flap. Keep the first fold broad enough that the support has a useful base. Test the shape loosely before attaching the flap.
Put the drawing against the sloping face at tabletop level. Ask the maker what happens when the picture is taller or wider than the support. A broader base or smaller display may fit better than repeatedly adding tape. Secure the flap only after choosing a working arrangement, then keep the picture removable so the easel can display another drawing later. Use lightweight contents and a location away from table edges.
If the closing flap slides, mark where its two surfaces should meet and compare whether the overlap is broad enough. Test suitable tape or adhesive on similar spare card before securing the main support. Keep the bottom face flat and check that a folded edge is not lifting one corner. The CPSC craft safety guide and product instructions can help with material and tool selection. Once the support stands, decorate only the surfaces that do not interfere with its fold or picture contact.
Create Folding Scenery and Original Play Cards
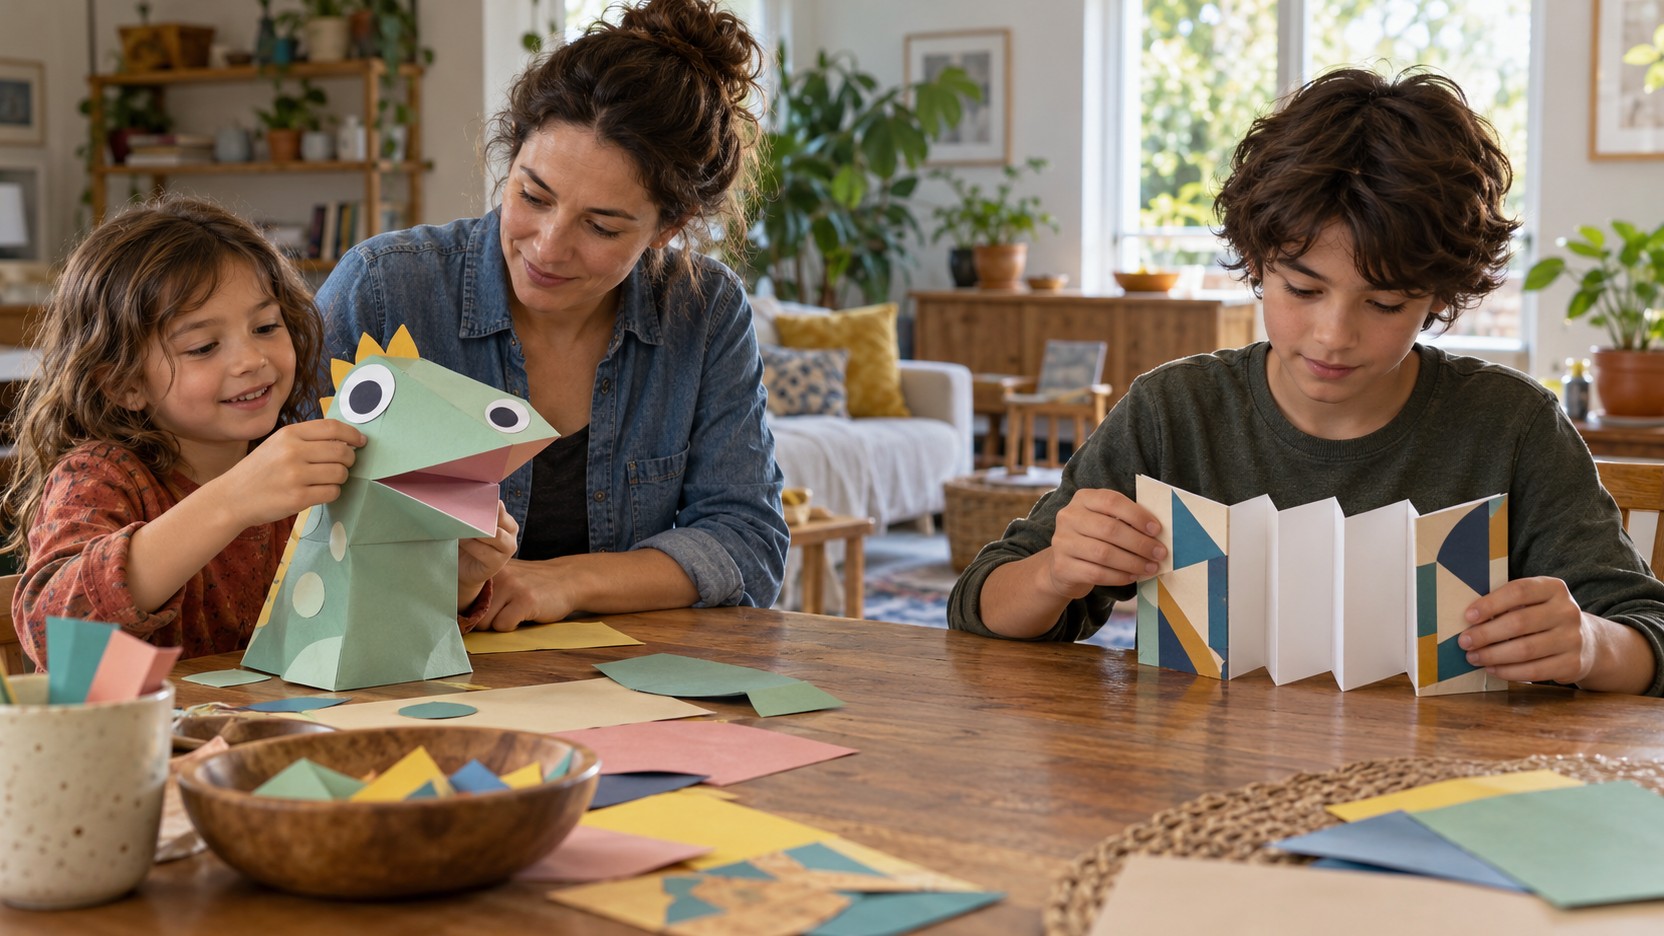
Concertina scenery needs a broad sturdy paper strip and familiar drawing tools. Fold the strip into a zigzag, open it so it stands, and mark which panels face the viewer. Draw a horizon across those panels or make each one a different room. Test the folds before attaching raised details; broad removable characters can pack beside the scene. Finish when the setting stands and folds again without crushing the parts the maker wants to keep.
Picture matching cards start with broad adult-prepared card pieces and a theme chosen by the child. Draw pairs that relate clearly: two versions of an invented creature, two views of a favorite place, or a character and its home. Lay the cards face up and ask a willing partner to match them. If a relationship is unclear, the maker can add a shared feature or explain an intentional surprise. The first game tests the design without requiring a large complete deck.
Use Trial Pieces Before the Valued Parts
A scrap test lets the child explore a join, fold, or opening without risking the main construction. Keep a few similar materials beside the work so the trial behaves realistically. A thin-paper sample will not reveal exactly how stiff cardboard bends. Ask what the test needs to show, then let the child compare the result with that purpose. If a method does not work, the small trial becomes useful evidence for choosing another one rather than a failed finished project.
Make Testing Specific and Safe
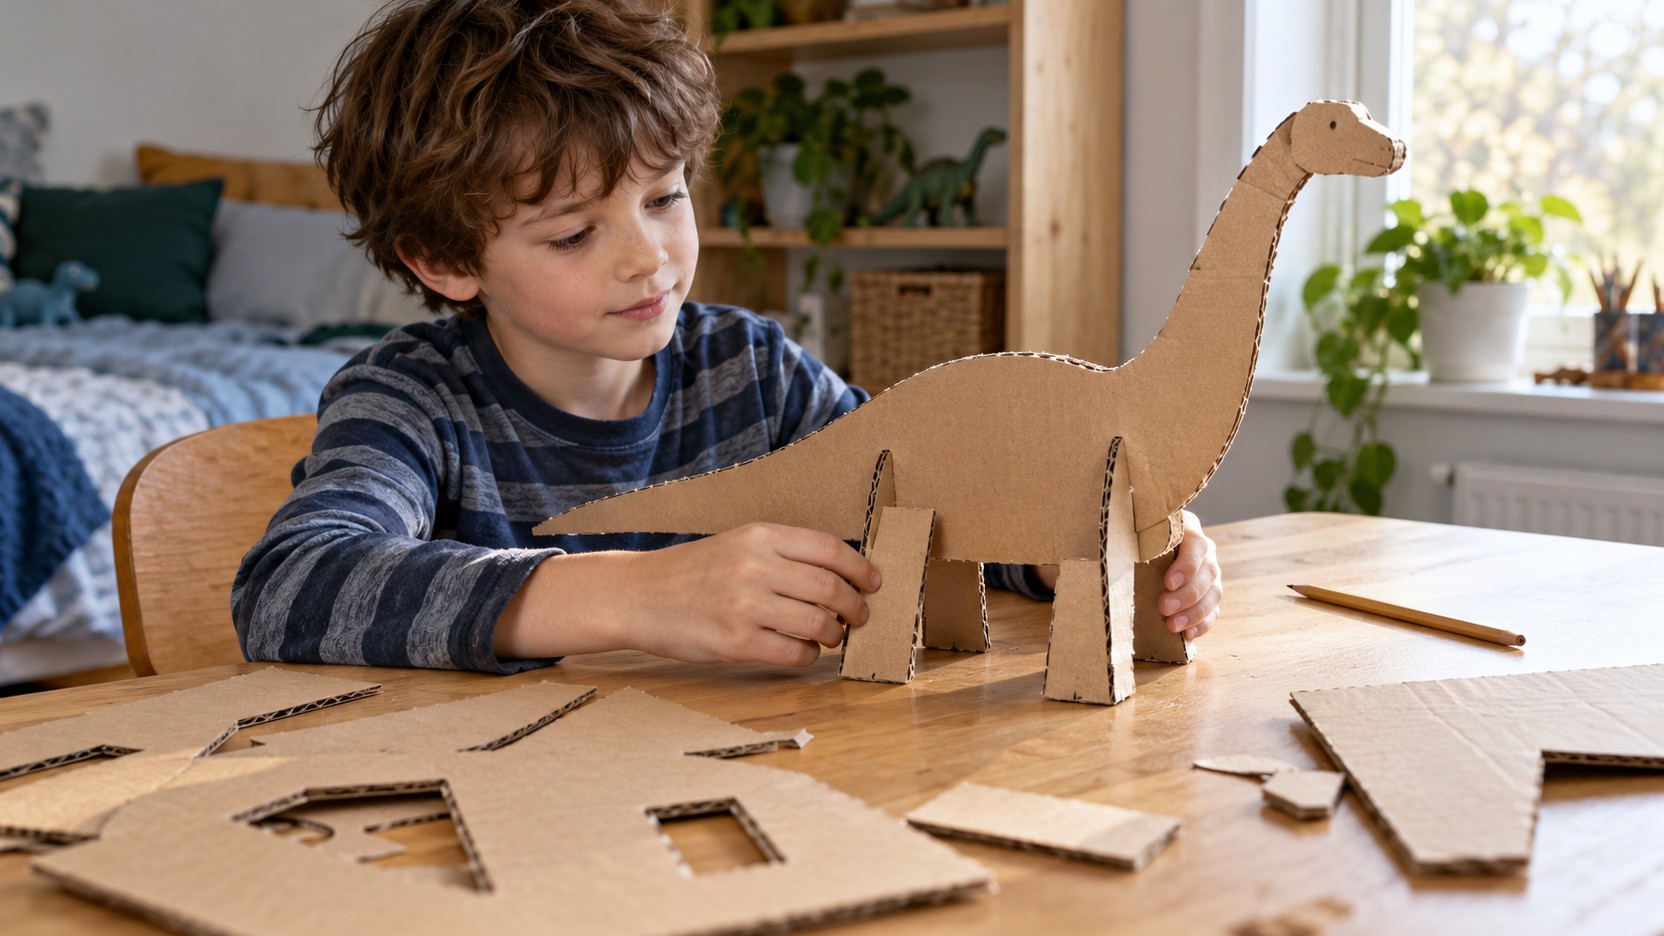
Test the feature the object was designed to provide. Does the stand remain upright with a lightweight picture? Can the flap open without tearing its hinge? Does a slot hold the broad leg panel firmly enough for a tabletop model? Use gentle ordinary handling and keep models away from situations where failure could cause harm. Homemade card structures are not climbing equipment or supports for valuable heavy items.
Describe the actual behavior instead of declaring the whole object good or bad. A leg may slide out, a base may be too narrow, or a lid may catch at one corner. The child can choose a focused change in response. Widening a foot or shortening a heavy extension may be more useful than adding layers of decoration or adhesive indiscriminately.
Keep revisions manageable. Ask which feature matters most and test one change at a time. A child who wants to preserve a long neck might try a broader base instead of cutting the neck down. Those alternatives belong to the maker. Adult guidance can identify a material limitation while leaving room for a design decision about how to respond.
Repair a Paper Hinge or a Catching Flap
For a flap that tears along a narrow fold, compare the moving panel’s weight with the hinge area. A broad paper hinge can spread the contact across more of the panel and backing. Position a spare strip loosely first, checking that it bends where the flap needs to open. Use a suitable joining method and let the material set as directed before repeating the movement.
For a flap that catches, identify the point of contact before adding reinforcement. A raised decoration may cross the fold, or one edge may scrape a neighboring wall. Move or reduce the interfering feature on a trial piece while keeping the opening action visible. Open and close the revised flap several times with ordinary gentle handling. If the paper has weakened through repeated repairs, replace the hinge rather than burying it in more layers.
Keep the Build Easy to Fold or Pack
Test storage while the construction is still rough. Concertina scenery should close without crushing raised details, an easel should fit its intended shelf or pack flat where the design allows, and picture cards should slide into a suitable broad pocket or box. Keep a tall tree or character removable if it blocks the fold. Place the loose pieces beside the folded structure and check that everything fits the proposed container. This can reveal a useful size change before paint or decoration makes the parts harder to alter. The first version is complete when it works in play and can be put away.
Save Progress So Restarting Is Possible
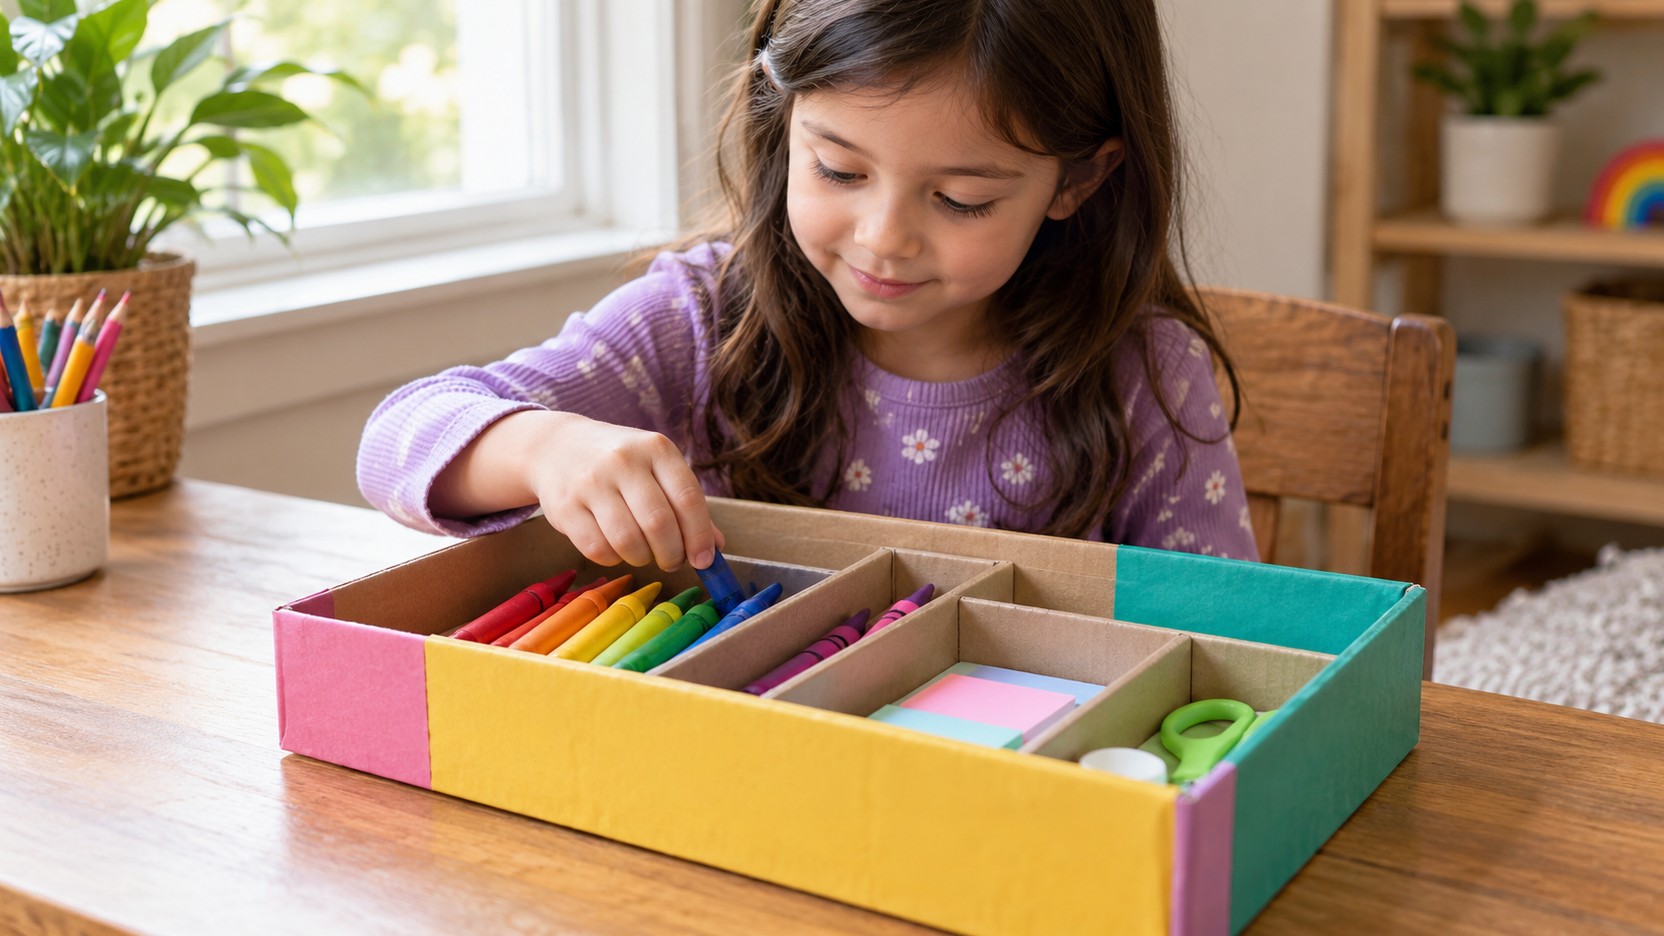
Keep the unfinished project and its parts together in a safe container. Let damp sections dry separately where necessary. A quick sketch or a child-chosen reminder can preserve the next action: widen the stand, make another slot trial, or add a removable cover. The reminder should be specific enough to restart without an adult reconstructing the whole plan.
Discuss where the project may remain between sessions. A dining table may need to be cleared, while a protected shelf can hold a small model. Plan storage before the object becomes too large for the available space. Independence includes knowing how work fits into a shared household, and a predictable storage place reduces conflict about moving or dismantling something important.
Make Cleanup Another Manageable Part of the Project
Choose tasks the child can carry out with suitable supervision: gathering broad scraps, closing appropriate containers, returning familiar tools, and wiping the protected area according to product guidance. Keep sharp or difficult cleanup tasks with an adult. Demonstrate the routine before expecting it to happen automatically. A clear ending helps the maker understand the whole activity from setup to storage.
Sort leftovers according to likely use rather than keeping every fragment. A few broad useful pieces are easier to manage than a large mixed pile. If a child wants to save an unusual offcut for another idea, give it a defined place. The goal is an accessible collection that supports the next project, not a storage problem that makes independent setup harder.
Keep one small working sample if it will help the next construction. A broad tab, a tested hinge, or a strip showing the preferred fold width can sit beside the suitable spare card. Store it with the project name or a child-directed sketch of its use. The sample is most useful when another session can see which surfaces joined and where movement remained free.
Use the Fifty Projects as Starting Points
The collections below offer paper folds, prepared-part constructions, original play objects, practical personal items, and small display pieces. Each can be simplified or extended according to the maker. Choose the unfamiliar demand deliberately and keep the rest understandable. A child does not need to complete all fifty, and repeating a favorite with a new design choice can offer a more meaningful challenge than constantly starting from scratch.
Use a Short Play Test to Check the Finished Design
For the easel, place the intended lightweight drawing against it and retrieve the drawing again. Watch whether the support stays upright and whether a finger can reach the picture without collapsing the base. Try the same action in the actual display position. A working angle on a large table may still take too much depth on a narrow shelf.
For the folding scene, open the panels and move the intended character through the setting. Check which panels face the viewer and which details disappear behind a fold. Close the scene slowly and notice any part that catches. A removable feature or a shifted drawing may solve the problem without rebuilding the entire strip.
For the matching cards, offer a small group of face-up cards to a willing player and ask them to identify the pairs. Notice which shared feature makes the connection clear. If two different pairs look alike, change one visible feature or explain the intended relationship. Test the revised small set before making enough cards for a longer game.
Start the Next Version With the Feature You Want to Change
Choose one useful revision from the play test: a broader support, a removable scenery part, or a clearer matching clue. Keep the working portion beside the new material so its size and function remain available for comparison. The next build can then begin with a concrete change rather than another full set of instructions.
Let the maker gather familiar suitable materials or mark the next fold where that action is manageable. Keep adult tool tasks explicit and provide the needed help. Return to the same ordinary-use test after the revision. A paper build becomes more useful through a change the maker can explain, see, and try.