Make Art With Existing Supplies, Reusable Parts, and a Clear Finish
Start with the paper, tools, and suitable materials already in use, then choose whether the project needs permanent attachment. A loose paper garden can be rearranged several times; a gift may need a durable join; and a paint study can begin with small portions that are replenished as needed. This guide explains those choices through practical setup, making, storage, and cleanup. Use the examples to reduce unnecessary purchases and leftovers while retaining enough material for trials, changes, and the artwork the child wants to make.
A: Consider the whole activity, including added materials, usefulness, storage, and disposal.
A: Yes; arranging, comparing, and revising can be the purpose even when components are later reused.
A: Purposeful trials support learning; use suitable test areas without making experimentation feel forbidden.
A: No; check identification, condition, location rules, and suitability for handling.
A: Use suitable permitted materials without disturbing living plants or habitats, or choose observation drawing instead.
A: Begin with manageable amounts and make more available when the child needs it.
A: Local acceptance and attached materials matter, so check the actual rules.
A: Confirm that a recipient wants the clean usable materials before donating them.
A: Choose storage and records with the maker; temporary and dismantled work can still be valuable.
A: Choose one concrete sustainable habit that fits the next session and build from there.
Start With the Materials Already in Use
Look through the current supply with one project in mind. For a paper garden, choose a broad backing, suitable offcuts for stems and flowers, familiar drawing tools, and an appropriate adhesive only if the work will be kept assembled. Set aside products that are damaged or no longer usable according to their instructions. Begin with the available shapes rather than preparing a shopping list for a photograph of another project.
Group the useful materials at the work area. Keep broad paper separate from narrow strips, set the clean tools within reach, and leave a place for parts returning to the supply. Check containers and caps before opening another product of the same type. A small visible selection makes both choosing and putting materials away easier.
The EPA’s reduce, reuse, and recycle education offers a wider context for these household choices. In this session, the observable actions are smaller: use a plain reverse side, return loose components, or clean a brush before paint dries into it. Choose one action you can carry through from setup to the end. Its practical value should be visible in the supplies available next time.
Choose the Experience Before Choosing New Supplies
Ask what the child wants to explore: arranging color, building a form, making a mark, or telling a visual story. Different materials can serve the same purpose. A child interested in arrangement may enjoy a loose paper mosaic without permanent attachment, while someone who wants a keepable gift may need a more durable format. Clarifying the experience can prevent buying supplies that add novelty without contributing much to the activity. The choice remains creative because the maker decides what matters in the work.
Use Paper According to Its Actual Possibilities
Offer plain reverse sides of suitable used sheets when appropriate, after screening for private information or unsuitable content. Save broad offcuts that have a clear likely use rather than every tiny fragment. A larger sheet can hold several studies, while a narrow strip may suit an accordion experiment. Let paper shape influence the project instead of repeatedly trimming everything to a standard rectangle.
Match a scrap to the trial it can actually answer. A small patch can test a color, while a broad strip can test an accordion fold or the contact area of a tab. Use similar paper weight for a structural trial so the result is relevant to the main piece. Keep the successful sample beside the working material and return a clean unused portion to the supply. This gives practice paper a defined role without requiring every test to become part of the finished image.
Try Temporary Art When Arrangement Is the Main Interest
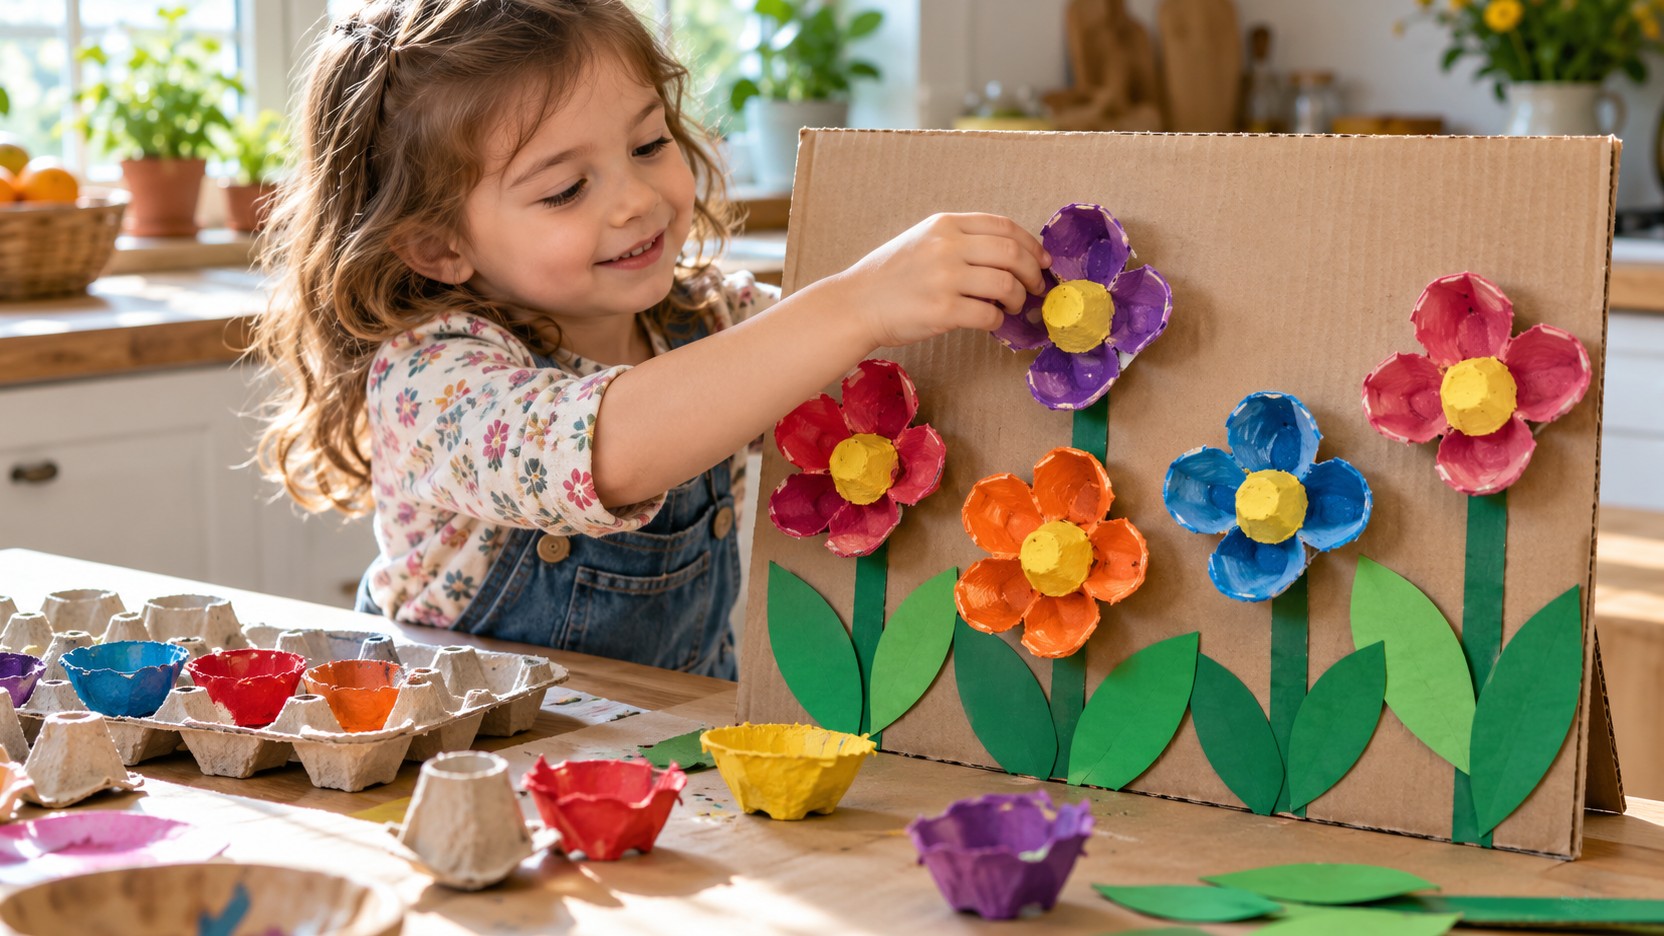
Try a fifteen-minute paper garden using a backing sheet, broad offcuts, and familiar crayons. Spend the first few minutes choosing a ground shape, a stem, and two larger flower shapes, then arrange them without adhesive. Move one flower to compare a crowded corner with an open space, and draw a small trial of the preferred arrangement on the reverse of an already used sheet. In the last few minutes, the child chooses whether to keep the arrangement with a small amount of suitable glue or return its pieces to the paper supply. This session needs no new kit, and the decision about keeping the work follows what the maker wants to do with it.
Agree on the ending before clearing the arrangement. The child may want to keep the loose pieces together for another version, make a quick drawing of the layout, or approve a photograph before parts return to use. Show which tray receives the reusable components and which area holds the backing. A known destination makes dismantling part of the process rather than an unexpected interruption.
Temporary formats can also support repeated experiments. Move one large shape, compare two color groupings, or build several versions from the same pieces. The ability to revise without consuming another full set of materials can become part of the artistic challenge. Keep the pieces manageable and store them where their next use is easy to begin.
Collect Nature Materials With Care
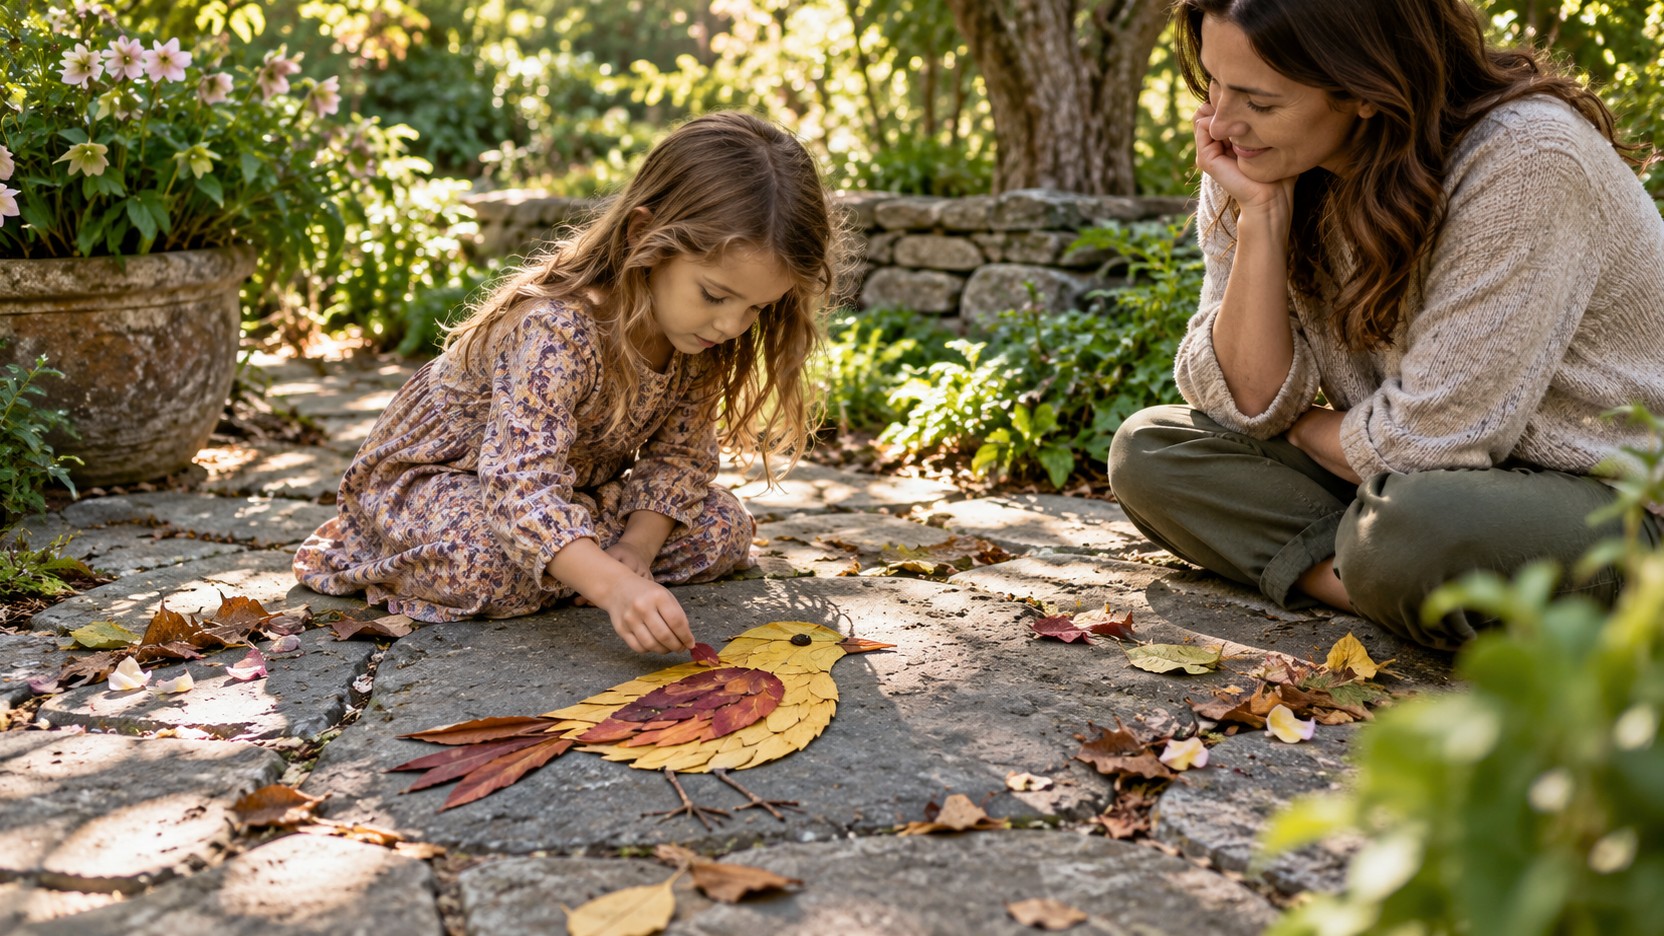
Use only materials that are suitable, permitted to collect, and safe for the child to handle. An adult should identify unfamiliar plants and avoid irritating, sharp, contaminated, or otherwise uncertain items. Fallen leaves and petals may offer a starting point where collection is appropriate, but leave living plants, nests, animals, and habitat features undisturbed. A nature-art activity does not require gathering a large bag of objects.
Choose a temporary surface and a modest composition. A leaf bird, a color pathway, or a comparison of shapes can be made and then dismantled without adding plastic, adhesive, or paint to the outdoor setting. Follow the location’s rules and do not leave craft materials behind. The child can use observation drawings instead when collecting is not suitable. Looking closely is also a way to engage creatively with nature.
Keep Natural and Reused From Becoming Automatic Safety Labels
A natural object can still be sharp or irritating, and a reused container can still carry contamination. Screen materials according to actual condition and intended handling. Use appropriate children’s art supplies as directed, with supervision that fits the participants. The CPSC craft safety guide is a useful reference. Environmental intentions do not replace practical material selection, and a safe suitable purchased supply may be the right choice when the available substitute is uncertain.
Decide Which Parts Need to Stay Attached
For the paper garden, arrange the ground, stems, and flower shapes without glue first. If the child wants to compare several layouts, keep the pieces loose and give them a tray for returning parts. If the picture is intended for display or a gift, choose an appropriate joining method after the layout works. The planned use determines which attachment is necessary.
Test one joint with spare material before attaching every flower. A thick raised piece may need a different contact area from a flat paper patch. Keep folds or removable parts free if they need to move. Add only the layers that contribute to the intended image or function, checking that the backing can still be handled as planned.
Think about later separation while the pieces are still easy to change. A loose landscape can return to the supply after an agreed finish, while a permanent mixed picture may need different disposal handling. Check local guidance for the actual materials rather than assuming the same route fits both. This design information helps you choose an attachment that serves the work’s expected life.
Care for Tools So They Remain Useful
Set up a clear place for brushes, palettes, and suitable reusable applicators. Clean them according to product instructions before paint or adhesive makes the task harder. Store tools in a way that protects working parts and lets suitable wet items dry. Keep art tools separate from food-use utensils. Involve children in the manageable parts of care so they can see how preparation affects the next session. A reliable familiar tool often offers more creative possibility than a succession of damaged replacements.
Put Out a Working Portion and Refill When Needed
Begin a small painting study with a modest portion of each chosen color and space for a clean mixture. Keep the supply available for an adult to replenish as the picture develops. When a portion becomes mixed with other colors, compare whether it still serves the painting before adding more. This keeps the usable colors visible and makes the next addition deliberate.
Provide a scrap area for printing, color, or joining trials. A test that shows how much paint a tool needs can guide the next mark on the main sheet. Keep a useful sample beside the palette or paper supply. The materials then support learning through a specific trial rather than requiring the child to predict every result in advance.
Plan for Sharing and Storage
Choose what is worth keeping in conversation with the maker. A few meaningful examples, a selected prototype, or a photograph taken with permission may preserve the important part of a large project. Storage should fit the household and leave room for future making. Avoid creating a rule that every reused craft must now be kept forever to justify its creation.
When supplies are no longer needed, consider whether another person or organization genuinely wants them. Ask about accepted materials before donating, and provide clean usable items rather than transferring a disposal problem. A smaller useful supply can be more welcome than a mixed box of uncertain products. Sharing works best when it responds to an actual request or need.
Repair and adaptation can extend the life of a favored object. A loose joint may need a focused fix, while an outgrown design may become a new project. Let the child participate in deciding whether continued repair makes sense. The goal is thoughtful use, not preserving an object at any cost when it no longer serves a purpose.
Check Disposal Guidance Instead of Guessing
Rules for paper, coated packaging, mixed materials, paint, and other supplies vary by location. Consult local collection guidance and product instructions rather than assuming that anything labeled craft or natural belongs in recycling or compost. The EPA common-recyclables guide provides a starting point for finding appropriate options. Keep uncertain leftovers contained safely while an adult checks what applies.
Discuss the result honestly with children. A heavily mixed piece may not be accepted where a plain card sheet would be, and a temporary arrangement may offer an easier path to reuse. That information can guide the next design without diminishing the value of the artwork already made. Learning includes noticing a tradeoff after the fact and choosing differently when another opportunity comes.
Use the Next Session to Check What Was Worth Keeping
Return to the supplies from the previous session and inspect the part you changed. Are the loose garden shapes still easy to find, did the brushes dry in usable condition, or was the smaller paint portion enough to begin? Choose through those observations. A storage change may be more useful than another purchase.
If the system was awkward, revise its physical setup. Put broad reusable shapes in a shallow tray rather than a deep mixed bag, or keep clean tools beside the paper they will be used with. Explain the new location to the people sharing the supply. Keep only the reminder needed to make the next gathering and cleanup straightforward.
Begin the next picture with the useful material or technique you preserved. It might be another loose arrangement, a print made with a cleaned tool, or a new image on suitable paper already available. Keep the making playful and the follow-through manageable. A thoughtful art habit is easier to sustain when its benefit appears in the next session’s usable supplies.