Choose a Reused-Material Craft Through Its Existing Shape
Paper scraps can become a river, clean envelopes a row of houses, molded-paper curves a flower relief, and broad fabric pieces a loose landscape. Browse fifty ideas in the expandable collections, then use the worked examples to choose materials, arrange the parts, and test the joins. An adult screens the supplies and prepares difficult cuts. Keep the material’s useful fold, ridge, or texture visible in the design, and decide whether the finished work will remain loose, become a picture, or join a game.
A: They mainly reuse materials directly before disposal or collection, rather than processing them into new raw material.
A: Keep a selective clean supply that fits the household and has likely creative uses.
A: Reject visibly dirty or otherwise unsuitable material and choose a clean alternative.
A: The existing feature can contribute texture or structure instead of being treated as something to hide.
A: Try suitable large-piece collage or temporary arrangements, with adult preparation where needed.
A: Give each component a specific role and avoid adding materials without a useful purpose.
A: Temporary layouts and removable parts can preserve options for rearrangement and later separation.
A: Keep them designated for art rather than returning them to food-contact use.
A: Check local acceptance and consider attached coatings, adhesives, and mixed materials.
A: The child can retain discoveries about texture, structure, joining, and design decisions.
Match the Available Material to a Project
These activities reuse suitable household materials rather than process them through industrial recycling. Begin with a material you already have and a feature it offers: a paper crease, a broad panel, a curved molded form, or a fabric fold. The project should use that feature for a visible job. Check the material’s condition and intended handling before making the selection.
| Available material | Feature to use | Worked project |
|---|---|---|
| Clean paper scraps | Torn edges and broad color areas | River banks around an open channel |
| Empty screened envelopes | Existing faces and flaps | A row of different house fronts |
| Suitable molded paper | Raised curved forms | Flowers on a relief backing |
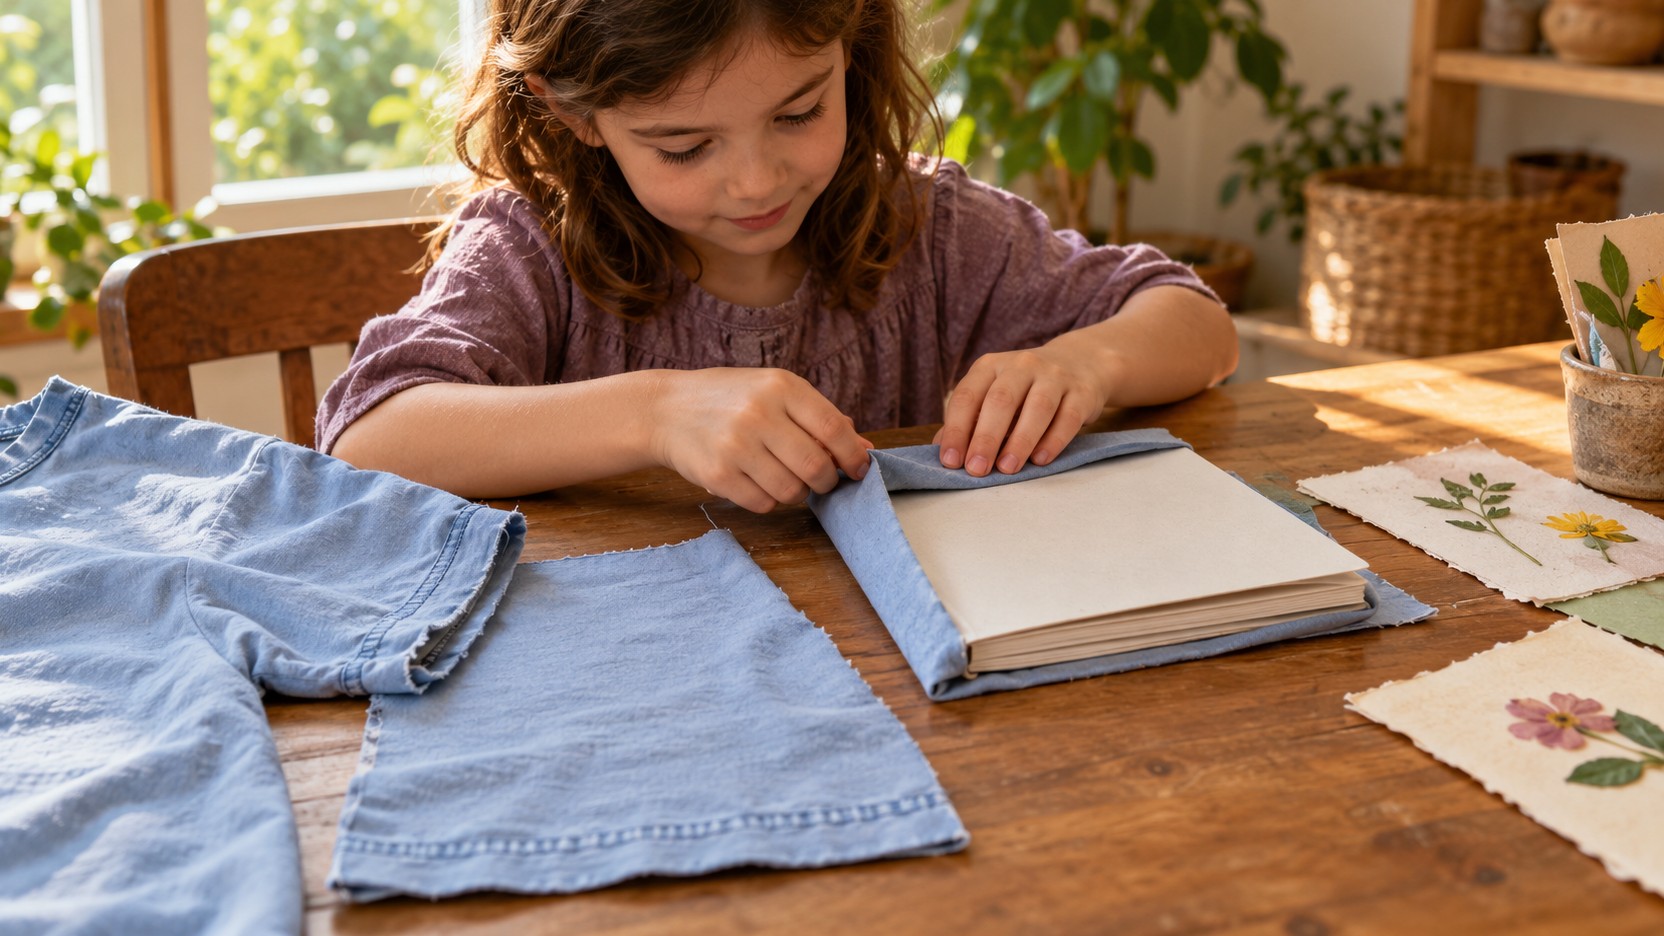
| Clean broad fabric pieces | Drape, pattern, and soft folds | A loose landscape or texture portrait |
Build a Selective Collection Rather Than a Packaging Mountain
Save a modest range of useful shapes: broad card panels, clean paper, sturdy boxes, and suitable fabric pieces. Group them so the child can see what is available. A shallow container of flat sheets may be easier to use than a deep mixed bin. Choose storage that fits the household and review it regularly. Damaged or excessive material can leave the collection without ending the possibility of future reuse.
Do not buy a packaged item solely to obtain a craft component if an available alternative serves the same purpose. Let missing supplies change the project. A broad folded paper shape might replace a molded component, or a flat collage may suit the material better than a sculpture. The interesting question is what the existing supply can become, not how to reproduce a photograph regardless of the resources required.
Screen Materials for Children’s Use
Reject dirty, greasy, moldy, sharp, or chemically contaminated material. An adult should remove staples, inspect edges, and prepare difficult cuts. Select any food packaging carefully according to its condition and household hygiene needs; visibly soiled cartons are not suitable art supplies. Avoid assuming that natural-looking paper or reused plastic is safe simply because it has been kept out of the bin.
Use age-appropriate tools, adhesives, and paints according to their instructions. The CPSC craft safety guide can help with selection. Keep small loose parts away from children who mouth objects and from younger siblings. Larger components can often carry the same design idea while being easier to hold and supervise.
Keep art materials separate from food-contact use once they have been painted or glued. A container that becomes a paint tray should remain an art tool rather than return to meal preparation. Explain the distinction to children when choosing supplies. Clear boundaries make reuse more practical because everyone knows which materials are still ordinary household items and which belong to the making area.
Use Existing Texture as Part of the Design
Look closely at the material before decorating it. Corrugated ridges can suggest fur, roofs, or landscape lines; a paper bag’s crease can become a folded corner; a fabric weave can contribute to a picture’s texture. Invite the child to choose one visible feature to preserve. Paint or collage can emphasize it rather than hide it. A craft can look intentionally made from reused material and still feel complete. The original structure becomes an artistic resource instead of a flaw to cover.
Make a Torn-Paper River or Folded House Row
Torn-paper river: choose screened clean paper scraps, a broad backing, and suitable adhesive. Tear two generous curving bands and arrange them as the river’s banks, leaving an open channel between them. Add broad land areas outside the banks before attaching the pieces. A child can change the river’s width or invent an island. Keep the channel visible rather than filling every gap with decoration, then add one drawn landmark that gives the picture a destination.
Envelope house row: use clean empty envelopes that contain no private information and a sturdy backing strip. Arrange their broad faces as buildings and decide which existing flaps should remain visible. Attach them with suitable materials, then draw doors and windows that fit each building. Fold the backing into a low zigzag if the paper weight supports it, or keep the row flat. Test the first fold before creating a long neighborhood; the existing envelope shapes can suggest different roofs without extra small parts.
Build a Molded-Paper Flower Relief
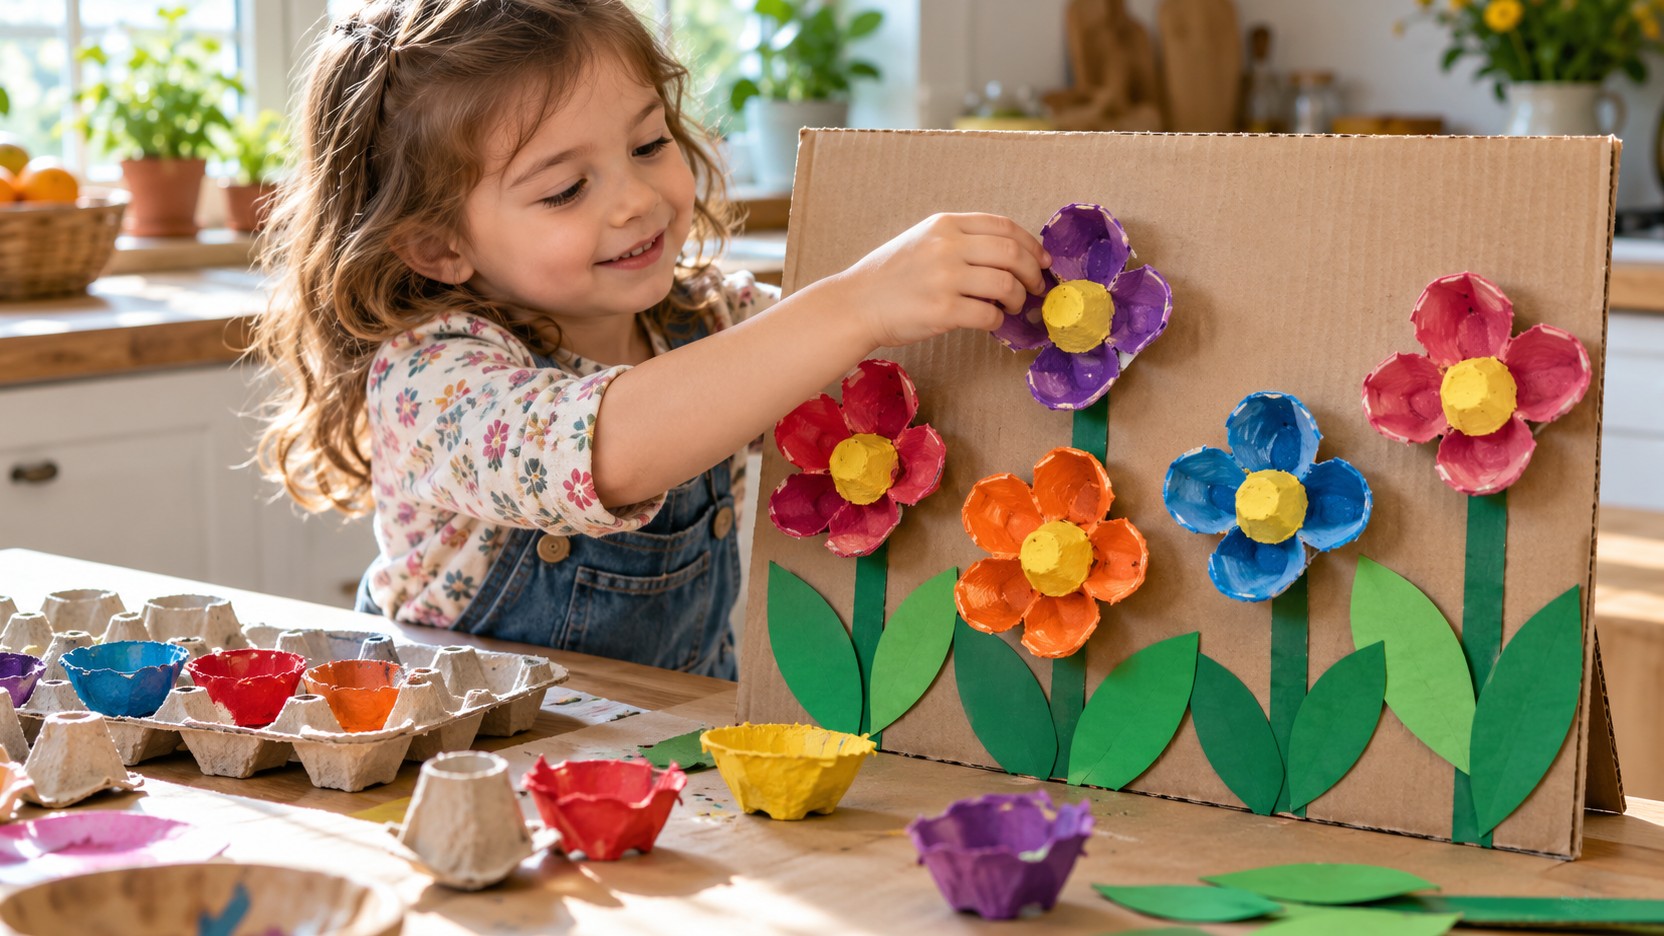
Choose clean suitable molded-paper packaging with broad curved forms, sturdy card, and appropriate paint and adhesive. An adult screens the material and prepares difficult cuts, leaving large safe components. Arrange the curves as flower heads on the backing before painting. Decide where stems will connect and keep enough open space for the flowers to remain distinct.
Test paint on one spare section, using a manageable amount so absorbent material does not become overloaded. Let the prepared components dry according to the supplies used. Attach each broad flower form to the backing using a method that works on that surface. Add drawn or broad paper stems and leaves afterward, keeping the joins accessible until they are ready for handling.
If a standing flower would need complicated supports, retain the relief format instead. The raised forms still contribute depth while the backing makes the work easier to manage. A child can compare a close cluster with a spread-out garden before attachment. The project uses the packaging’s curves deliberately rather than hiding them beneath many unrelated decorations.
Arrange a Cloth Landscape or Make a Texture Portrait
Cloth landscape: collect a few large clean fabric pieces and place them on a defined flat surface. Fold one edge to suggest a hill, layer a contrasting piece as water, and leave another area open as sky. Keep the arrangement loose while the child compares two layouts. A photograph taken with permission can preserve the chosen version before the fabric returns to use. This project explores drape and color without needing permanent attachment.
Texture portrait: draw a large invented face on a sturdy backing and choose two or three broad fabric shapes for its features. Arrange before gluing, checking which edges and patterns help the character read clearly. Test suitable adhesive on a spare offcut, and have an adult prepare difficult fabric cuts. Avoid long loose ties or excessive threads. Let the child choose whether the cloth stands for hair, clothing, or a completely imaginary feature, then add only the drawn details the portrait still needs.
Combine Materials for a Specific Reason
For a mixed scene, give each material a job. Fold card into a stable low backdrop, use paper for a removable character, and place a broad fabric piece loosely as a landscape area. Try moving the character through the setting before attaching anything else. If fabric catches beneath the figure, change its edge or location rather than adding more decoration. Keep the number of components small enough that each contribution remains visible. A mixed-material choice becomes easier to judge when its structure, movement, or texture can be tested directly.
Choose a Joining Method Before Covering Every Surface
Try a small sample of the planned connection. A folded tab can offer broad contact between card surfaces, while a removable fit may allow parts to be reused. Suitable tape can support a trial before a permanent attachment is chosen. Keep adult-only tools separate from the child’s actions. The joint should fit the material and intended handling rather than follow a single method for every project.
Think about how the object may come apart later. A lightly joined scene can be rearranged or dismantled, while a heavily glued mixed sculpture may be difficult to separate. Neither fact needs to become a moral judgment about the child’s artwork. It is simply useful design information. Let the maker choose knowingly among workable options and explain any household limits about storage or disposal.
Give the Finished Craft a Real Destination
Decide whether the project is for display, storytelling, a gift, or ongoing play. A scene intended for play needs reachable movable pieces; a relief panel needs a safe place to sit or hang through an adult-prepared method. Keep craft objects away from mouths, food contact, heat, and uses that place unsafe loads on them. The intended destination should influence the construction before finishing.
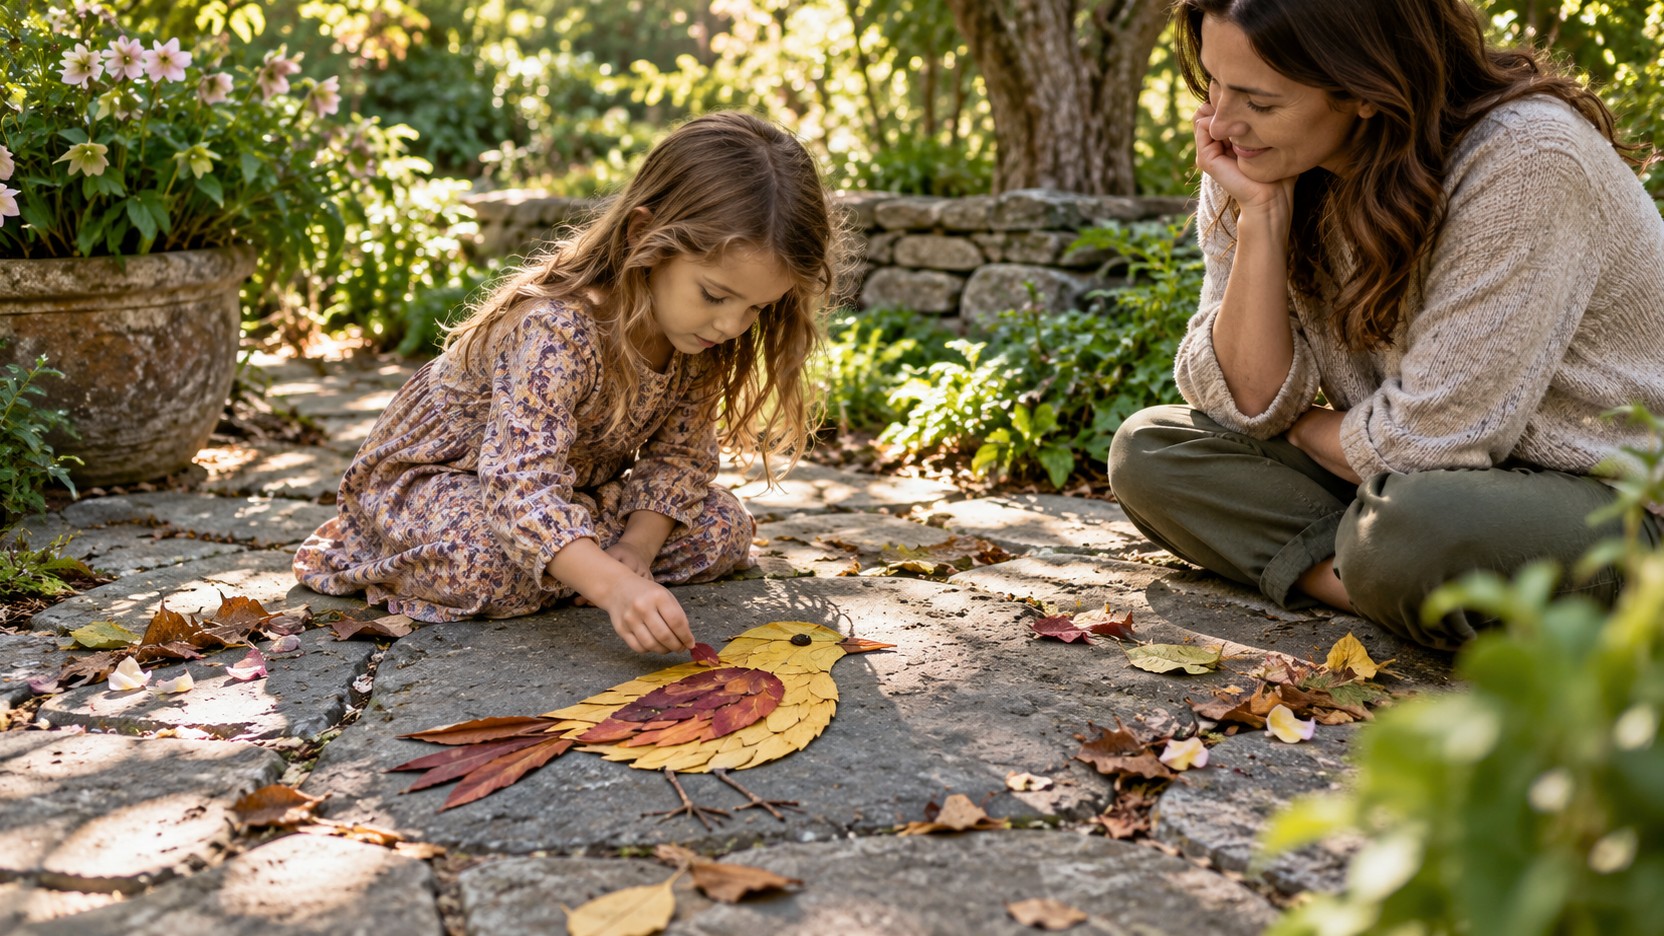
Invite the child to choose what remains temporary. A loose mosaic may be rearranged after a photograph, while a favorite creature may deserve a more durable base. Keep the choice personal and practical. Not every successful art experience needs to produce a permanent possession. A temporary arrangement can still involve careful observation and original design.
For a gift picture, choose a backing and a size the recipient can handle or display. Test whether the raised parts fit inside a shallow protective box without being crushed. Keep loose components together and include a child-approved drawing or message explaining an unusual moving feature. A flat panel may travel more easily than a tall sculpture while still showing the maker’s chosen textures. Check that the joins are ready before wrapping the work.
Explain Recycling Without Making Promises the Material Cannot Keep
Local collection rules differ, especially for mixed or coated items. The EPA guide to common recyclables provides a starting point and emphasizes checking local options. Do not assume that adding paint, glitter, fabric, or adhesive leaves packaging equally easy to recycle. When possible, select separable components and keep some projects temporary. Explain the practical uncertainty honestly rather than labeling every reused craft environmentally perfect.
Use the Fifty Ideas According to the Supply You Have
The collections group projects by their main material so selection can begin with the actual household supply. Paper projects use broad flat pieces; card builds explore structure; molded-paper ideas preserve existing curves; fabric projects use texture; and mixed scenes combine a few deliberate qualities. Browse the relevant group instead of collecting everything first.
Choose one idea and identify the adult preparation, child decisions, and drying or storage needs. A clear start helps the project remain manageable. Children can change the subject or arrangement while keeping the useful technique. The collections are invitations rather than exact patterns, and a material that behaves differently may lead to a more interesting result than the original plan.
Keep the Learning When the Object Changes
A reused-material craft may wear out, be dismantled, or become something else. Ask what the child discovered before deciding what to keep. They may have learned that a broad base steadies a tall shape or that a fabric edge creates a convincing hillside. That understanding can remain available even when the original object no longer fits the shelf.
Make the Next Session Easier to Begin
After cleanup, keep a few useful broad components in a visible place and remove damaged supplies. Store wet work safely until dry and return tools according to product guidance. A manageable collection allows the next invitation to begin with noticing a material rather than searching through a large pile. Children can help choose which pieces still suggest a real possibility.
Reuse becomes most meaningful when it supports an intentional activity that the family can sustain. Fifty ideas offer options, but the important choice is the one that fits today. Let existing shapes, textures, and limitations participate in the design. The resulting craft can carry both the child’s imagination and a practical understanding of how ordinary materials move through use, care, and eventual disposal.