Choose a Shape Family for Your Page
Begin by filling a corner of spare paper with several loose shapes: a circle, a tall oval, a rounded triangle, and a short bean shape. Look at each one and imagine what it could hold. A bean shape might suggest a curled kitten, a tiny whale, or a loaf of bread. This small collection gives you options before committing to a subject. If a shape does not suggest anything immediately, turn the paper. A sideways bean might become a sleeping animal, while the same form upright could become a little garden creature. The change gives a fresh view without requiring a new drawing. Keep whichever orientation makes you curious. Select one outline and make it large enough that there is space for a face and a few useful details. You can build a recognizable picture with just those elements, then add more only if they help your idea.
Make a Sleepy Fox With a Curled Tail
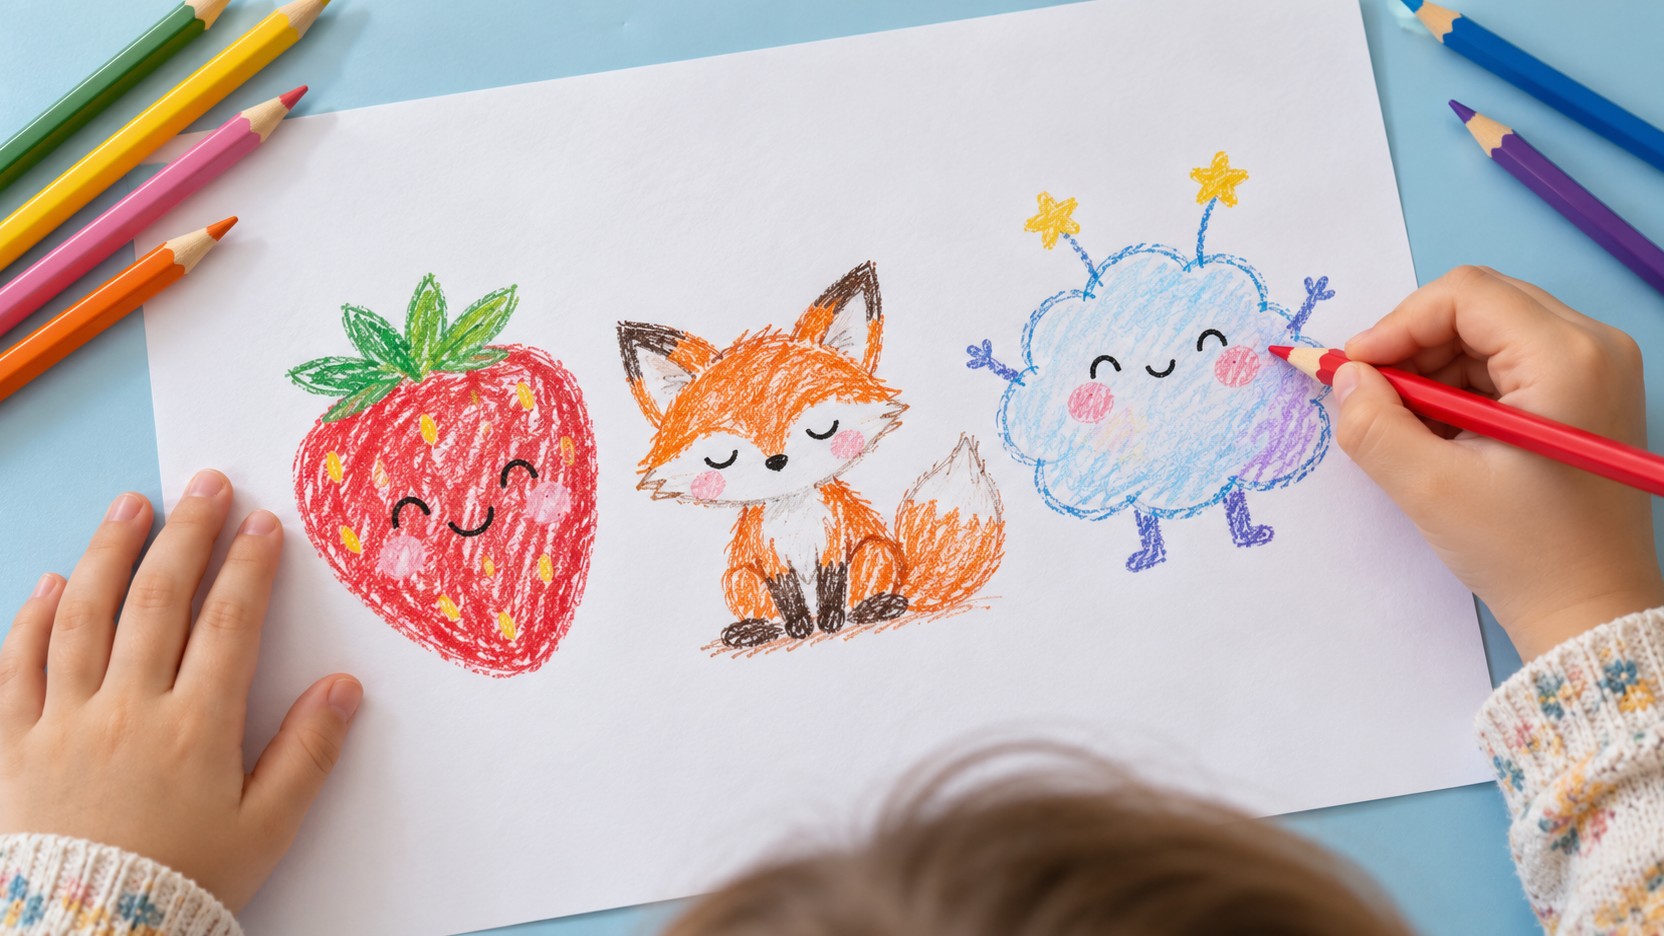
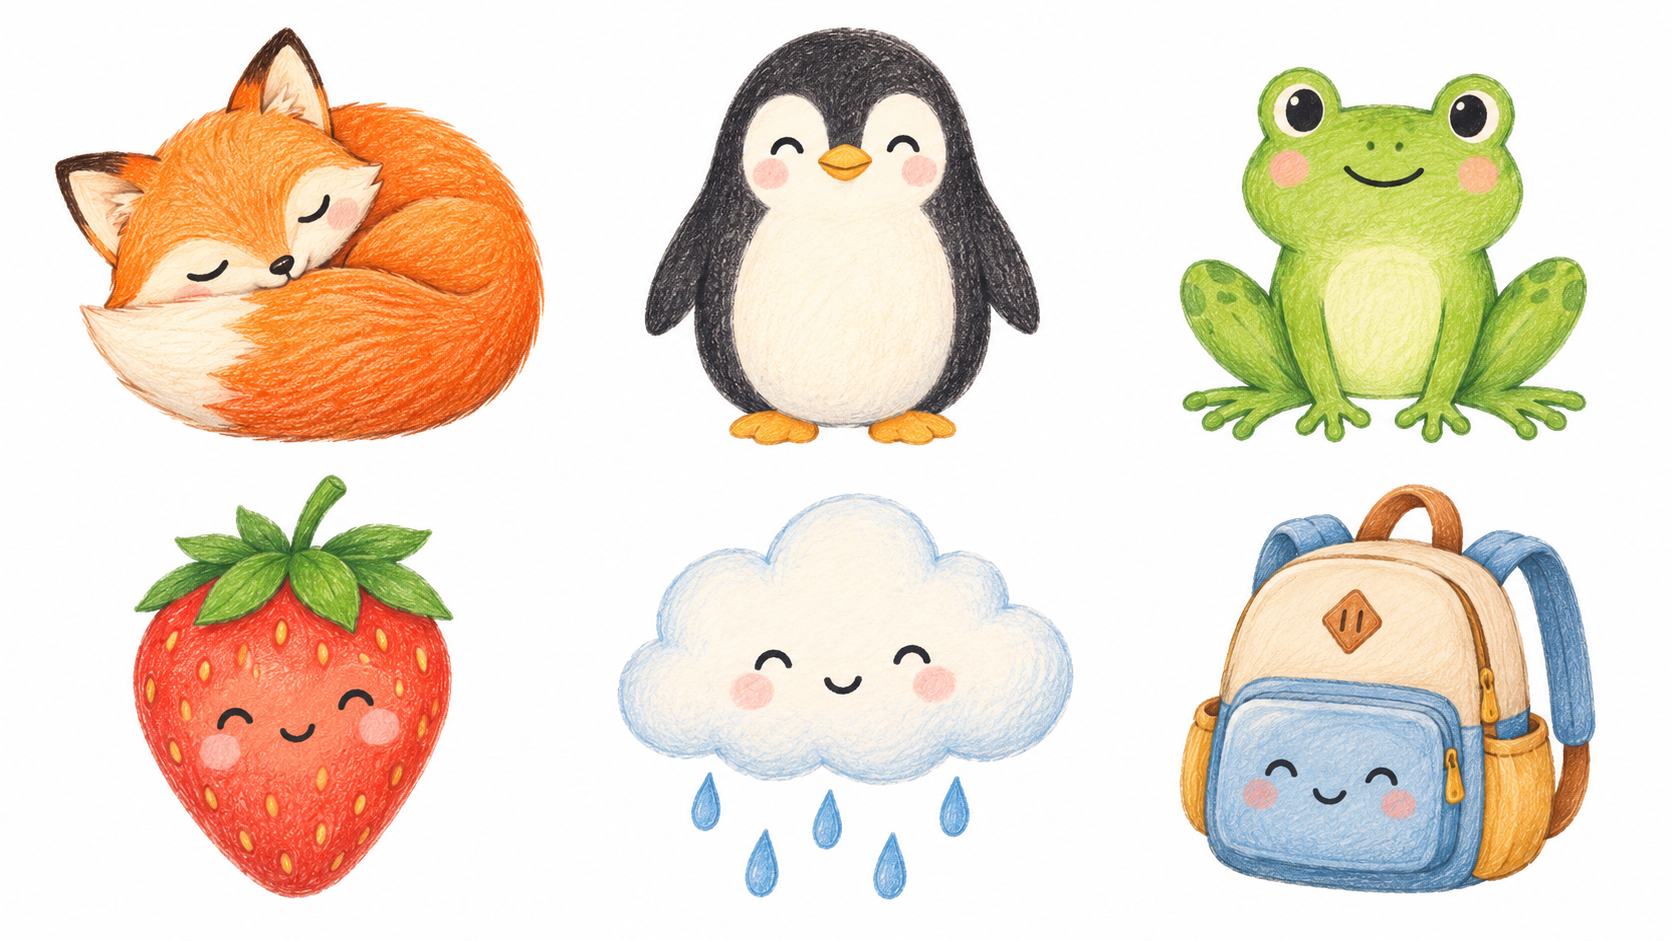
Draw a rounded triangular head with two ears, then place a broad curved body beneath it. Let the tail wrap around the body like a soft comma. Two short downward curves can suggest closed eyes, while a small nose near the lower center helps the face read as a fox. Leave a lighter cheek area or tail tip if you want to use color. The outline does not need to be symmetrical to look comfortable and relaxed.
Decide what the fox is resting on. A plain cushion, a broad leaf, or a small mound can establish a setting without becoming a whole landscape. If you want the animal to feel especially small, place it beside an oversized mushroom or flower. Compare that version with a fox that fills most of the page. Scale changes the story even when the face remains almost identical. Choose whichever version fits the mood you want to create.
Explore Other Animals Through Their Distinctive Features
A penguin can begin as an upright oval with a smaller inner patch, short side flippers, and broad feet. A rabbit can start with a round body and two long ears. A frog may be recognized by eyes placed high on the head and folded hind legs. Choose the features that carry the most information instead of attempting every detail at once. That keeps the animal clear and gives you room to exaggerate a favorite characteristic.
Try giving two animals the same expression but different silhouettes. A sleepy bear and a sleepy bird can both use closed curved eyes, yet their ears, beaks, bodies, and feet make them distinct. This is a useful way to discover which parts belong to the emotion and which belong to the creature. Keep an observation photograph nearby when you want to understand a feature more closely, then decide how much to simplify it.
Animals do not all need human eyebrows, smiles, or clothing to seem appealing. A small head tilt, relaxed posture, or rounded outline can communicate plenty. You can also invent an animal by combining features deliberately: a rabbit-like creature with leaf ears or a tiny dragon with soft cloud-shaped wings. Give the invention a consistent set of features so you can recognize and redraw it later.
Turn Familiar Foods Into Friendly Doodles
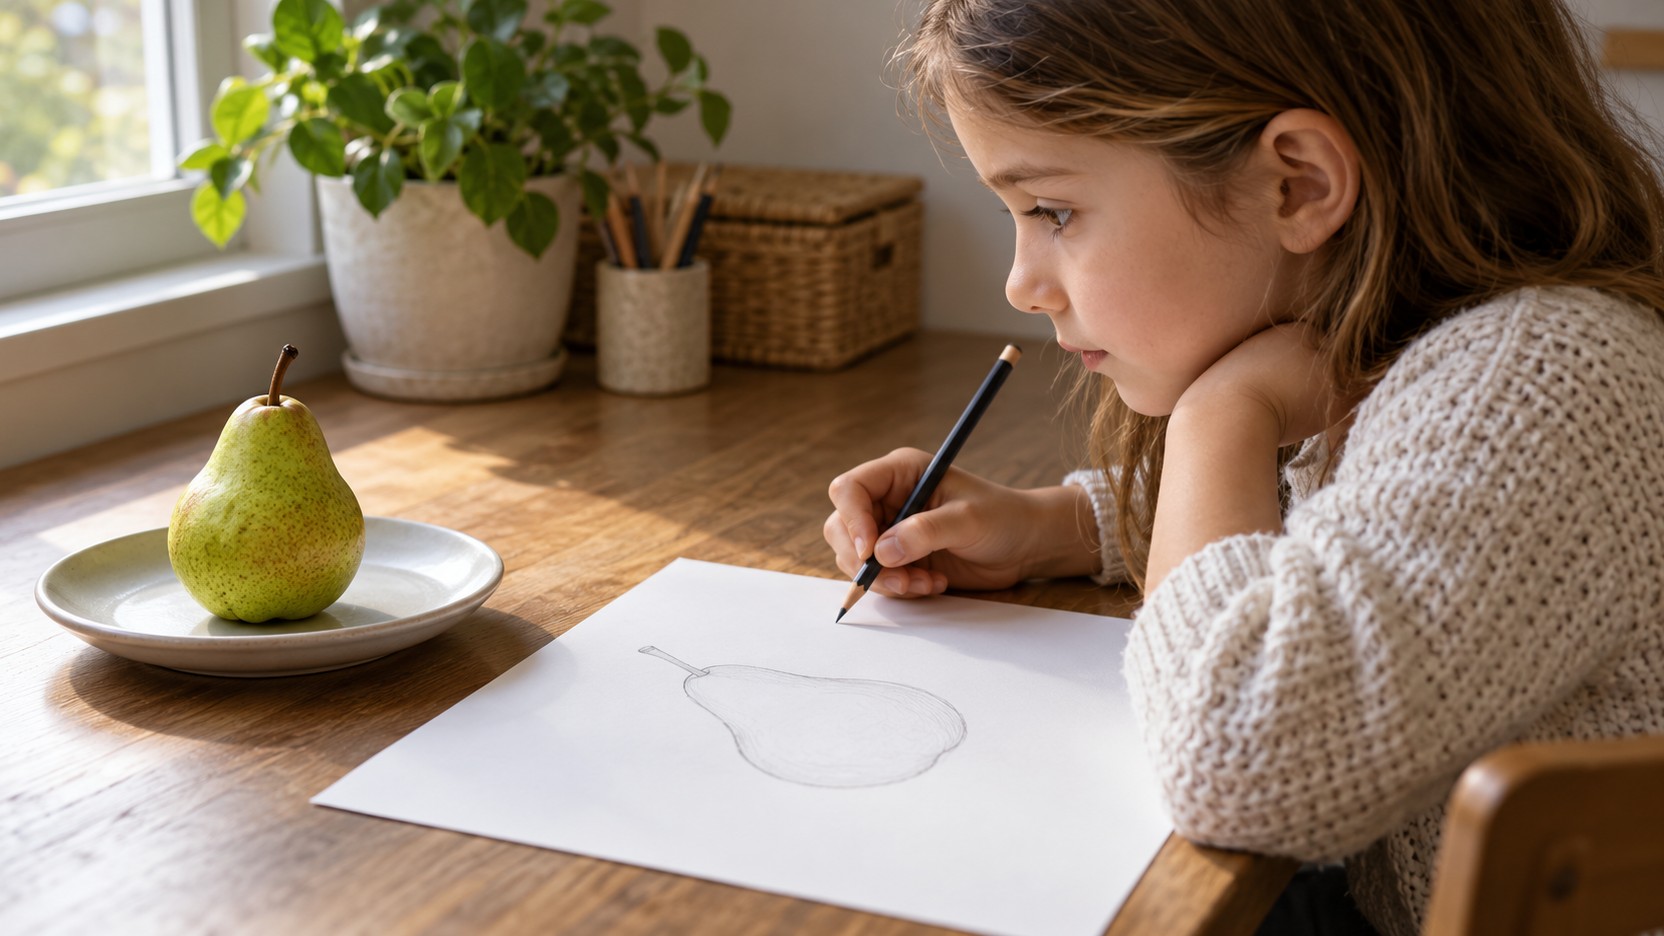
For a strawberry, draw a broad rounded top that narrows toward a lower point, then place a few leaf shapes across its upper edge. Add sparse seed marks around the sides, leaving a clear area for a small face. For toast, compare a rounded upper edge with straighter sides and a narrow inner crust line. Place the eyes inside that line so the outer shape stays recognizable. A pear can begin with a full lower curve and a narrower neck, with its face in the broad area. Try the same tiny eyes on all three subjects and look at how the food’s outline, rather than extra decoration, keeps them distinct.
Build Your Own Collection of Favorite Characters
Choose two or three characters that still look recognizable when drawn small. Make a reference page showing the features you want to keep: the fox’s curled tail, a penguin’s inner patch, or the backpack’s main pocket. Those details can connect later drawings even when the pose or expression changes. The collection is a working reference rather than a page every new version must copy exactly.
Try one character in two situations. A cloud might drift beside another cloud or release a few raindrops over an imaginary plant. Keep its main outline familiar while changing only the part that carries the new action. Compare which marks tell the story and which can be left out. A small face can remain readable when it has enough space around it.
When a new design feels promising, save the simplest version that explains it. Return another day with a new setting, a different accessory, or a partner character. The useful continuity comes from deliberate visual features, while fresh situations give the drawing another purpose. A few characters that can do different things are more usable than a large collection whose details are difficult to repeat.
Let Expressions Change One Feature at a Time
Draw several small copies of one face outline and change only the mouth. Try a shallow upward curve, a tiny open oval, and a straight short line. Keep the eyes in the same places so you can see what the mouth contributes. Next, keep the mouth and change the eyes. Curved closed eyes, wide circles, and eyes looking sideways create different impressions. There is no single correct interpretation; ask what each face seems to be doing.
Add brows or a head tilt only when you want another clue. A surprised face might use raised brows and a small open mouth, while a doubtful character might look sideways. Context matters as much as the face. A character beside a fallen ice cream cone tells a different story from the same face beside a mysterious parcel. Let the drawing provide room for several feelings instead of assuming every cute character must look cheerful.
Invent Characters From Weather and Everyday Objects
A cloud, plant pot, sock, or little backpack can become a character when you give it a posture and a purpose. Begin with the object’s familiar structure: a cloud’s soft lobes, a pot’s rim, or a backpack’s main pocket. Decide where movement might happen. A cloud could trail a ribbon of rain, while a potted plant might lean toward a friend. Add limbs only if they make the action clearer. For the backpack, draw the main pocket inside the outer shape before placing a face. Keep a strap visible at the side so an accessory or carrying pose still reads as part of a backpack. These characters work well for small stories because an ordinary feature can become a useful obstacle, such as a plant needing light or a sock searching for its partner.
Use Accessories to Tell Something Specific
Choose one accessory that reveals what the character likes or is trying to do. A rabbit carrying a giant leaf may be heading home in the rain. A tiny bear with an enormous spoon may be preparing a feast. Make the accessory large enough to read clearly and place it where the body can plausibly hold or touch it. You do not need to draw every finger to show the relationship between a paw and a handle.
Try an accessory that creates a small challenge. A hat that keeps slipping, a scarf that is too long, or a parcel wider than a doorway gives the character something to respond to. Sketch the action in broad shapes before decorating the object. The posture should communicate the main idea even without a detailed face. This shifts the drawing from a static icon toward a moment in a story.
Keep the character itself recognizable across versions. If the ears, tail, and main body shape change every time, it can be difficult to tell that the same creature has returned. Pick two or three features to keep while changing the accessory or pose. A small reference sketch can help you remember those choices. Character design becomes a conversation between familiar features and new situations.
Choose Colors That Keep the Main Idea Clear
A limited palette can make a small drawing easier to read. Choose a main color, a supporting color, and perhaps one accent. You can test them on spare paper before coloring a valued sketch. The colors may be realistic or invented; a lavender penguin can still be recognizable through its shape. Decide which area should attract attention and avoid giving every small detail the same visual strength.
Leave some light space around the eyes or important facial marks if dark coloring would obscure them. Use gentle layers when the tool allows rather than pressing hard immediately. A second version in a different palette can reveal how color affects mood. The same cloud might feel quiet in pale cool colors or energetic with a warm bright accent. Ask what the artist notices rather than assigning a fixed meaning to every color.
Compose a Small Scene Around a Relationship
Place two characters so that their positions suggest a relationship. They might face each other, share an object, or look toward the same surprising event. Keep enough space between them for the action to remain understandable. A ground line, a broad leaf, or a simple table can establish where they are. Avoid adding a full background before deciding what the characters are doing. If you want a scene about sharing an umbrella, make the umbrella and the space beneath it the central design problem. A few well-chosen details often communicate the moment more clearly than many unrelated decorations.
Choose One Drawing Change to Try Next
Choose the next change through what you want the character to do. A fox that should appear asleep may need the tail wrapped closer to its body; a backpack carrying a parcel may need a clearer point of contact. Sketch that change beside the first version and compare the silhouettes before coloring. Keep the feature that identifies the character visible, even when the pose changes.
Use the simplest version that communicates the action as your next starting reference. A larger page or a broader tool can leave more space for a face that became crowded, while a light pencil trial can help test a detailed accessory. Save the useful comparison if you want to return to it. The next picture can then begin with a known character and one fresh situation, rather than rebuilding every detail from memory.