Match an Everyday Painting Tool to the Mark You Need
A sponge can print a skyline, a sturdy card edge can make a grid, and a suitable large lid can create a ring. Use the tool-to-project table below to choose one clean, safe applicator alongside proper children’s paint. The worked sections explain loading, contact, lifting, and drying, so a trial mark tells you what to change. Start with the picture’s main need—a broad shape, clear line, or texture—and keep a sample strip nearby as you build the composition.
A: Choose only clean, safe, suitable objects with no sharp edges, residue, or problematic loose parts.
A: No; use appropriate children's paint according to its instructions.
A: It may hold excess water or paint; adjust the loading and test a small impression.
A: Keep objects used with art materials separate from food use.
A: Try a suitable leaf on a sample sheet and compare sides for the texture you want.
A: A sturdy prepared card edge can print a line when loaded lightly and pressed evenly.
A: It records the marks available and makes later tool choices easier to compare.
A: Offer a comfortable alternative grip or a different applicator without requiring direct paint contact.
A: Yes; test the blend first if you want to understand how the colors will interact.
A: Replace it when it becomes damaged, unstable, fragmenting, or impossible to clean suitably.
Sort Possible Tools Before Opening the Paint
Use this small tool-to-project map to choose what is worth setting out. An adult screens household materials for clean condition, suitable edges, and age-appropriate handling. Select one tool and its actual picture purpose before opening paint; the worked sections explain how to make and troubleshoot the marks. More tools can wait until the child has a reason to use them.
| Available tool | Useful mark | Project to try |
|---|---|---|
| Broad sponge | Rectangular impression | A skyline |
| Sturdy card edge | Line or grid | Roads or window divisions |
| Suitable large lid | Circle outline | A wheel or repeated pattern |
| Safe clean leaf | Printed surface structure | A plant or texture study |
| Crumpled broad paper | Broken irregular texture | Rock, foliage, or clouds |
Choose Suitable Paint Rather Than Household Substitutes
Use painting materials intended for children and follow the product instructions. Everyday tools do not require homemade mixtures from cleaners, cosmetics, or other substances whose suitability is uncertain. Consult the CPSC Art and Craft Safety Guide for material precautions. Non-toxic labeling does not make a product edible, and supervision still matters. Keep water containers and art supplies apart from snacks and drinks.
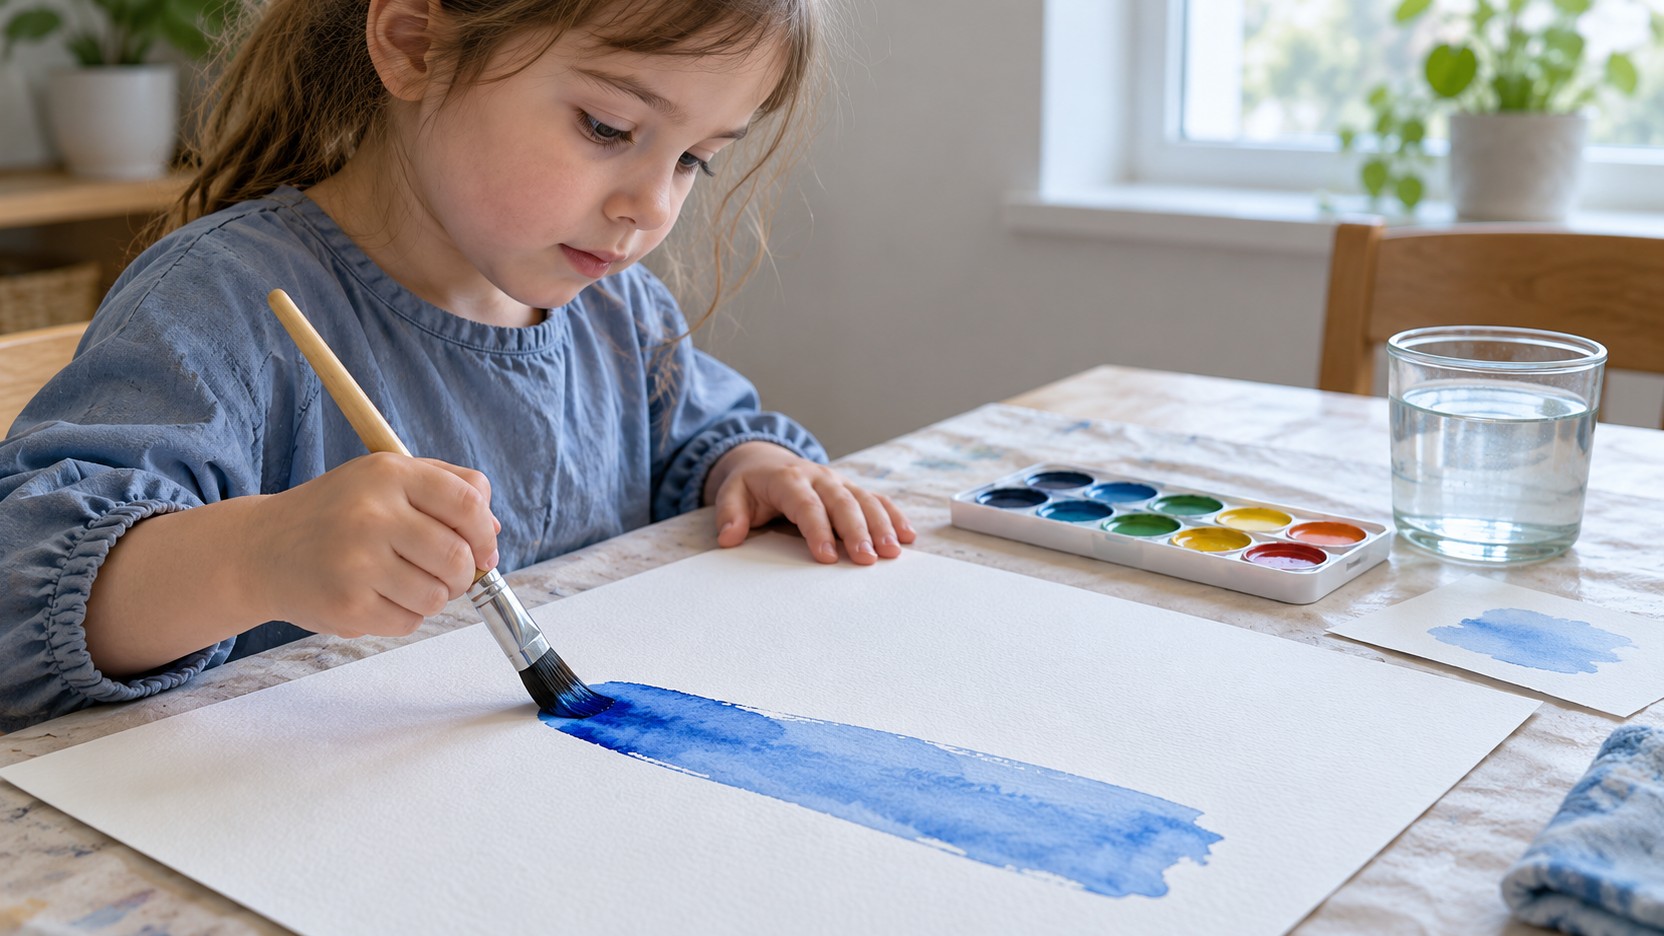
Match the paint to the tool and surface. A thicker washable paint may produce a clearer sponge impression than a very watery mixture, while watercolor can work well for broad transparent brush areas. Test a small amount before starting the main picture. If the result is too wet, too faint, or too thick, adjust the coating rather than repeatedly pressing the same failing mark onto a valued drawing.
Choose a paper or card that can tolerate the planned moisture. A sponge can carry more water than expected, so squeeze out excess clean water before loading paint when appropriate. Protect the table and leave a separate drying area. Keep the first session to one or two tools, making it easier to connect each action with the marks that appear. Extra materials can be introduced after the child has a reason to use them.
Make a Sponge Skyline From Broad Rectangles
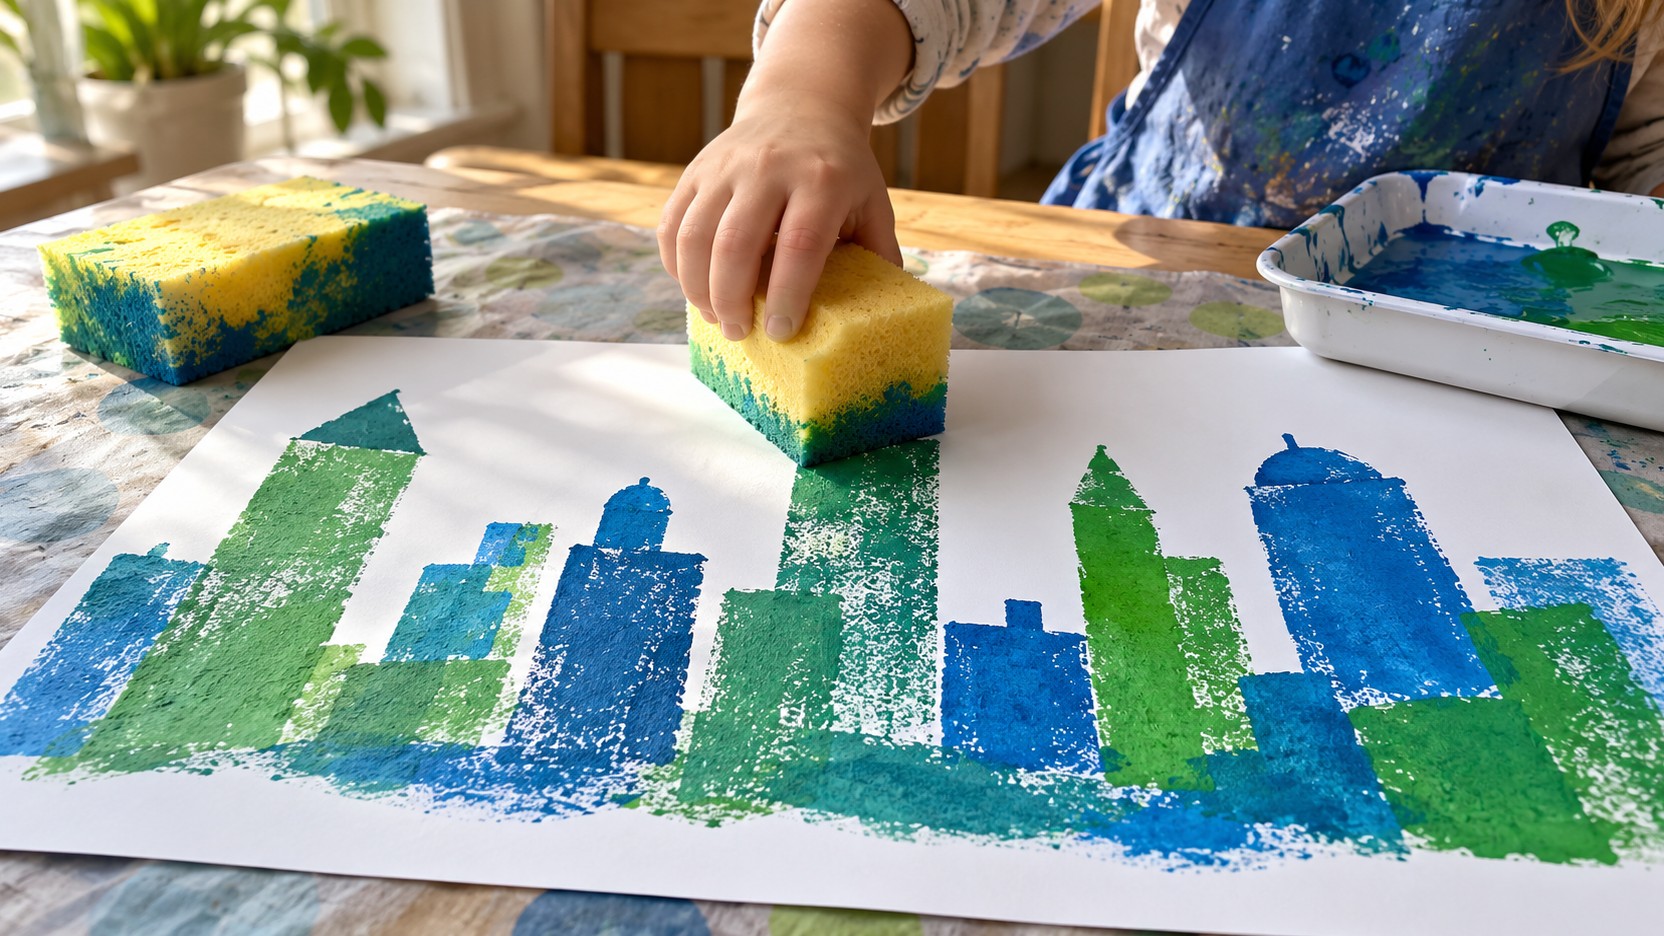
Use a broad sponge with a reasonably flat printing face. An adult can prepare a suitable shape if cutting is needed. Apply a modest paint coating in a shallow tray, then make a test impression. Press down gently and lift straight up. A broken texture can be part of the skyline’s character, while a clearer rectangle may need a more even coating. Compare the test with the sponge before changing anything.
Place several impressions at different heights to create buildings. Leave small gaps or overlap selected shapes according to the intended scene. A second color can distinguish another group after the first layer is ready. Add only a few details with a suitable brush or drawing tool once the surface is dry. The project can remain a simple arrangement of blocks, or become a setting for an imagined traveler.
Use Cardboard Edges for Lines and Grids
Fold a broad piece of sturdy card so an edge can be held comfortably. Touch that edge lightly to paint, then press it onto paper. Compare a straight edge with a corrugated edge, noticing whether the transferred mark is continuous or broken. Use the lines to suggest a fence, tree trunks, a woven pattern, or an invented map. Keep the first trial away from the main picture because an overloaded edge may leave a thicker mark than expected. Replace card that becomes soggy or unstable rather than asking the child to keep working with a collapsing tool.
Print Circles Without Needing Tiny Stamps
A large, clean, smooth-edged object can provide a circular impression if it is safe for the maker to handle. Test the rim and check for cracks or sharp sections before use. Apply paint evenly along the printing surface, then press and lift. A circle that is incomplete can still be useful: the child might rotate the tool for a second pass or use the broken ring as part of a textured composition.
For a circle border, make a few dry placements around the page before loading paint. Leave the center open for a drawn or painted subject, then test the first ring on the sample strip. Place the next ring far enough away that its edge remains distinct, or overlap deliberately after deciding whether the colors should mix. Compare a line of separate rings with an overlapping pair before continuing the whole border. A wheel, flower center, or bubble can use the same print in a different position. Choose suitable large tools for the participants and keep small caps away from children who mouth objects.
Let Leaves Reveal Their Structure
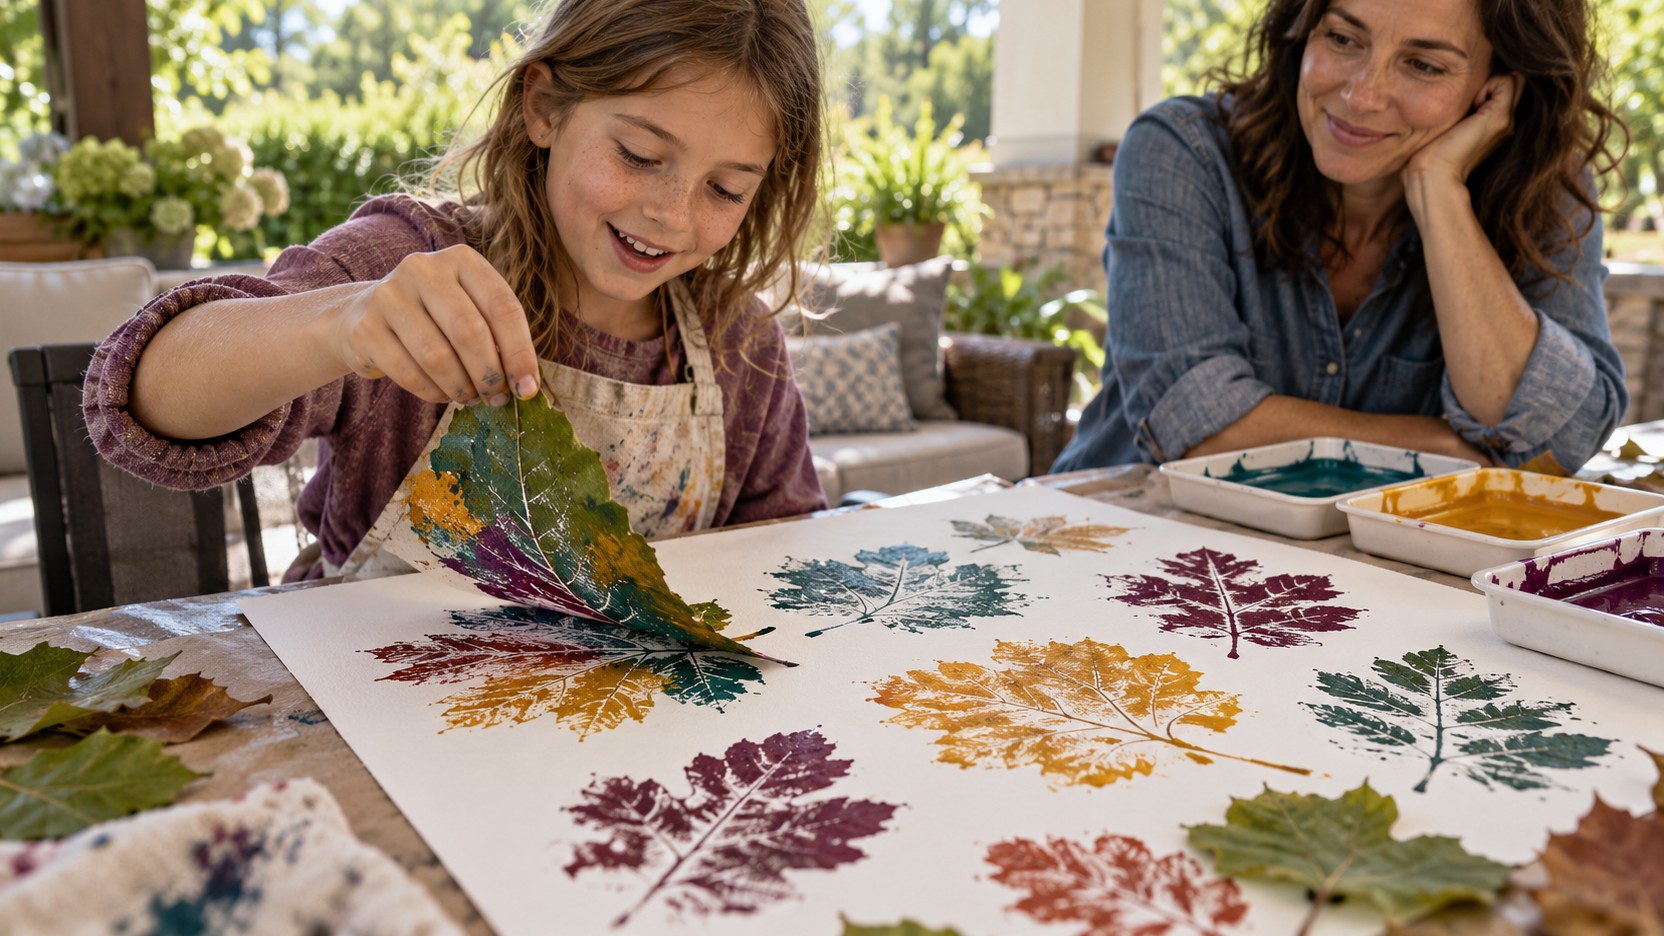
Select broad leaves from safe, identified plants and inspect them for dirt, sharp edges, or irritating surfaces. An adult should make the selection when suitability is uncertain. Brush a thin paint layer over one side, place the leaf on paper, and press gently through a spare sheet if that helps keep hands comfortable. Lift carefully to see the impression. Veins and edges may appear differently depending on paint thickness and the side used.
Use the result as a composition element rather than requiring a perfect botanical image. Arrange several impressions into an imagined canopy, place one large print in the center, or build a border through rotation. If the texture disappears under too much paint, try another leaf with a lighter coating. The child can compare versions and decide which one offers the effect they want. Keep the discovery visible long enough to discuss it.
Leaves can also become temporary masks. Place a broad leaf on a suitable surface and paint around its edge, taking care not to flood beneath it. Lift the leaf to reveal the unpainted shape. This produces a different relationship between the tool and the mark: the object protects the paper instead of transferring color. Try each method separately before combining them so the child can understand what caused the result.
Turn Crumpled Paper Into Controlled Texture
Gather a broad clean paper sheet into a loose ball large enough to hold comfortably. Touch its outer ridges to a small amount of paint and dab gently onto a trial surface. The raised folds create irregular patches that can suggest foliage, rocks, or cloud edges. Rotate the ball between impressions to compare its different faces. Stop if the paper becomes too saturated to hold together. The project should use the material’s temporary texture deliberately rather than depend on a tool that is breaking apart during use.
Use a Household Tool to Solve a Picture Problem
Instead of adding a new tool merely for variety, ask what the painting needs. A broad sponge may cover a large background quickly; a folded-card edge can create a repeated straight boundary; a leaf can contribute an organic silhouette. Choose the tool that produces the wanted relationship. This makes substitution a design decision and helps the child recognize that different materials have different strengths.
Keep a sample strip beside the picture with one print from each tool in use. Add a second impression when the coating changes, leaving the first visible for comparison. For a sponge skyline, a pale patch can show that the face needs reloading; for a card-edge road, a thick blob can show that the edge carries too much paint. Check the strip before returning to the main picture. A brush can still supply a fine curved detail that the household applicator cannot make comfortably.
Control Overlap Through Drying and Placement
Before overlapping impressions, decide whether the colors should blend. Wet-on-wet printing can create soft mixtures, while a dry first layer helps a later mark remain distinct. A sample overlap on scrap paper provides evidence without interrupting the main picture. Keep the paint quantity modest, because thick blobs can take much longer to dry and may obscure the tool’s shape. Explain that waiting is part of the method when separation matters.
Think about which form belongs in front. A sponge-printed building might cover part of a background hill, while a leaf impression might overlap the edge of another leaf. Leave enough of the earlier shape visible to make the relationship clear. If too many marks compete, pause and look from farther away. The child can choose an open area for the next impression or decide that the composition is complete.
Use positioning aids only when they help. A light guide line, a paper boundary, or a partner steadying the sheet can reduce accidental sliding. Avoid controlling every stamp location if the child is exploring freely. The amount of planning should fit the purpose: a carefully spaced border and a loose texture field invite different kinds of action. Both can be deliberate paintings.
Change the Tool’s Grip, Weight, or Contact Surface
Try the applicator without paint to check its reach and handling. A large sponge may fit the hand well but become heavy when wet, while a broad folded-card edge can provide a lighter alternative for lines. Keep a clean holding area away from the paint-loaded face. Place the test paper within comfortable reach and steady it with a suitable mat or adult help before comparing impressions.
If contact is uneven, inspect how the tool meets the surface. A curled leaf may need an adult to hold it flat through a spare sheet, while a sponge may need a more even coating rather than harder pressure. A partner can apply paint while the child chooses placement, or the maker can use a different suitable tool for the same effect. Compare one trial from each method and keep the one that is comfortable to repeat.
Keep Only the Tools Worth Using Again
After painting, choose which tool produced a mark the child wants again. Save a small sample or describe the effect beside the cleaned art supply. A sponge that worked for buildings may become a repeating border later, while a card edge may be useful only for a particular set of lines. The reason for keeping a tool should remain concrete.
Clean suitable reusable tools according to the supplies used and let them dry appropriately before storage. Keep art-designated containers and utensils separate from food use. An adult handles difficult cleanup and rejects damaged items. Store a modest selection where another session can find it, instead of keeping every object that touched paint.
For the next picture, start with the visual problem: a broad printed shape, a clear edge, or a patch of texture. Choose the tool that helped create that effect and test its loading briefly. The child can then use it in a new arrangement without another large equipment search. A useful household supply is a small set of understood possibilities.