Explore Seasonal Change Through Layers, Texture, and Contrast
Make a layered plant, a light-filled scene, a textured leaf picture, or a contrasting winter view, then compare one subject across different conditions. The seasonal examples below use broad paper, familiar drawing tools, and suitable paint, with an adult preparing difficult tool steps. Choose a change the child has observed or wants to imagine, and adapt the seasonal labels to your location. The craft becomes more specific when one feature—leaf shape, light, open space, or branching—guides the first making action.
A: Use the names as an organizing aid and adapt subjects to real local changes.
A: Two versions can provide a useful comparison, and separate formats may work better for the maker.
A: Preserve an observed change or feature and let the child invent the surrounding world.
A: Compare what suitable paper, paint, fabric, or safe observed surfaces contribute to the intended effect.
A: Contrast, structure, night scenes, and locally relevant conditions can provide independent subjects.
A: Describe their different effects and ask which choices fit the maker's intention.
A: Observation drawing or remembered forms can work when collection is unsafe, prohibited, or unwanted.
A: Choose components the story will change, such as broad leaves, sky panels, or shelter pieces.
A: Remove handling barriers, demonstrate separately, and let the child direct meaningful features.
A: Select meaningful panels, samples, or permitted photographs with the maker rather than saving everything.
Choose the Feature You Want the Picture to Show
Look at a familiar plant, window view, or remembered place and choose one feature that has changed. It might be the amount of leaf cover, a shadow, wet ground, or the way people use the space. Keep that feature as the subject of the first trial. The table gives a starting technique; the local observation or imagined scene determines what appears on the page.
| Creative direction | Starting action | Useful materials |
|---|---|---|
| Growth and layering | Place a stem and overlapping leaves | Broad paper and backing |
| Light and open space | Reserve a clear area beside the subject | Drawing tools or suitable paint |
| Edges and texture | Compare a torn edge with a smooth one | Paper, crayon, and a safe texture |
| Contrast and structure | Place light shapes on dark backing | Card and broad light paper pieces |
Spring: Build Growth Through Layers and Direction
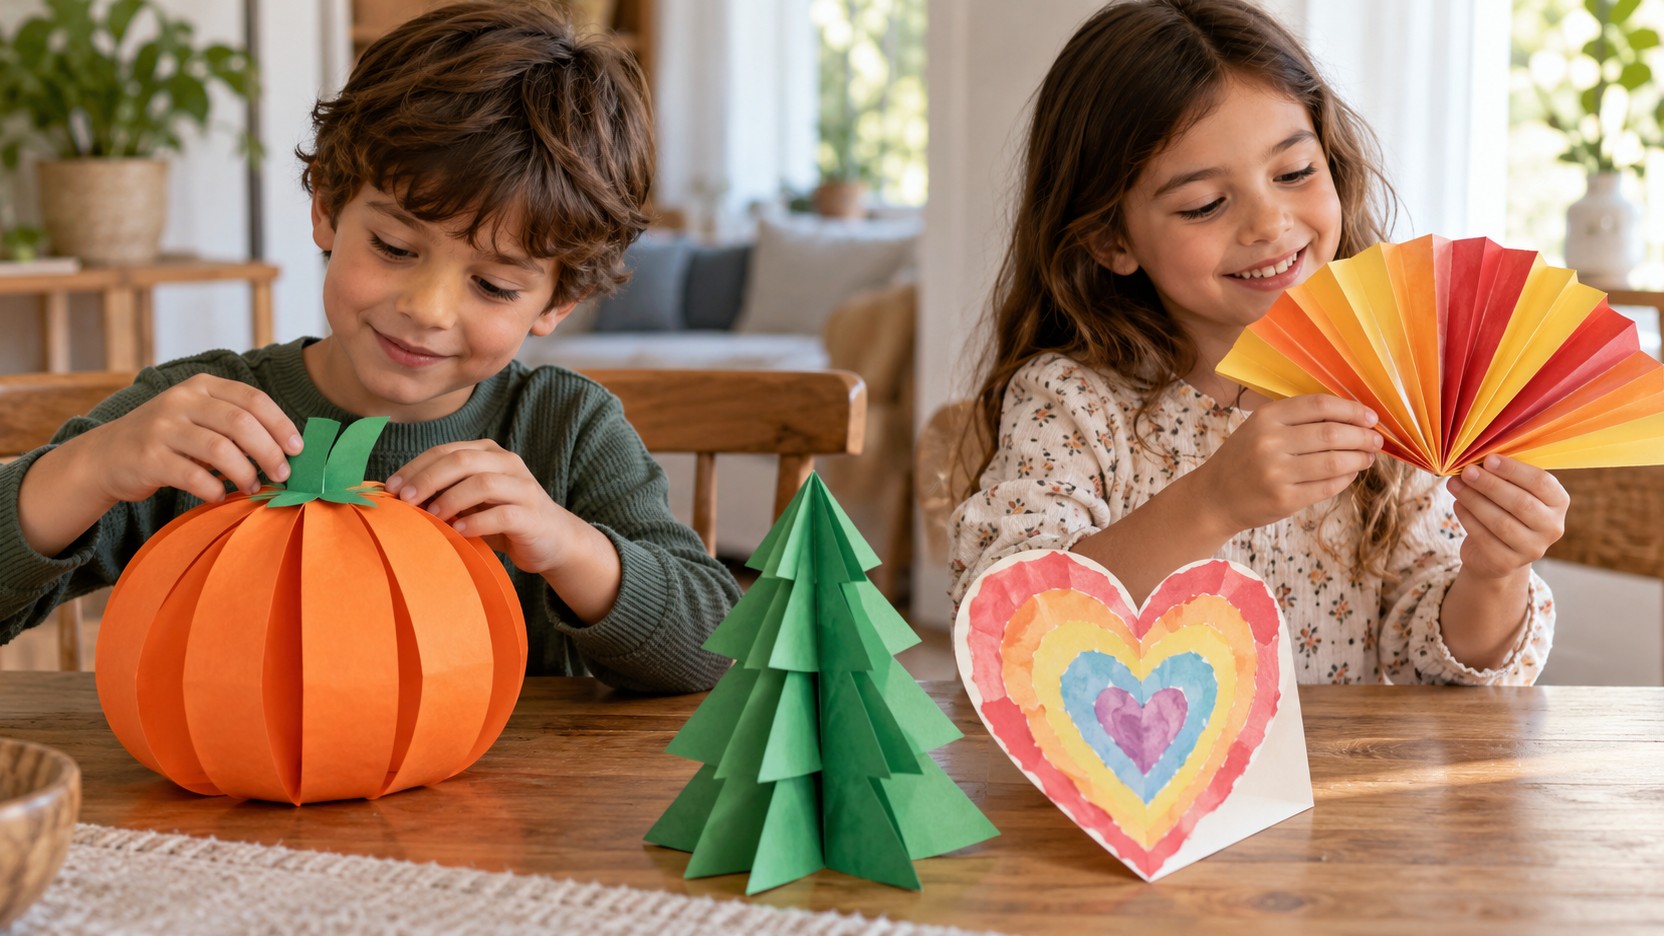
Offer broad paper pieces and invite a plant that seems to grow across the page. Begin with the direction of a stem, then add leaves or branches that respond to it. The plant can borrow one feature from observation and become imaginary afterward. A diagonal stem creates a different arrangement from a straight upright one. Let the child compare loose layouts before deciding which parts belong together.
Use layering to suggest new growth. A smaller shape can emerge from behind a larger one, or a folded leaf can stand slightly away from the backing. Keep raised components broad and lightweight. An adult can prepare difficult cuts while the child selects position and angle. The point is the relationship between parts, not a requirement to make a botanically exact model or a standard flower everyone recognizes.
If painting is preferred, test a light background before adding stronger plant marks. Let a layer dry when distinct edges matter. A wet surface may encourage a softer effect that suits mist or rain, while dry paper helps a sharp branch remain visible. Explain the choice through a small sample. Children can decide whether the unexpected spread becomes part of the image or suggests another trial.
Summer: Explore Light, Open Space, and Repeated Marks
Choose a subject linked to the child’s summer or another locally meaningful warm period. It might be a shaded garden, an indoor place where the family gathers, a shoreline remembered from a trip, or an invented landscape. Ask where the image should feel open and where detail matters. A broad unpainted area can suggest brightness without requiring a large yellow sun in every composition.
Try repeated brush marks or paper shapes to distinguish surfaces. Long spaced strokes may suggest water, while short scattered dabs may suggest a leafy area. Keep the texture’s purpose clear instead of filling every blank space. The child can step back and decide whether the main subject remains visible. A limited palette can also help create a coherent place without claiming that one color combination defines everyone’s summer.
Fall: Let Edges and Texture Carry the Idea
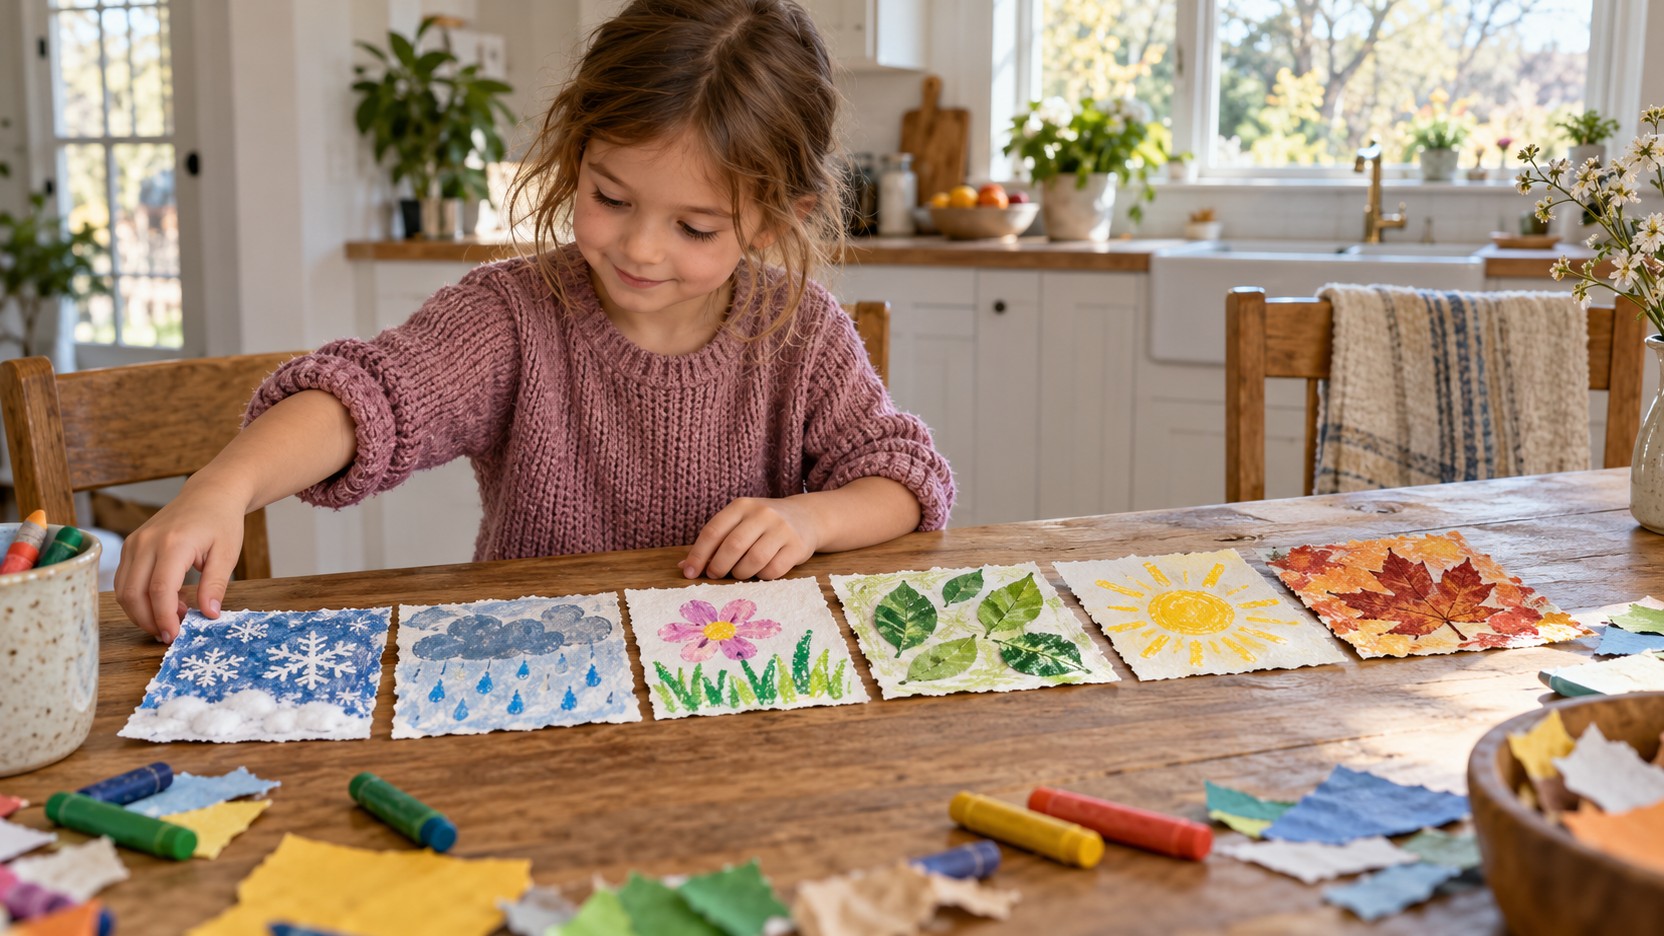
Choose a suitable observed leaf or a drawing of one and notice a broad edge feature. Tear a large paper version, then draw another with a smoother outline. Place them on the same backing and compare how clearly the edges show. Add a rubbing from a clean safe textured surface if you want a third effect, keeping the working area steady. Use a locally observed change or identify a temperate-leaf study as an example from another setting. Keep the number of materials small enough that edge and texture remain the main comparison.
Winter: Work With Contrast and Structure
A light shape against a dark background can make a branch, building, or imagined creature easy to see. Offer broad pieces and let the child choose the subject. Snow can be one option where relevant, while a night scene or a dry-season landscape may fit another setting. Keep the contrast itself as the technique being explored. Children do not need to adopt a winter holiday theme to participate in seasonal art.
Folded structures can add another dimension. A zigzag backing may stand like a line of hills, or broad tabs may support a small paper tree. Test stability before adding decoration. Use age-appropriate materials and consult the CPSC craft safety guide for tool and supply precautions. Keep paper away from heat and real flames, especially when seasonal displays are placed near other decorations.
Compare One Subject Across Several Conditions
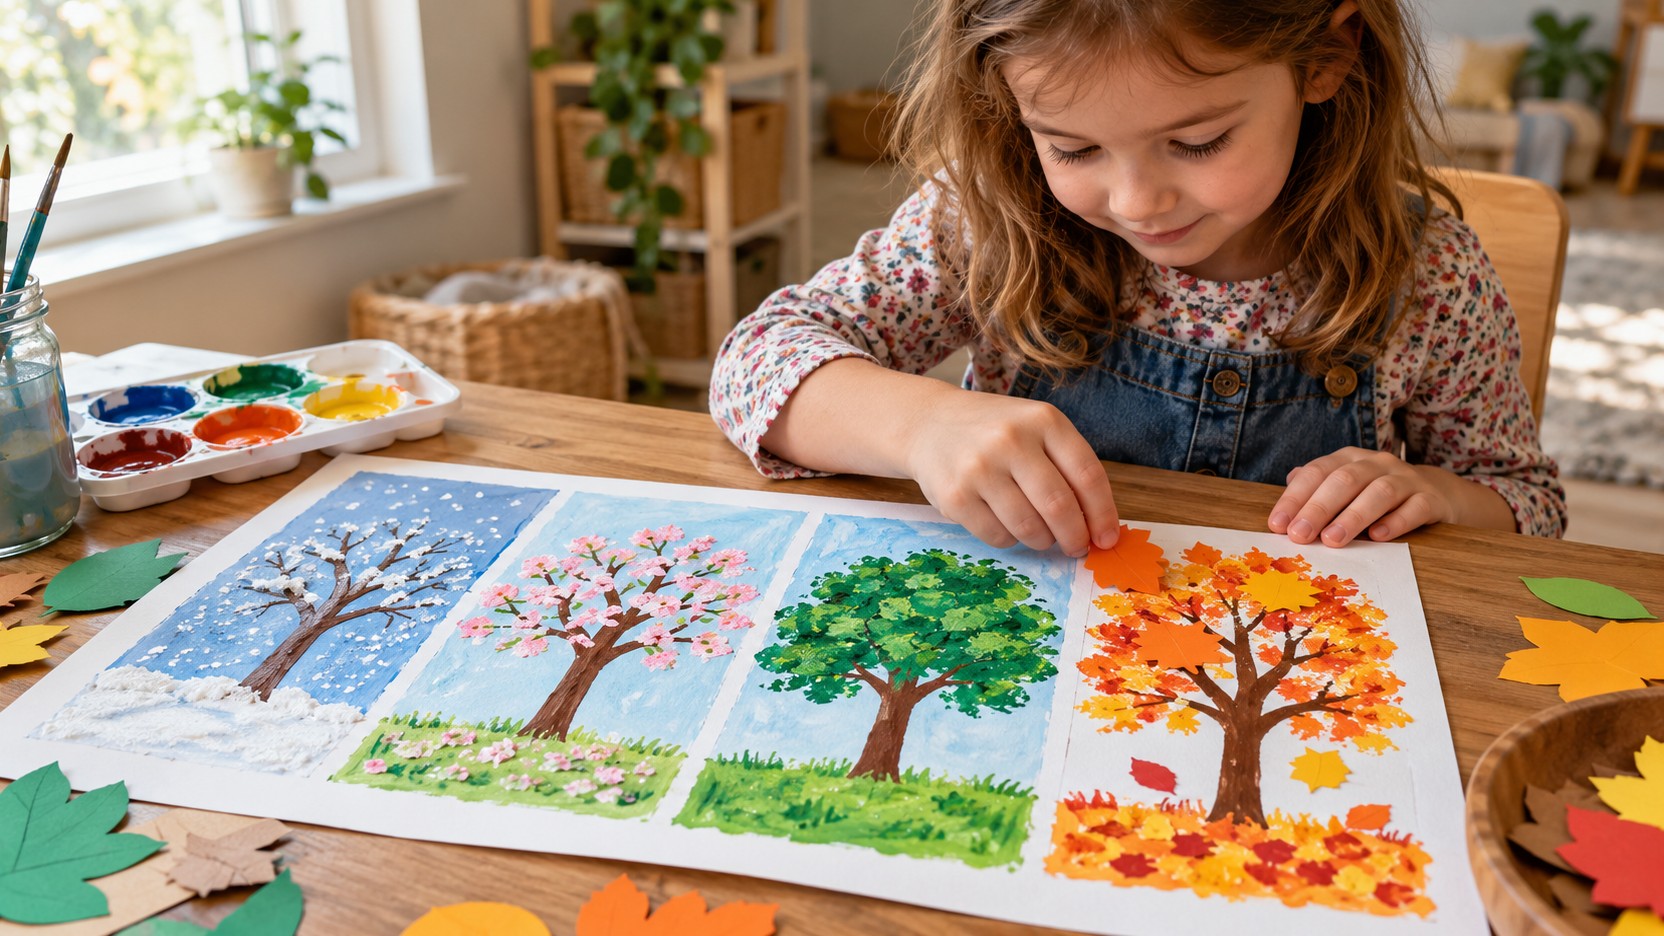
For a four-panel tree study, fold a broad sheet into quarters and draw the same curved trunk in each space. In the spring panel, add small pale leaf shapes; give the summer version a larger canopy; show fewer, differently colored leaves for fall; and leave more branch structure visible in winter. These are choices for a temperate-tree study, so change the sequence to reflect a familiar local tree or identify it as an imagined example. Keep the trunk shape and ground line similar across the panels. A child who prefers a smaller project can begin with the fullest canopy and the barest version, adding the other panels another day.
Place the versions together and describe differences. One may use dense texture while another relies on a clear silhouette. Ask which choice suggests the intended condition. The answer does not need to rank the artwork or label one version more skilled. A child may decide that an unexpected color works better than a realistic one because it communicates the memory they wanted to show.
If the child wants a four-part work, plan the overall size and leave room for the main subject in each area. Panels can be separate sheets rather than one large page. Separate work may be easier to reach, dry, and store. Agree on one shared feature and let the rest vary. The sequence should express a chosen relationship across time rather than become a copying exercise.
Choose a Material for the Effect It Offers
Paper is useful for rearranging broad shapes, paint for exploring edges and mixtures, and suitable fabric for drape and texture. Ask what the child wants the viewer to notice before adding another material. A soft cloth hillside and a rigid card branch offer different physical qualities. Use those differences intentionally rather than combining everything simply because it is available.
Test unfamiliar combinations on scrap material. Paint may soften a paper-based structure, and a thick decoration may prevent a fold from closing. Let the sample answer a practical uncertainty. An adult can explain a limitation without dictating the entire design. The child might choose a flatter version, a removable component, or a different backing in response. Those decisions are part of creative work.
Let Temporary Nature Art Stay Temporary
Where safe and permitted, a small selection of fallen natural materials can become a temporary seasonal arrangement. An adult should identify suitable items and avoid disturbing plants, animals, nests, or habitat features. A leaf pathway or a simple bird shape can be made on a defined surface without glue. Ask before photographing the result and agree on when it will be dismantled. Observation drawing is a useful alternative when collecting would be unsuitable. Nature art does not require taking a large quantity of material home.
Adapt the Craft for the Maker’s Access Needs
Large components can reduce fiddly handling, but check their weight and reach as well. A broad piece that is easy to see may still be difficult to lift when wet. A stabilizing mat, a comfortable tool, or a partner holding the backing can make the action workable. Ask which adjustment helps rather than assuming that the subject must become simpler.
Offer several ways to plan. The child can arrange loose shapes, sketch, speak, gesture, or use their usual communication system. Keep that system available throughout making and revision. A clear visual sequence may support someone who wants a short predictable process, while another maker may prefer an open arrangement. Both can make deliberate choices about the seasonal effect.
Test the physical action before applying it to the main work. For a folded leaf, try a broader spare piece to see whether it is easier to hold and place. For a join, let a partner steady the backing while the maker directs the position. Demonstrate an unfamiliar fold on separate material and ask before guiding hands. Keep the useful trial beside the picture so the child can choose the version to carry forward.
Let Children Explain the Change in Their Own Way
Place two versions side by side and ask the maker to show the feature they changed. On the tree panels, they might point to a thinner canopy, move a loose leaf, or trace a branch that is now visible. Use their usual communication route and connect the explanation to the actual marks. If a comparison needs a clearer clue, try it on spare paper before adding it to the finished panel. The child can then choose whether the new feature helps express the intended change. A brief description beside the work can preserve that comparison if the maker wants it.
Turn Seasonal Artwork Into a Play Setting
A flat panel can become a background for a small story, while removable broad elements let a setting change over time. A garden may gain new plants, a tree may lose paper leaves, or a sky panel may slide behind a silhouette. Decide which parts need to move before attaching them. Test the arrangement with the intended figures or play objects so scale remains workable.
Let play reveal the next addition. A character may need shelter, a path may need a clearer destination, or the scene may need a way to pack flat. Add the feature because it serves the child’s story rather than because the adult wants a more elaborate display. A craft that continues into play can remain useful after its first making session ends.
Store a Selected Record Instead of Everything
Invite the child to choose what represents the experience. They may keep two comparison panels, one texture sample, or a photograph taken with permission. Store suitable flat work together and keep damp pieces separate until dry. Discuss display time and dismantling before moving a valued object. Seasonal work does not need to become permanent storage by default, and a temporary composition can still leave a clear memory of the decisions made.
Return to the Same Place With a New Curiosity
On another occasion, revisit the subject without requiring an updated copy of the earlier picture. Ask what looks different now or what the child notices more clearly. They may choose a new technique or focus on a detail previously ignored. Familiarity with the place can make observation richer while leaving the artwork open. The next session can be a single study rather than another complete seasonal series.
Begin the next visit with the feature that remains interesting: a branch pattern, the edge of a leaf, or a change in light. Choose a fresh drawing, a loose arrangement, or a play panel according to what the maker wants to do with it. Keep the technique that served the earlier observation and change the part that now needs a different effect.